# Tilia Cloud Licensing Overview
The tilia Cloud licensing option allows you to manage, distribute, and set up licenses online. You can create an unlimited number of users for your organization and define exactly who can and can't have access to your licenses.
Tilia Cloud licenses are all managed at cloud.tilialabs.com. By default, licenses are assigned to a specific user, referred to as a “Named User License.” In this way, one user can use one license that is assigned to them, and other users cannot use this license.
Optionally you can float licenses across multiple users with the Tilia Cloud option. You can tell if you have this option by looking at your Licenses list and seeing if you have a license for Product “Tilia Cloud.” Both methods use the same licensing engine and setup described below, but you can only use Tags if you have this “Tilia Cloud” product. Otherwise you will assign licenses to a specific user in the User tab of the License Details page.
tilia Cloud licenses use the concepts of Users, Roles, and Tags.
# Users
Users are unique logins for each person. A user consists of an Email, Name, Role, and can be assigned Tags. The Account Administrator will create separate users for each person that will use the licenses, which they will use to log in to the application to authenticate and consume a license.
# Roles
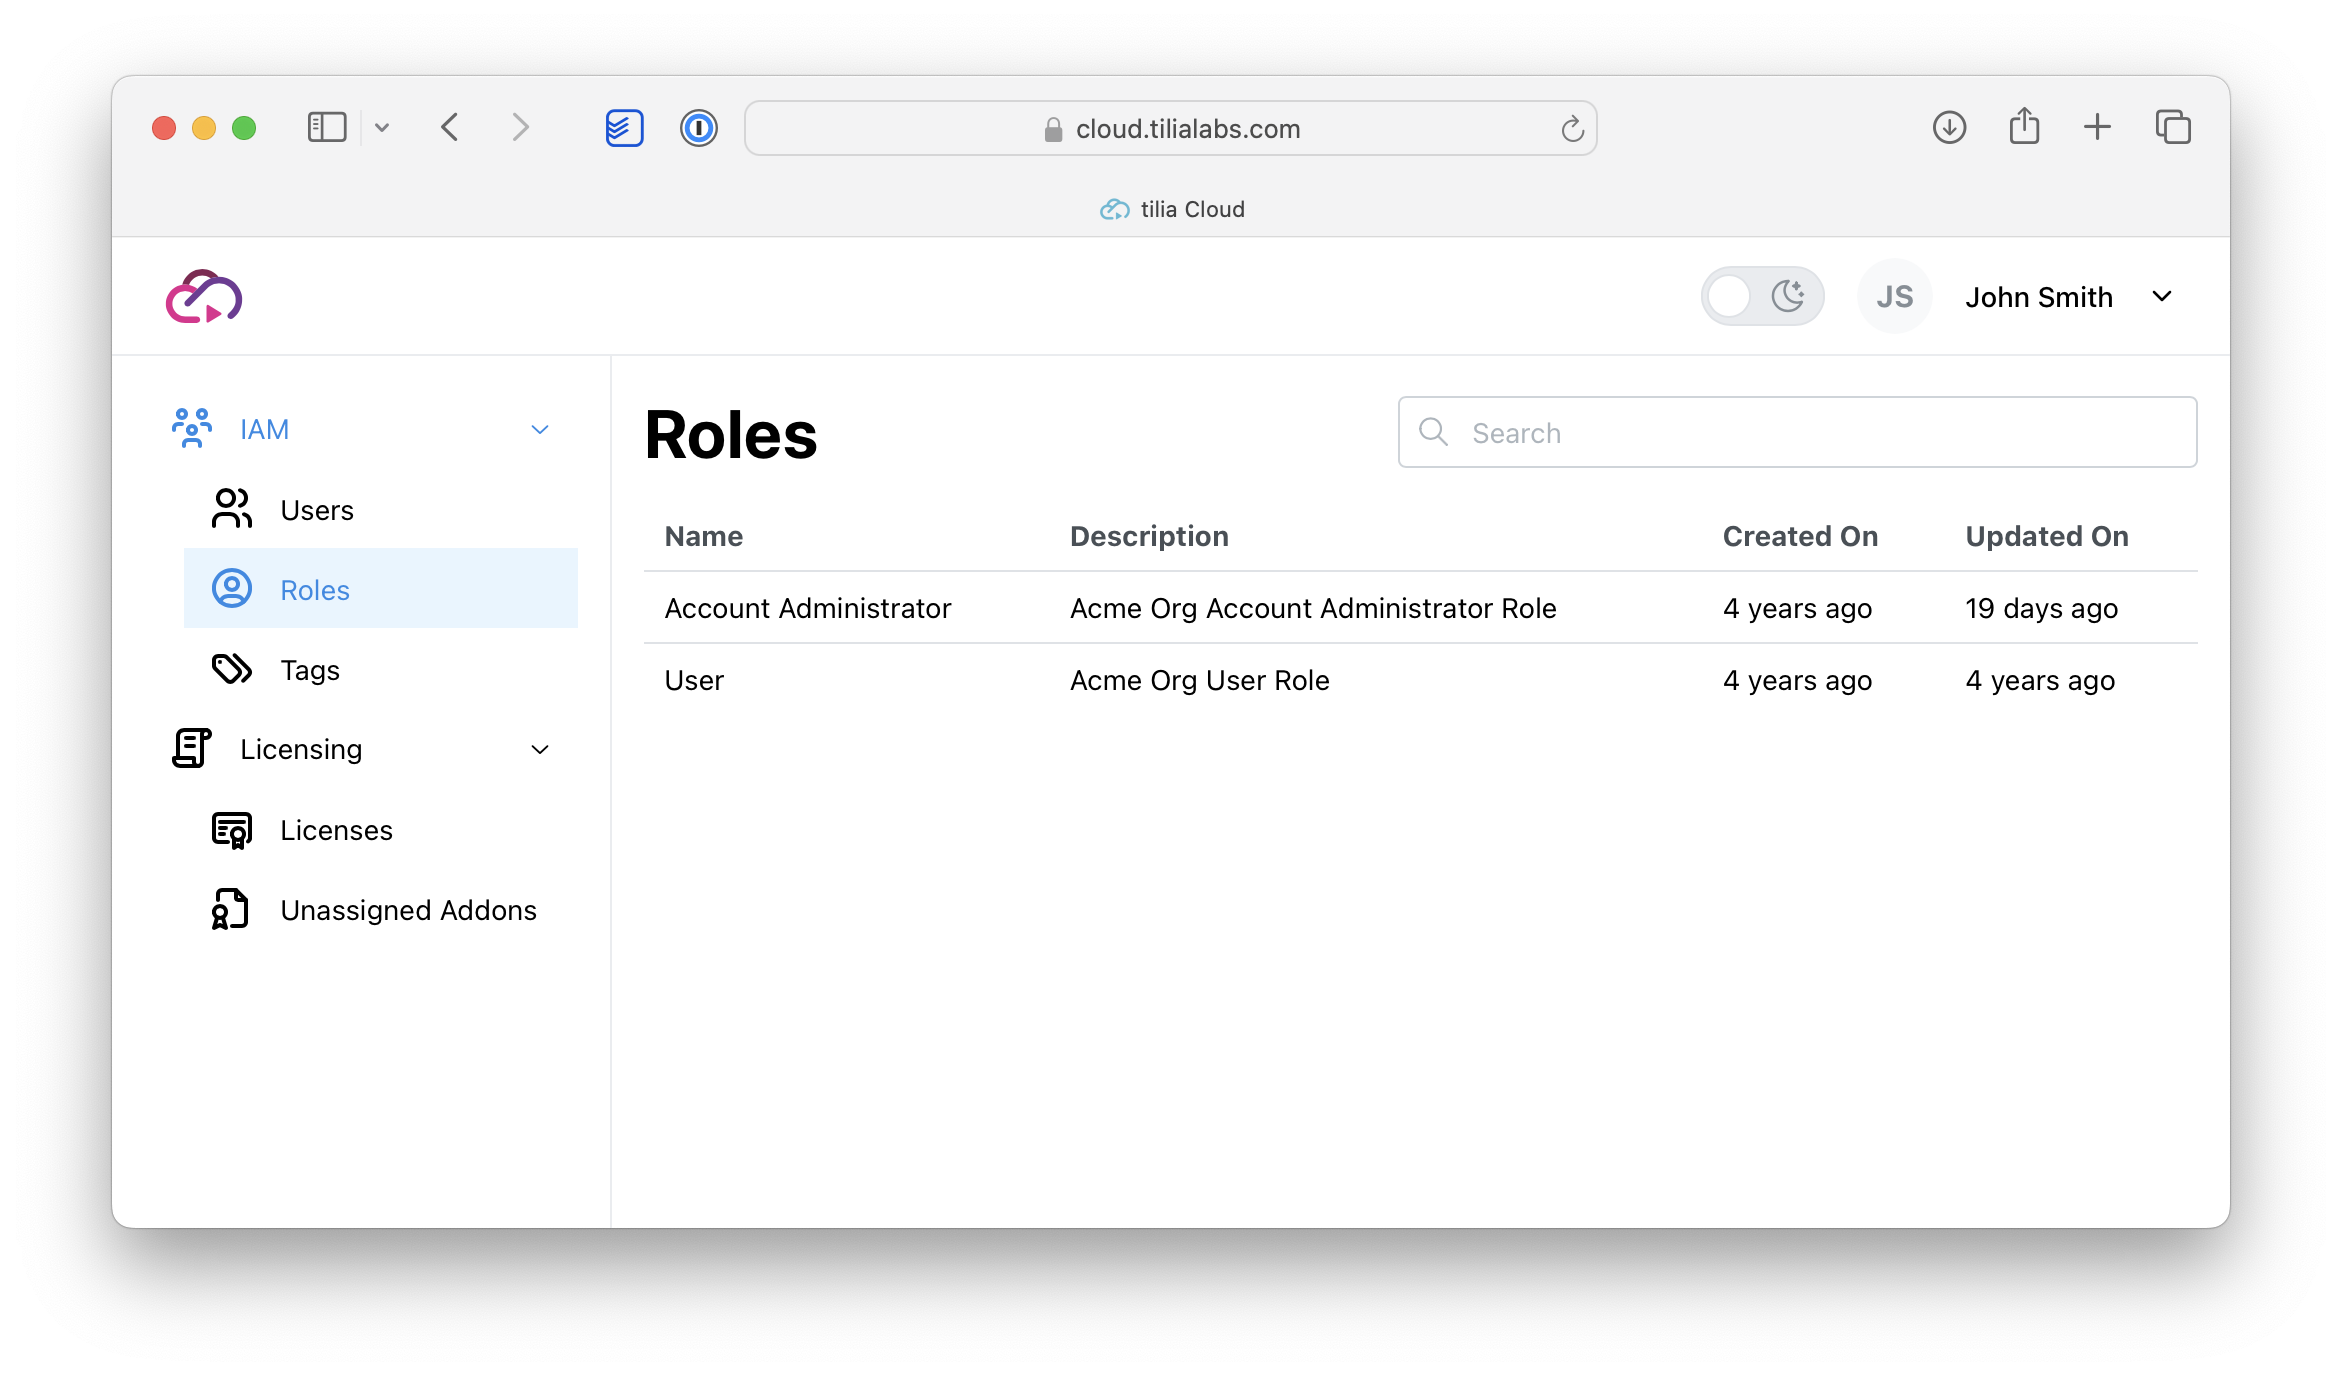
Each user will have one of two roles - either they are an Account Administrator or a User:
- Account Administrator - Users assigned this role have the ability to create new users, edit users (including assigning tags), and delete users.
- User - Users assigned this role are regular users that can consume licenses. They can make changes to their own profile like editing email address, title, and description, but cannot assign tags or modify other users.
# Tags
Note
Tags are only applicable if you have the “Tilia Cloud” product in your license list. Please reach out to us if you have any questions or would like to inquire about adding this feature
Tags are how licenses are tagged, or assigned, to users. Tags are created in the Tags page of IAM (Identity & Access Management) on Tilia Cloud, and then they can be assigned to licenses and to users. For example, you can create a tag called "Estimating" that is assigned to each of your users that are Estimators, and then specify the "Estimating" tag for one of your licenses. Now, each of the users assigned that tag can consume that license, as long as it's not already being consumed.
# Setup
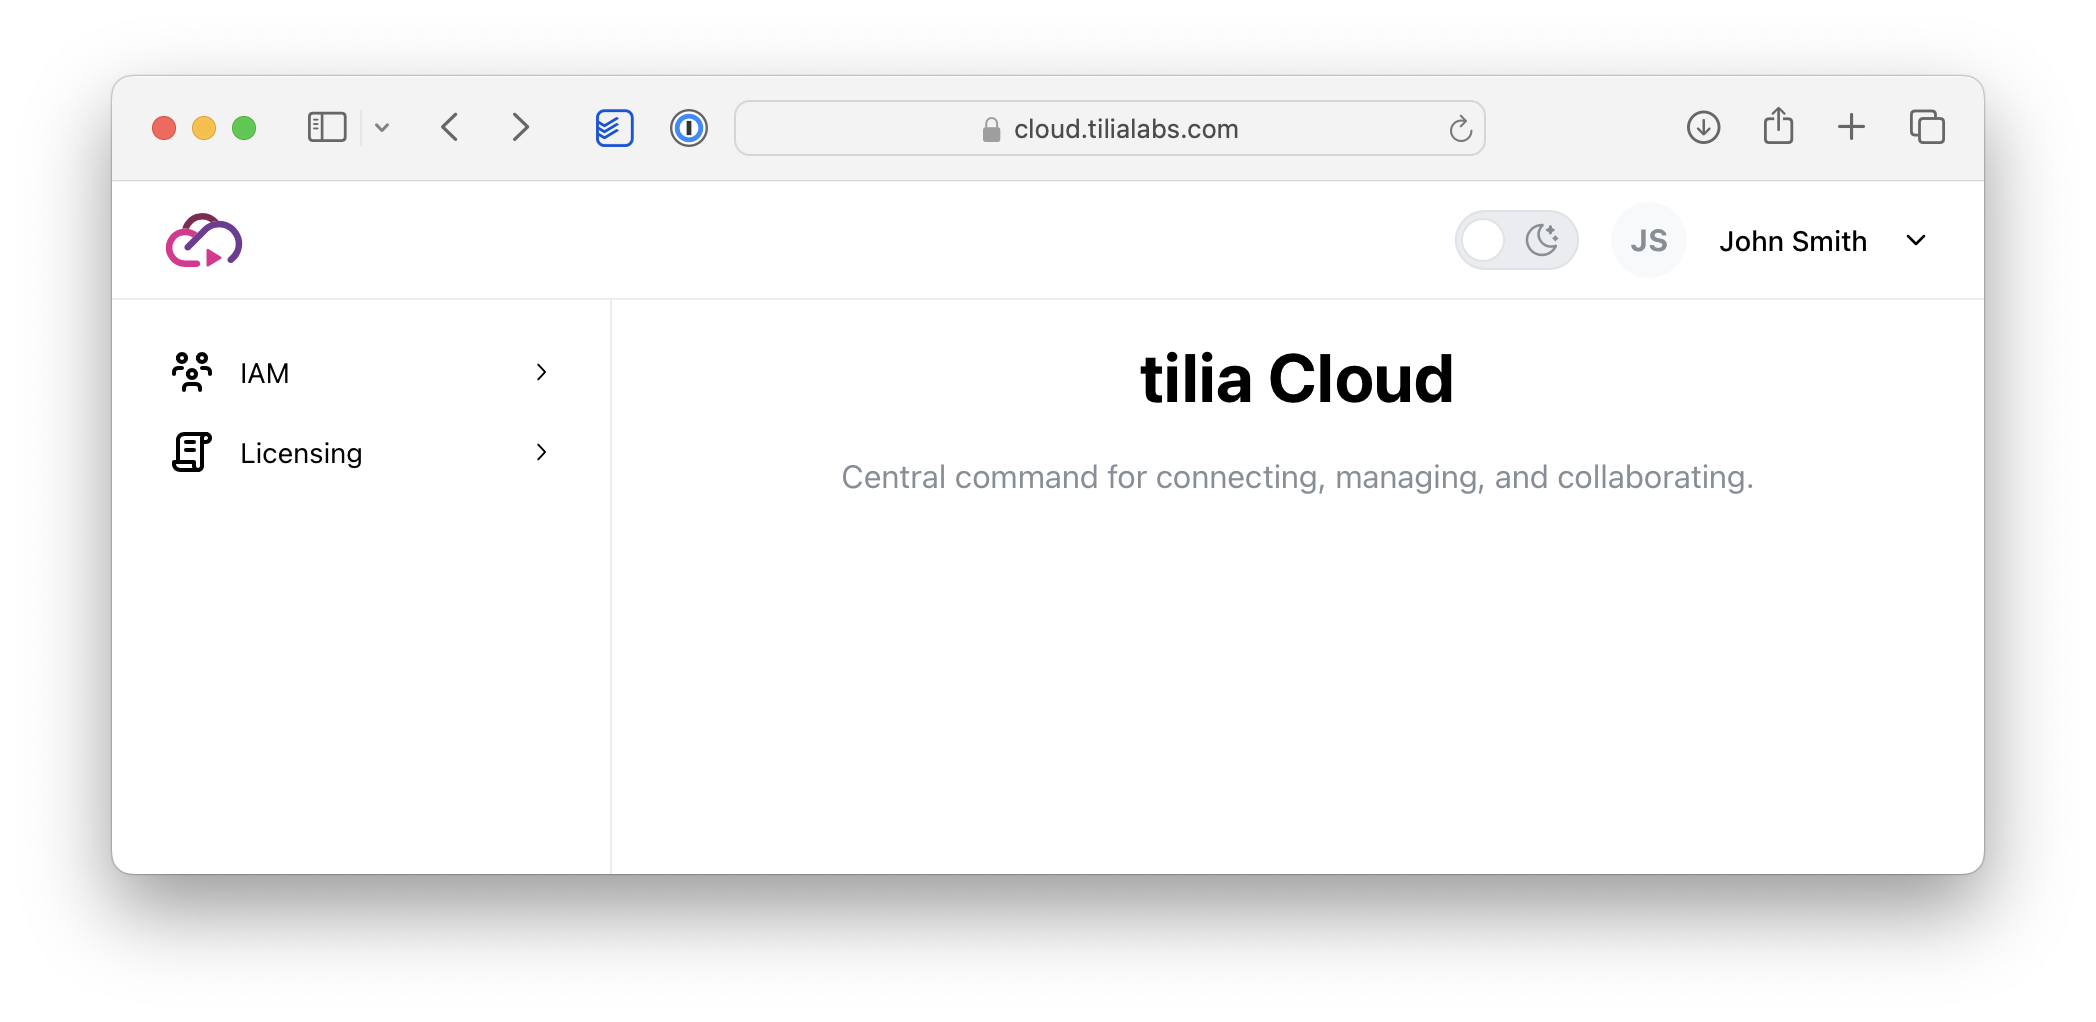
The first time you log into Tilia Cloud, you will see the landing page that looks like the screenshot below.
To configure tilia Cloud, follow the steps below:
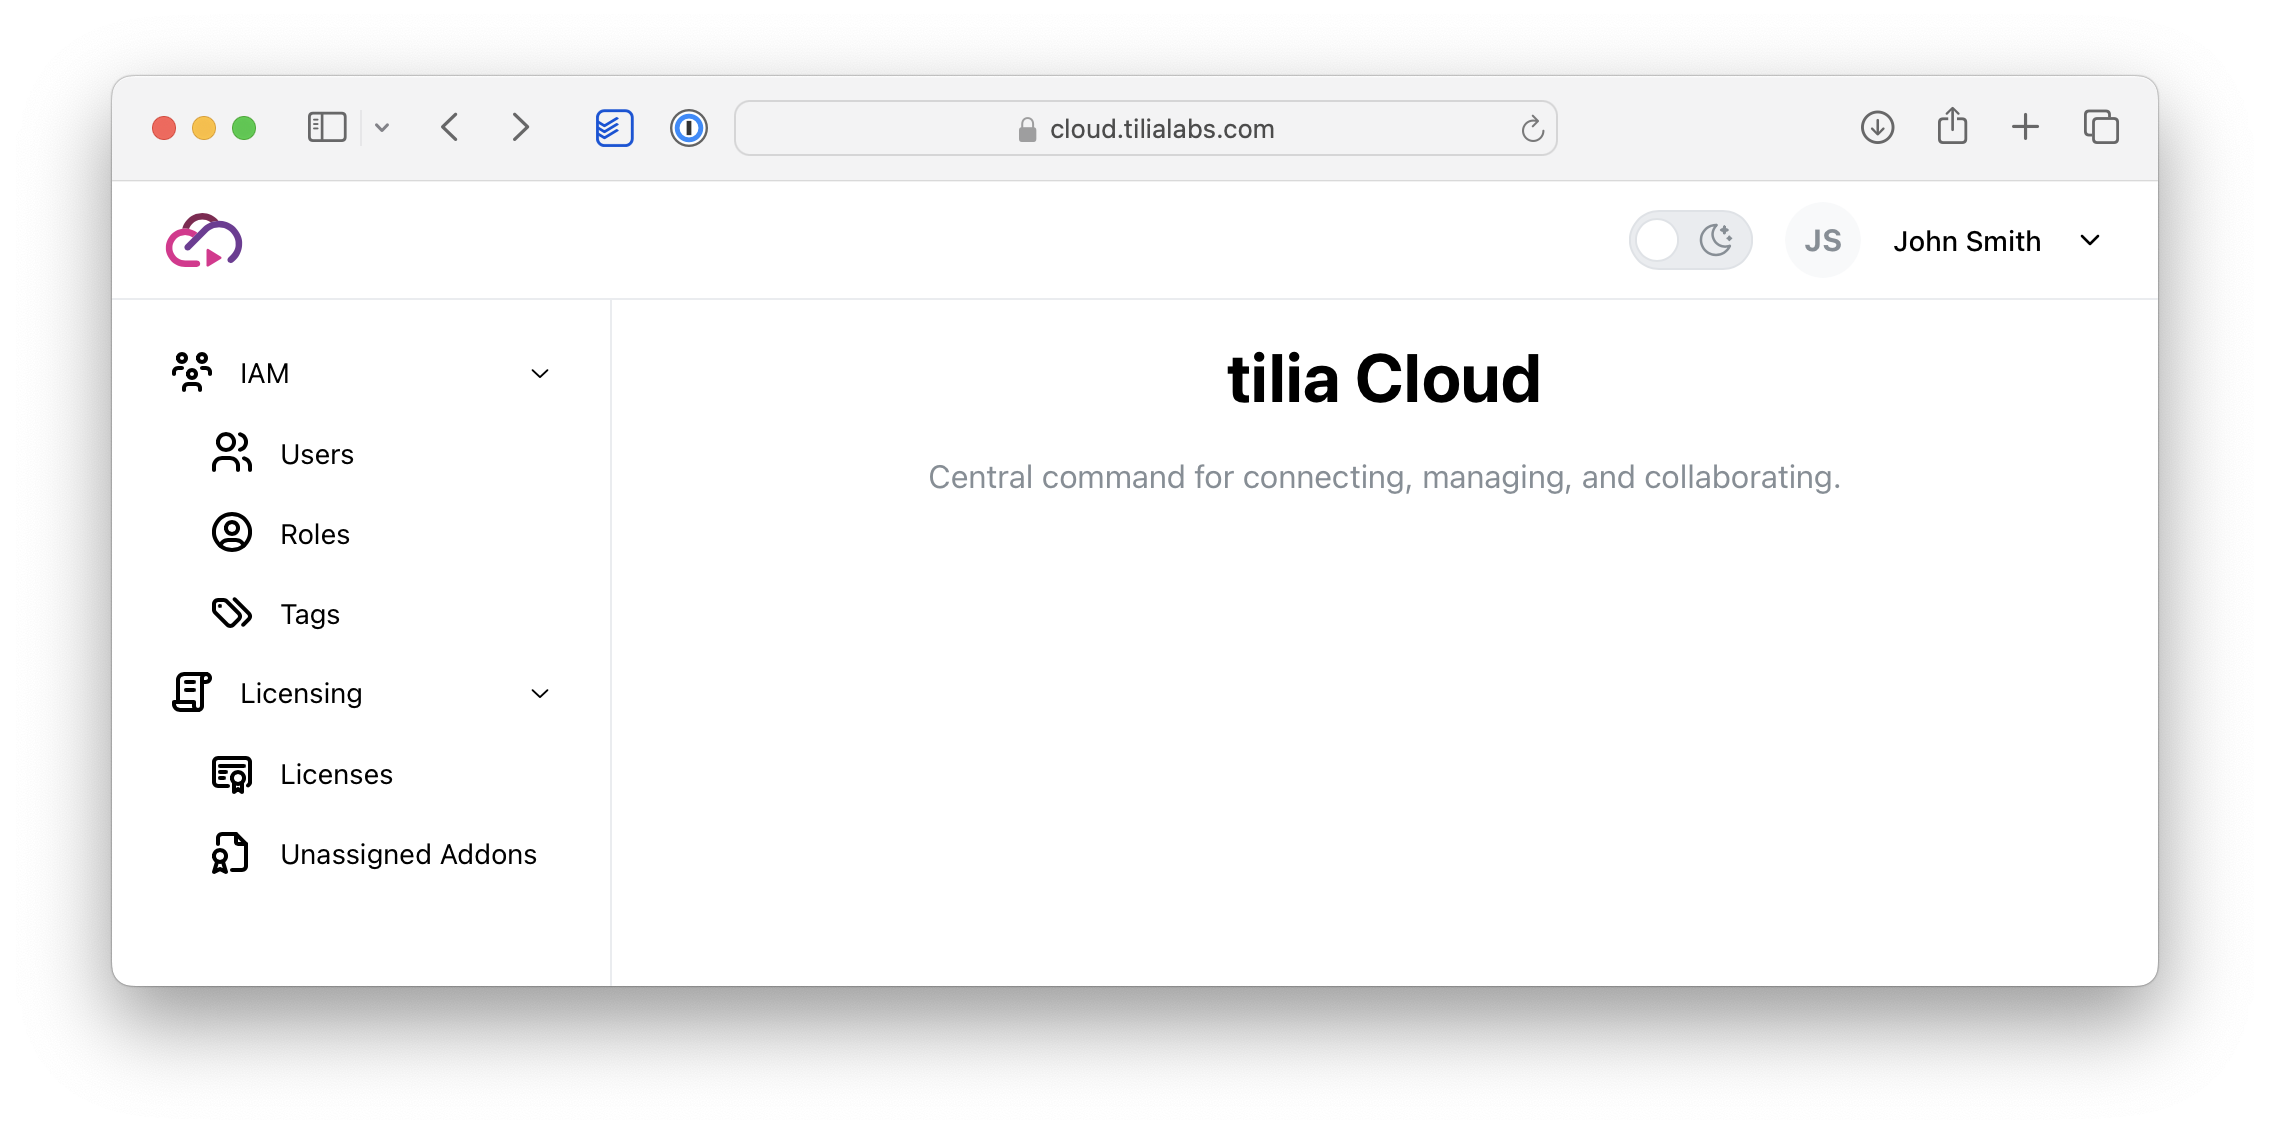
- Click Users under IAM (Identity & Access Management)
- You will now see the IAM Users page. See below for a brief overview of this page:
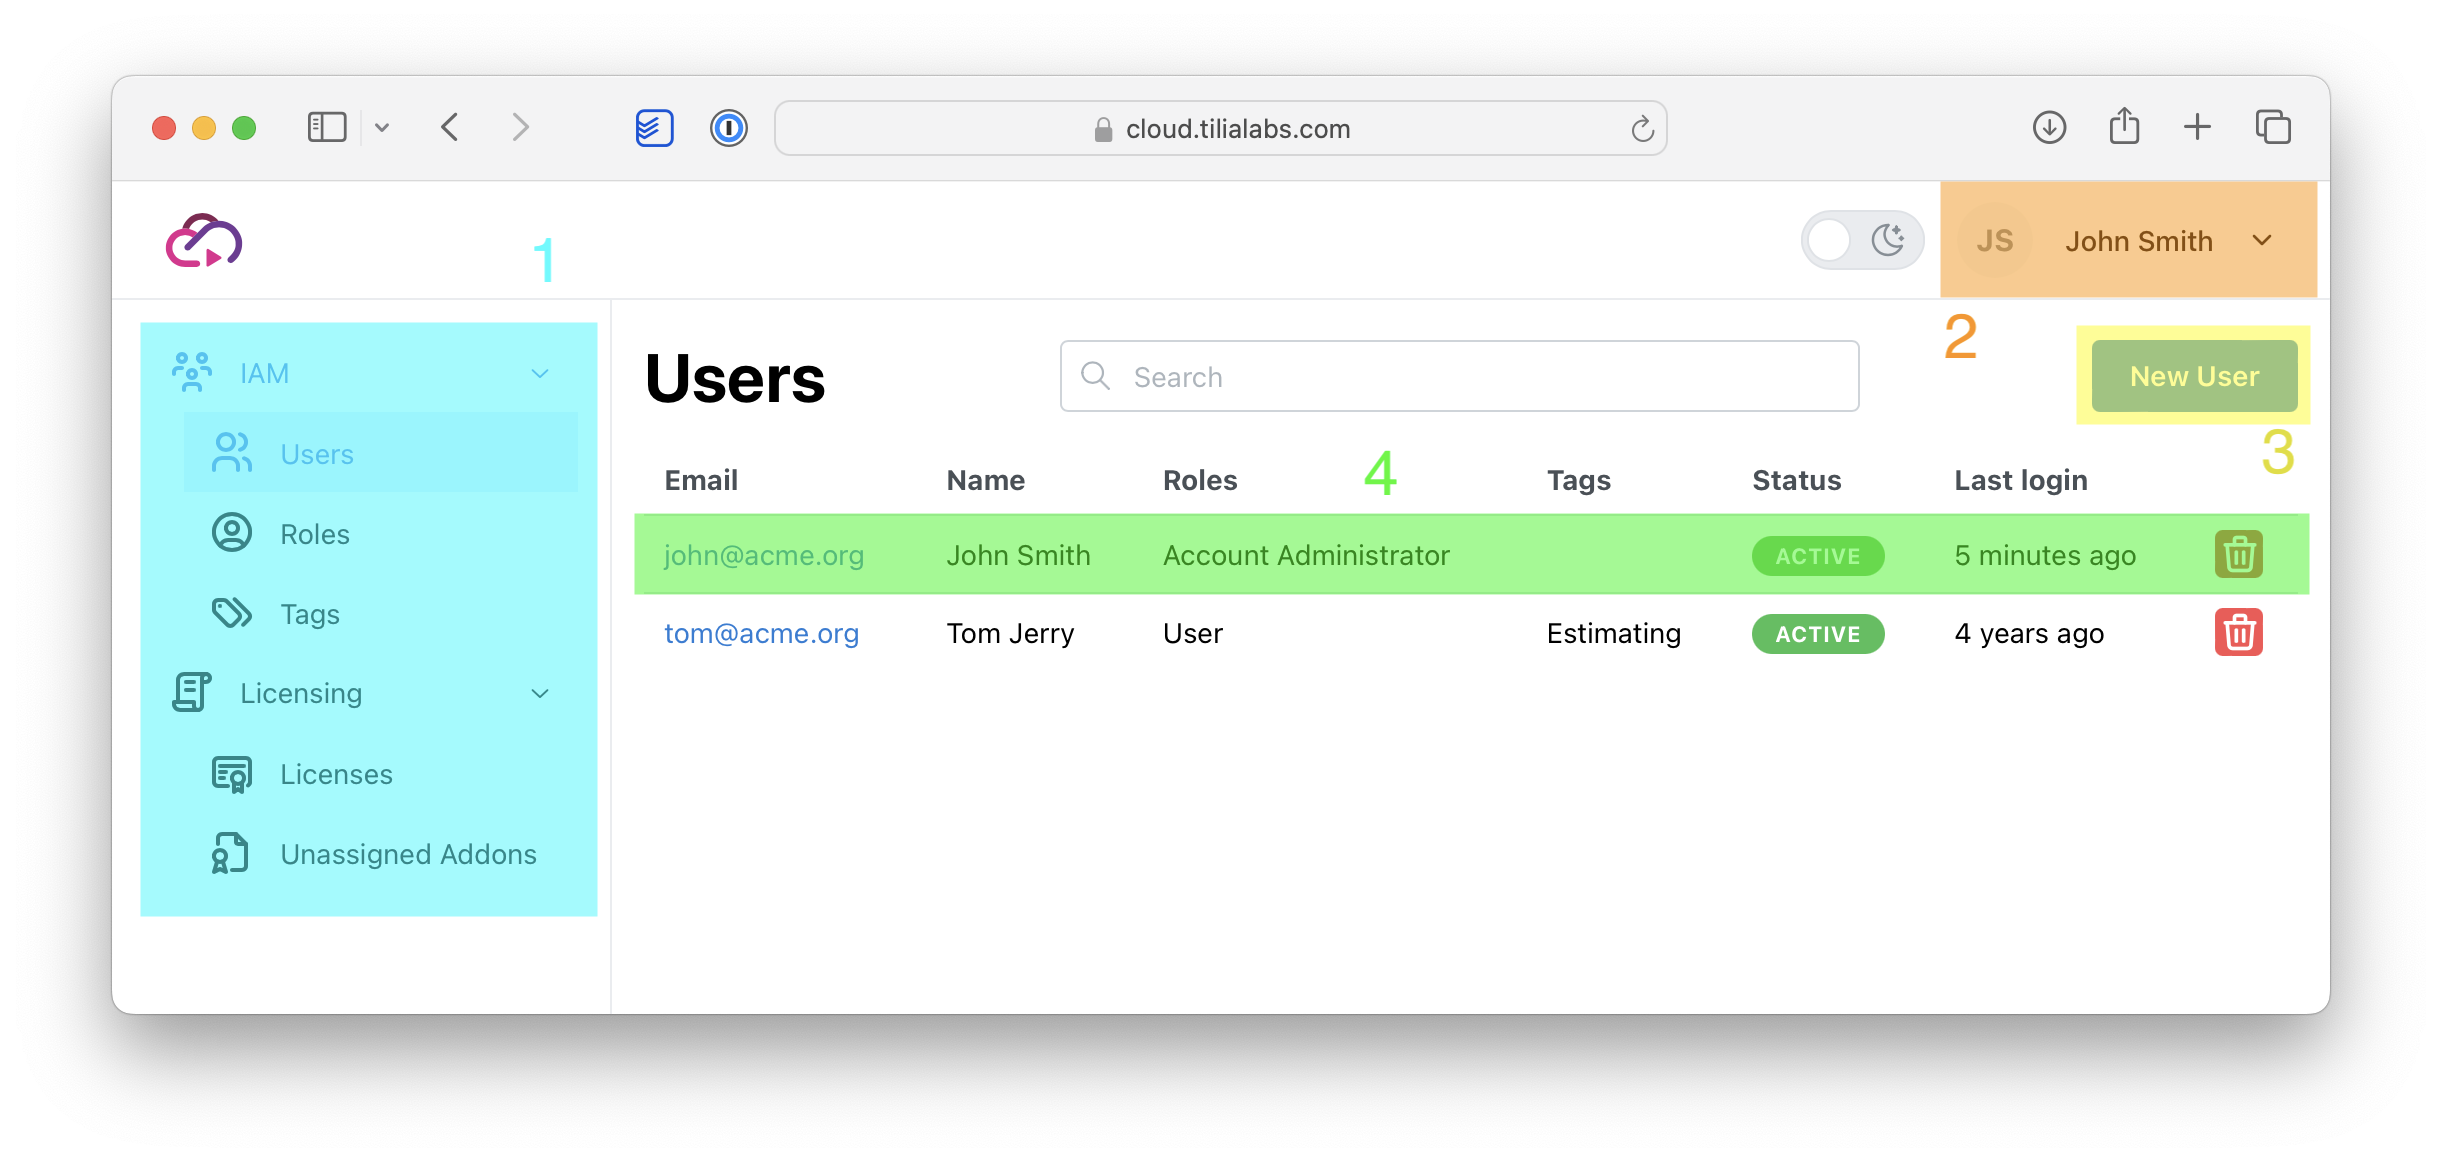
- Page Navigation - Toggle between the views: Users, Roles, and Tags for IAM and Licenses and Unassigned Addons for Licensing
- User Profile - Access your profile or log out of tilia Cloud
- New User button - Create a new user
- Users List - Access the user settings for an individual user. Click on the username to dive into the User details
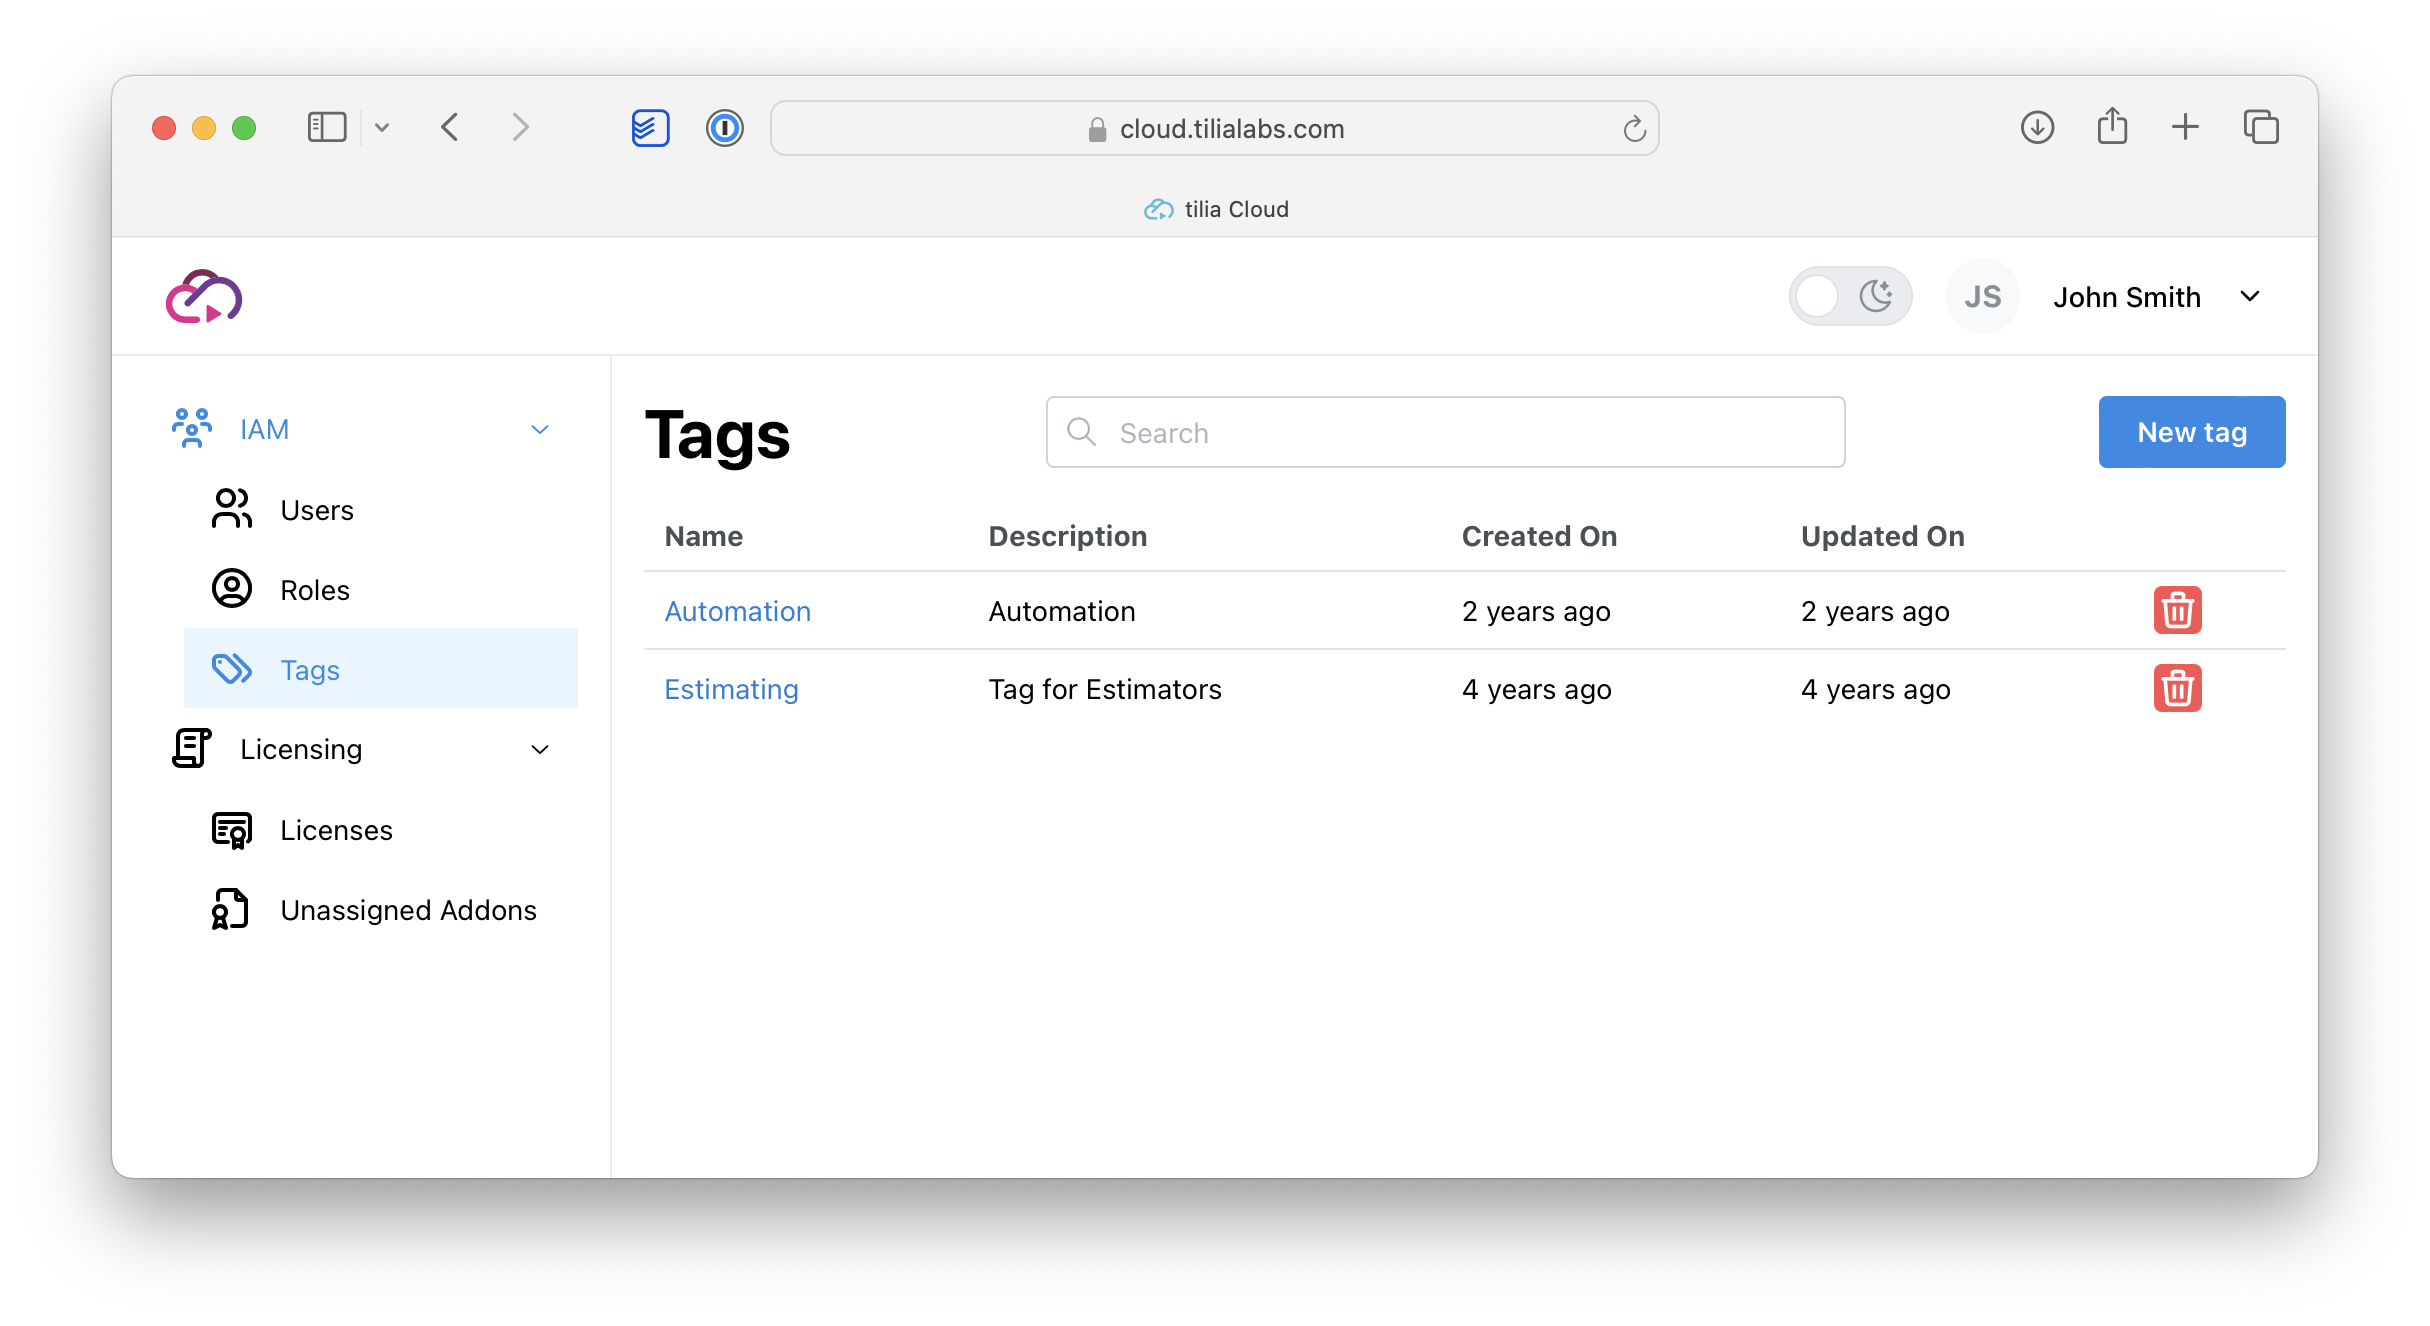
- If you have the Tilia Cloud product, you can click on the Tags button to go to the IAM Tags page. Here you can create one or more tags. Click on [+ New Tag] to create a tag and give it a unique name and description, and then click Create tag.
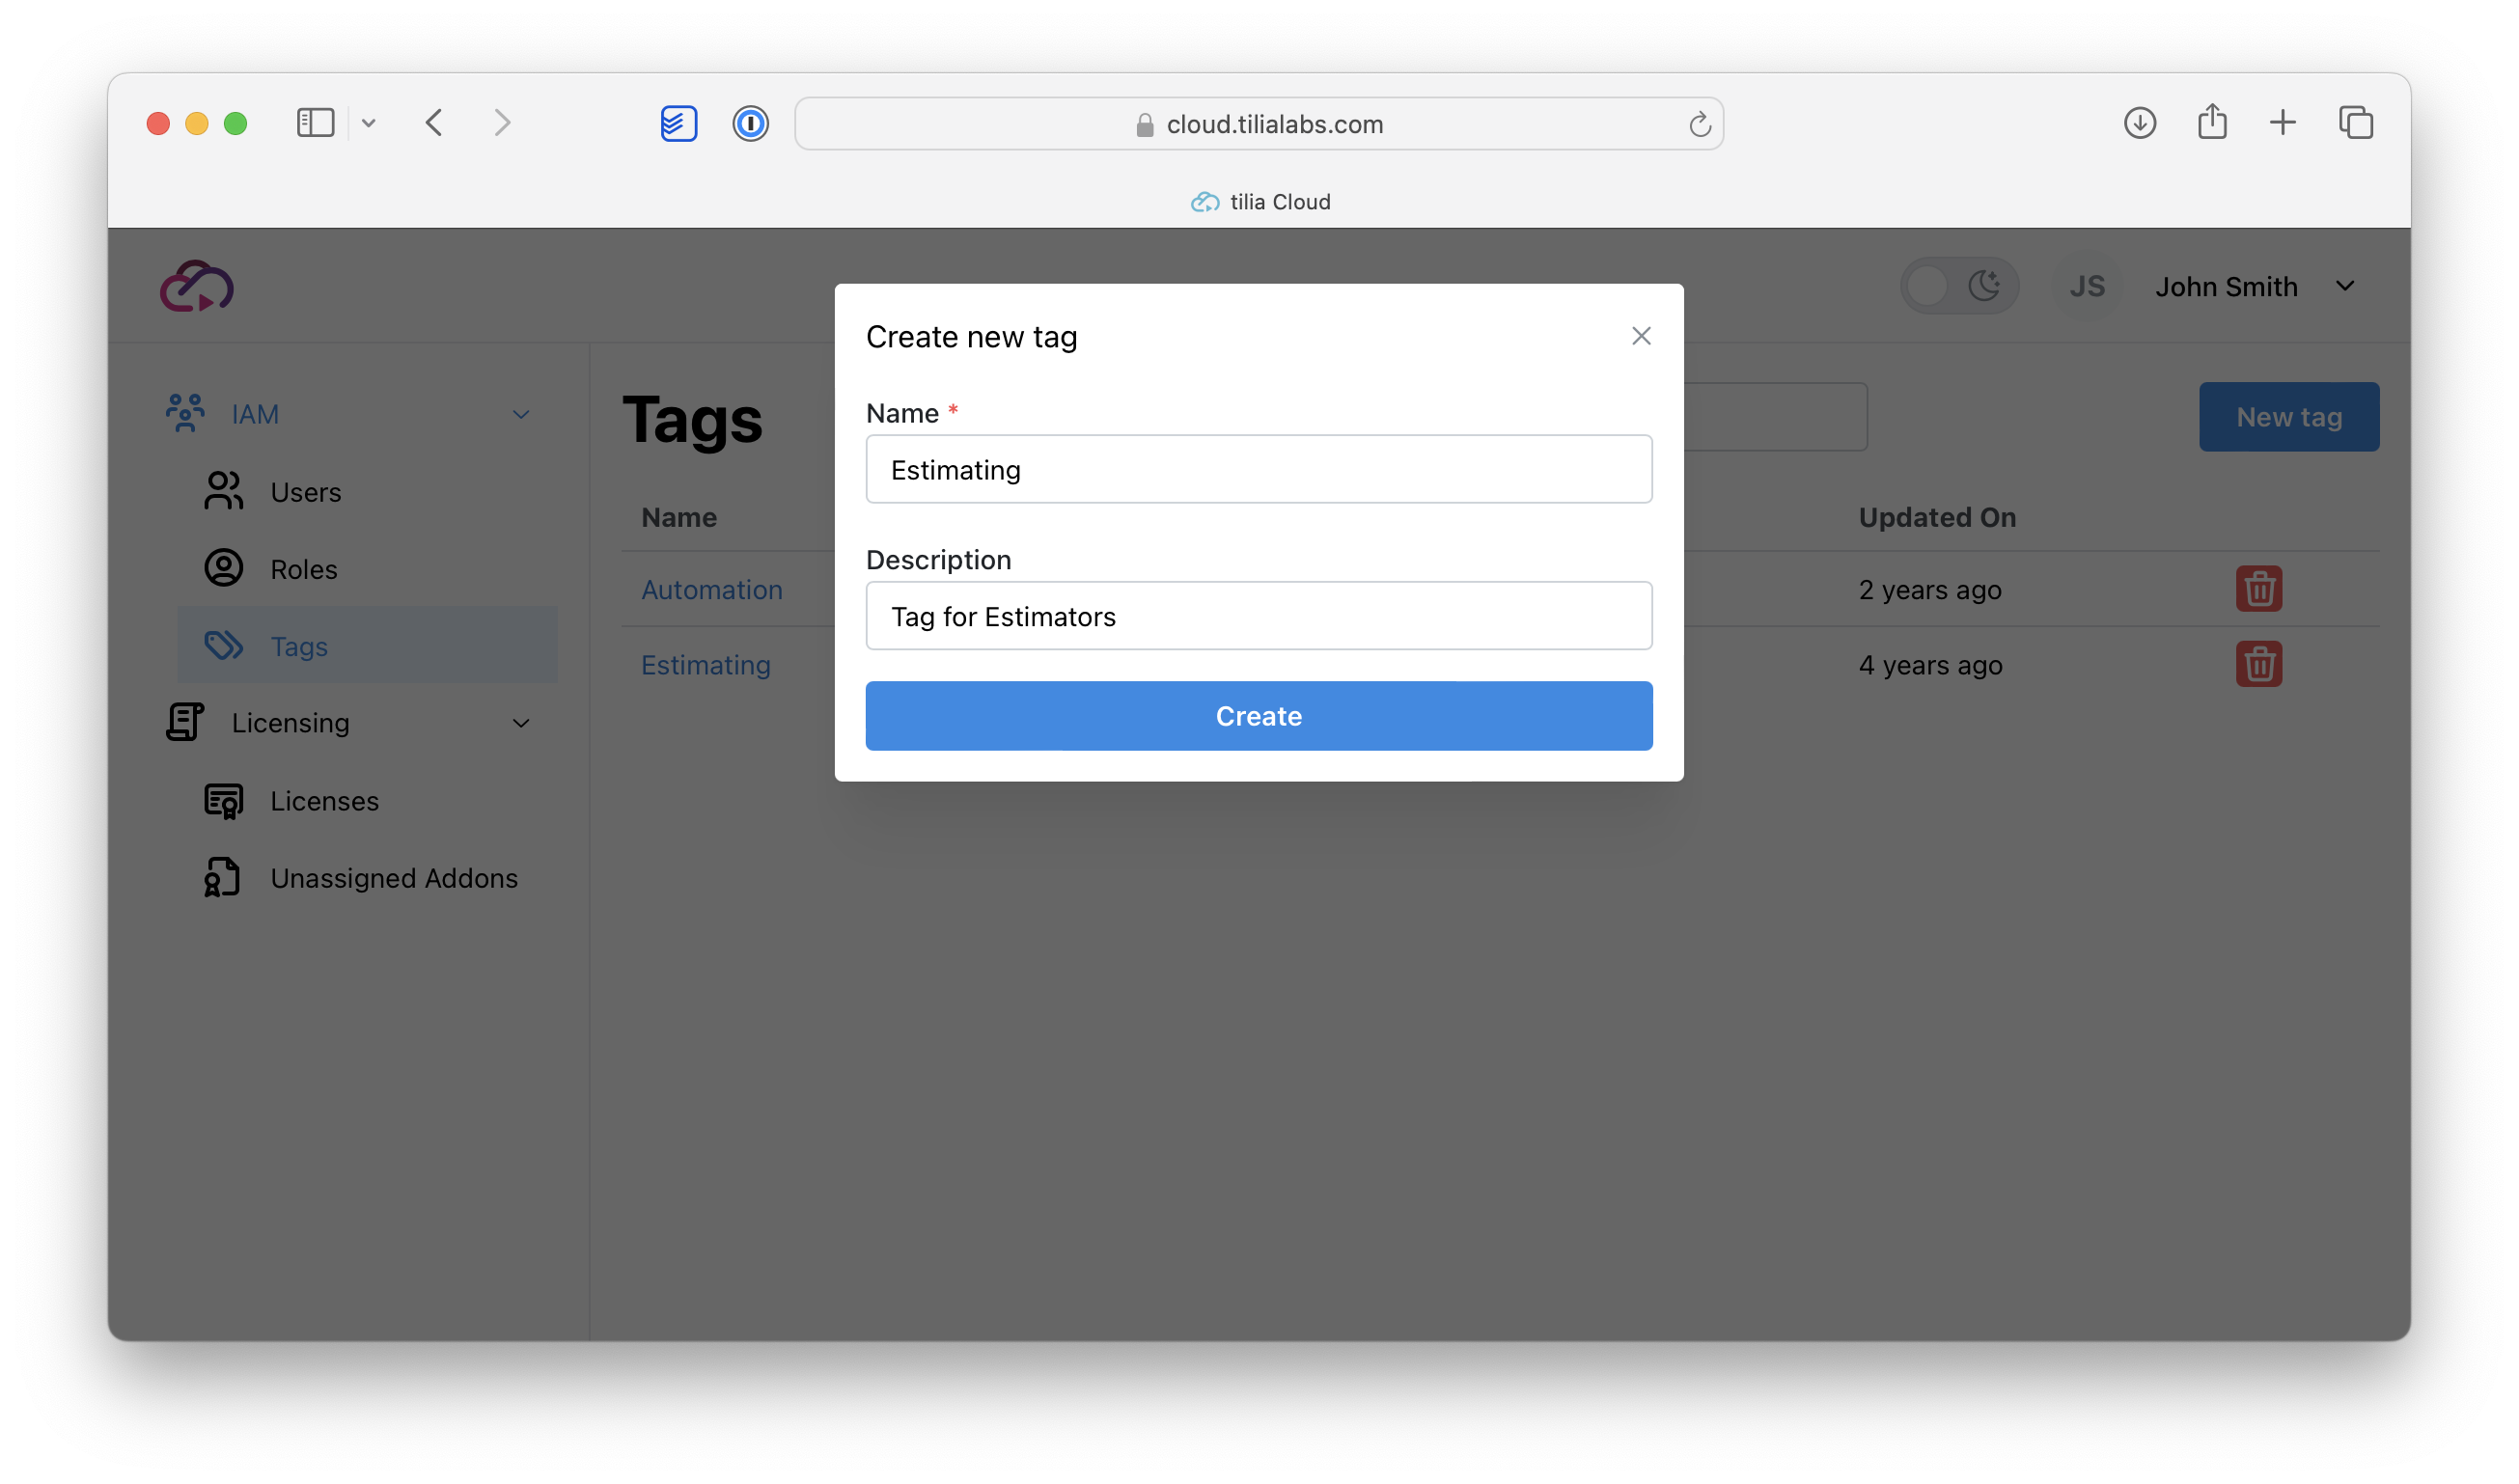
You will now see the IAM Tag page with your new tag added. You can click the Edit button at the far right of the tag entry to modify the tag name and description, or to delete the tag. Repeat steps 3 and 4 for any additional tags you wish to create, and then navigate back to the Users page.
Click on [+ New User] to add a user and fill in their first name, last name and email.
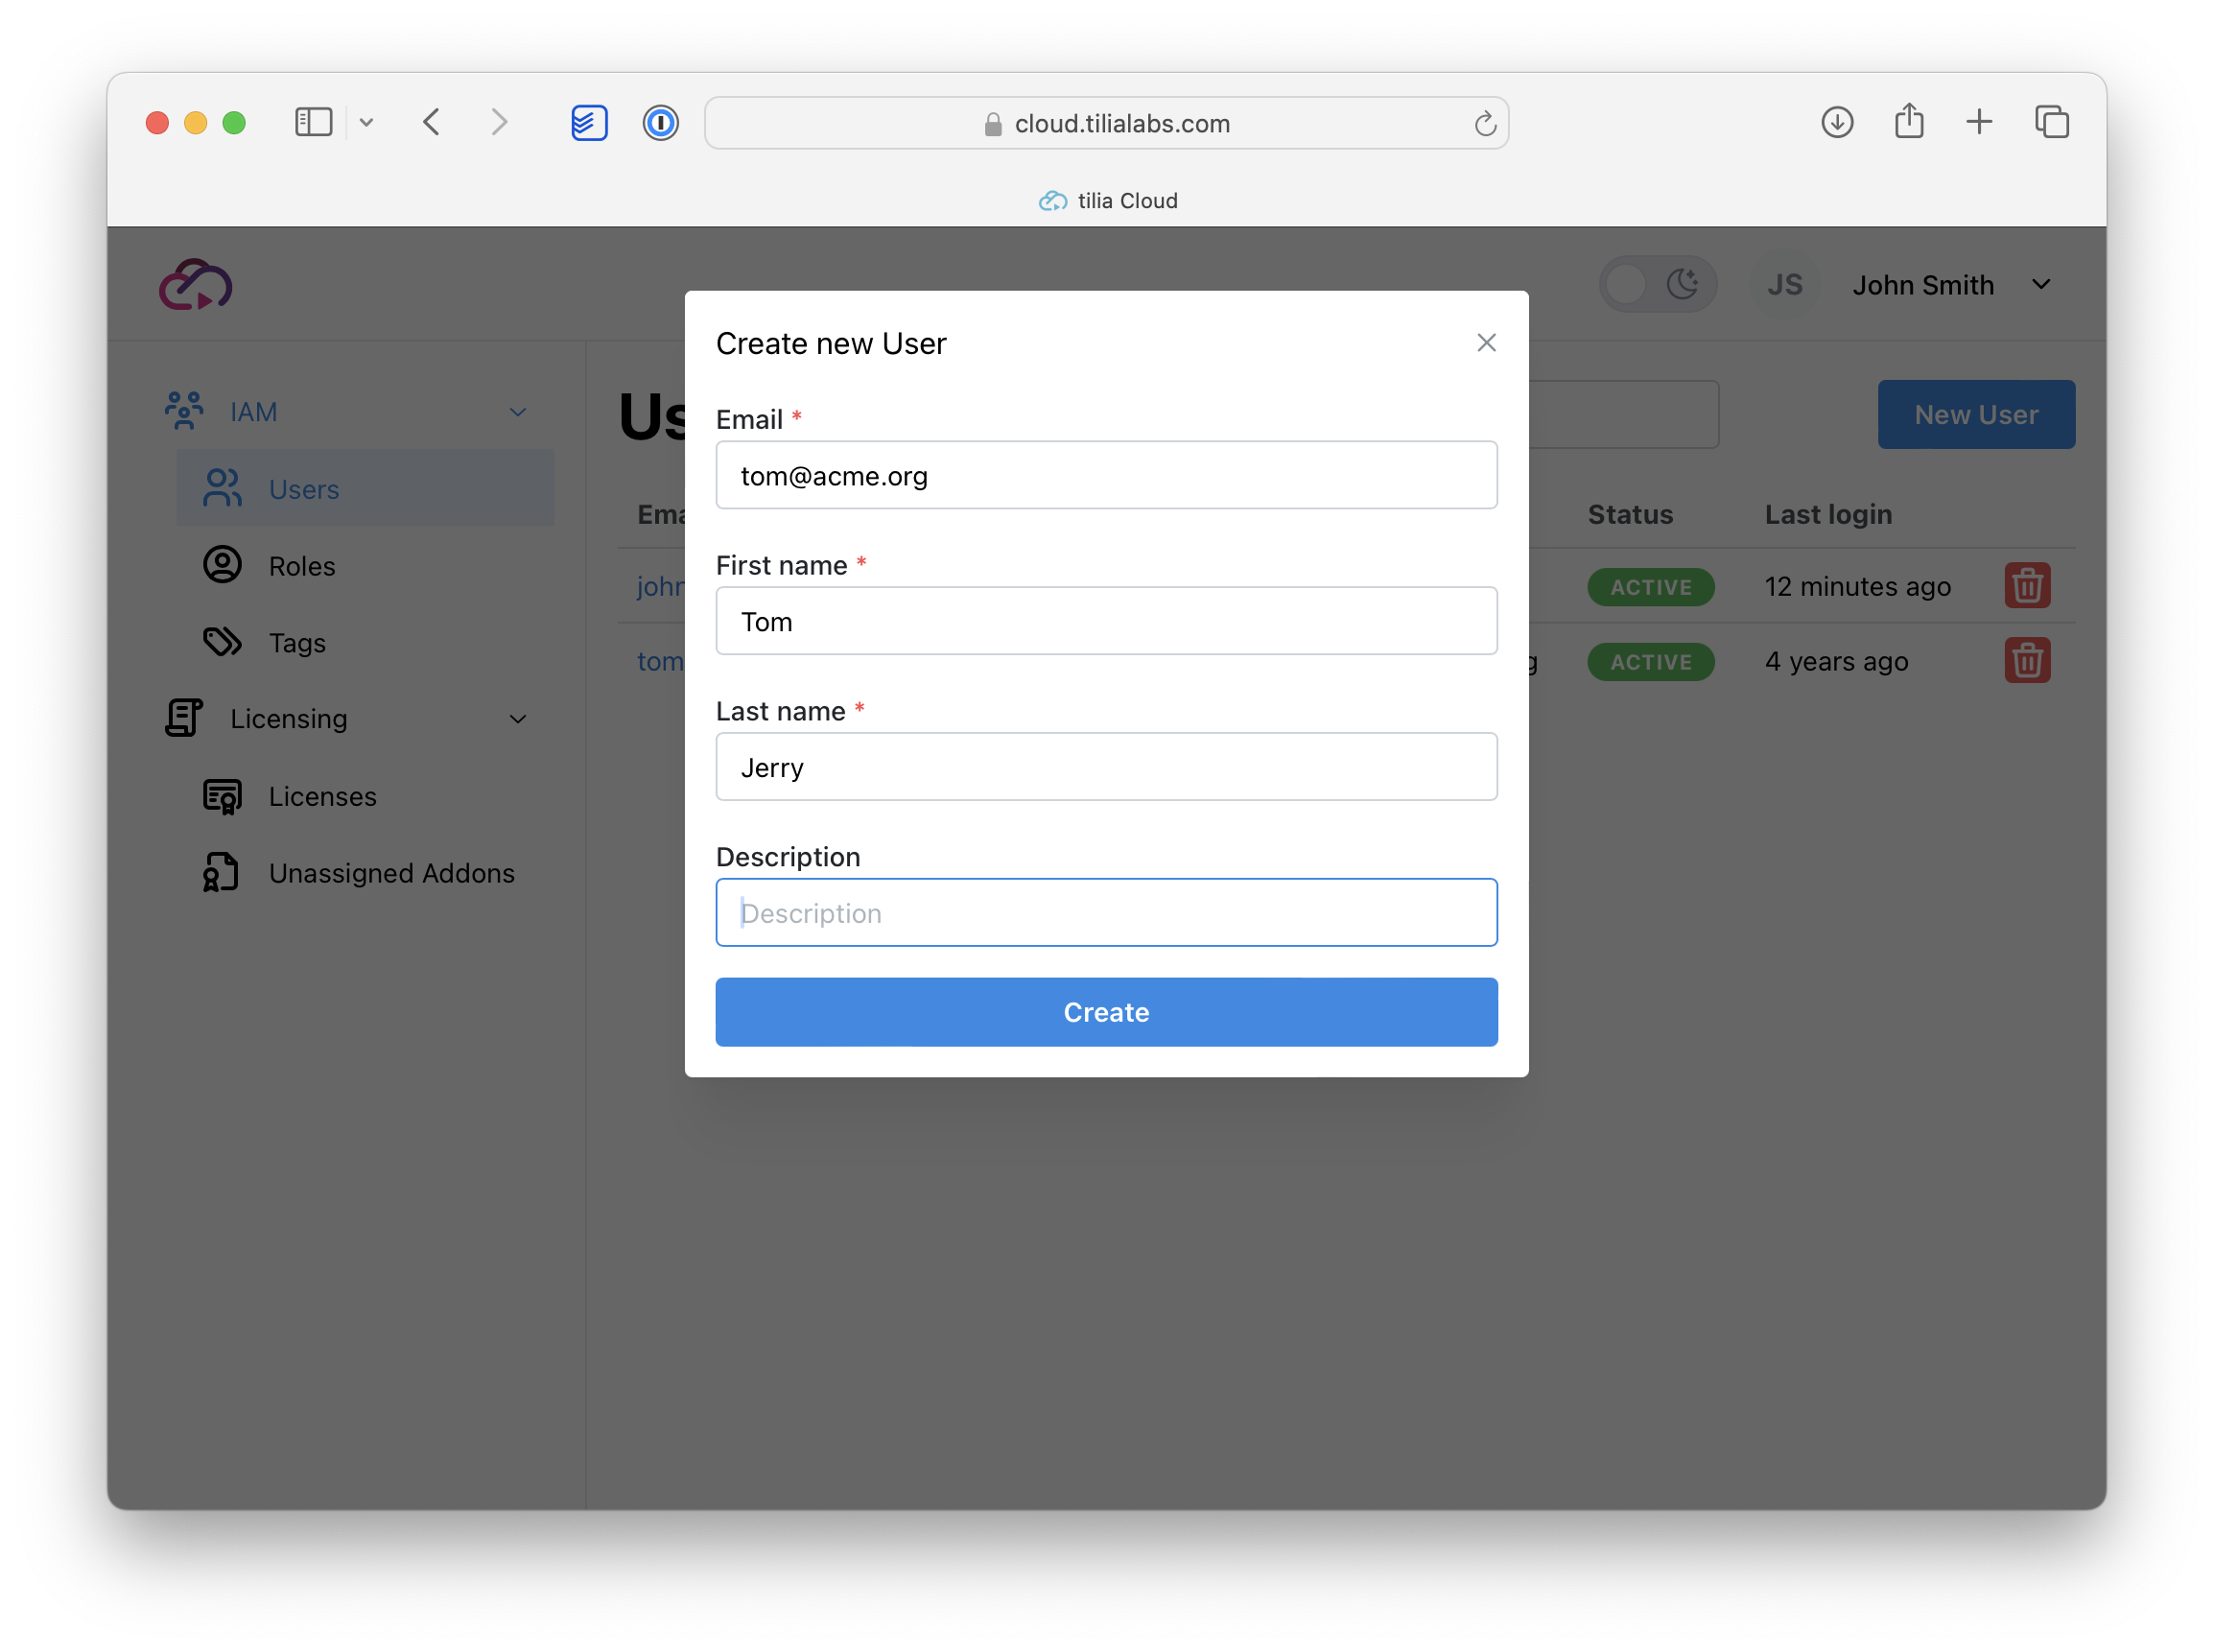
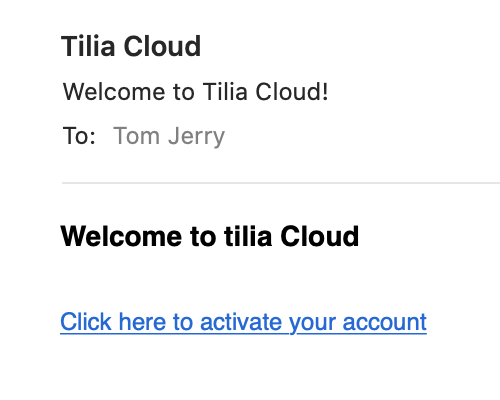
Once you click Create user, an email is automatically sent to the user to activate their account and set their password. Until that time, the Status in the User Details will indicate that the user is Pending.
Note on the welcome email
This email should come from info[at]tilialabs.com. Please be sure to check any spam or junk folders for this invitation, and note that the activation link in the email expires after three days!
- Now that the user is created, you can edit the user. You can specify the User Role and Tags by navigating to those tabs.
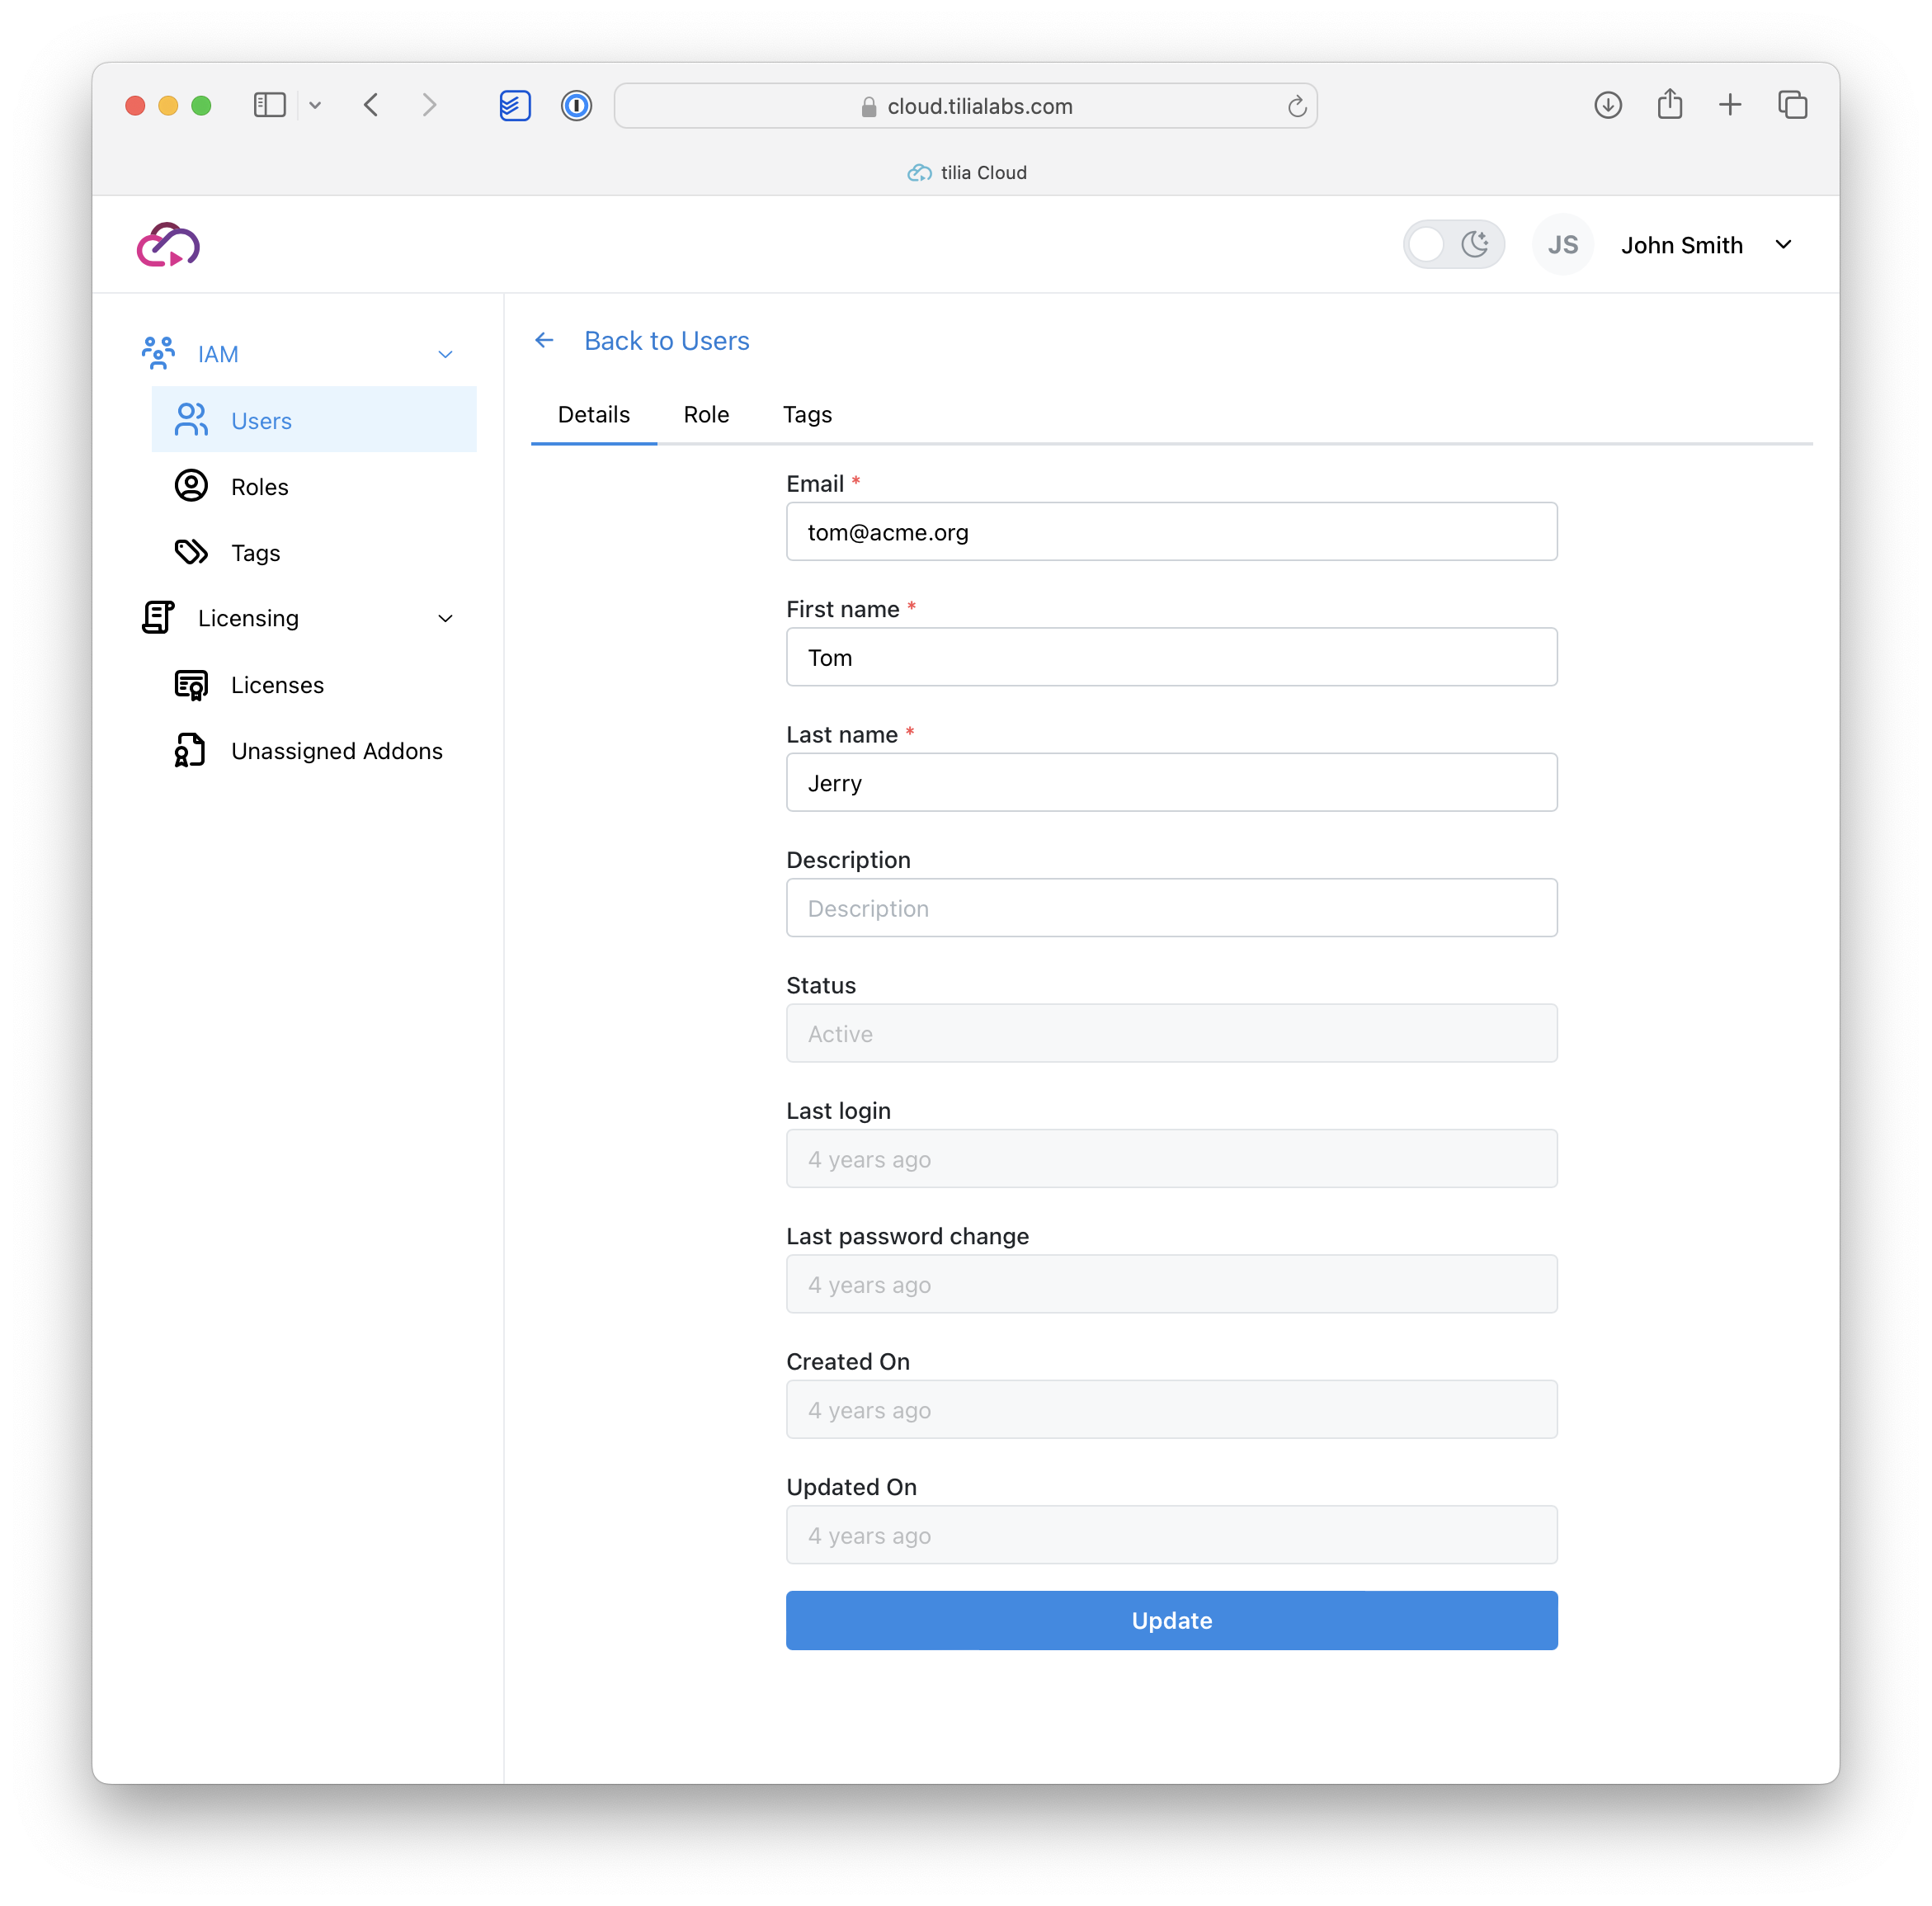
- Navigate to the role tab to set the role for this user. Account Administrators can be assigned licenses and have the additional permission to manage users and licenses. Users can only use a license, not administer anything on Tilia Cloud.
- For Tilia Cloud users, you can navigate to the Tags tab of the user and assign tags for this user. Once the user has a tag assigned the user is configured and ready to go.
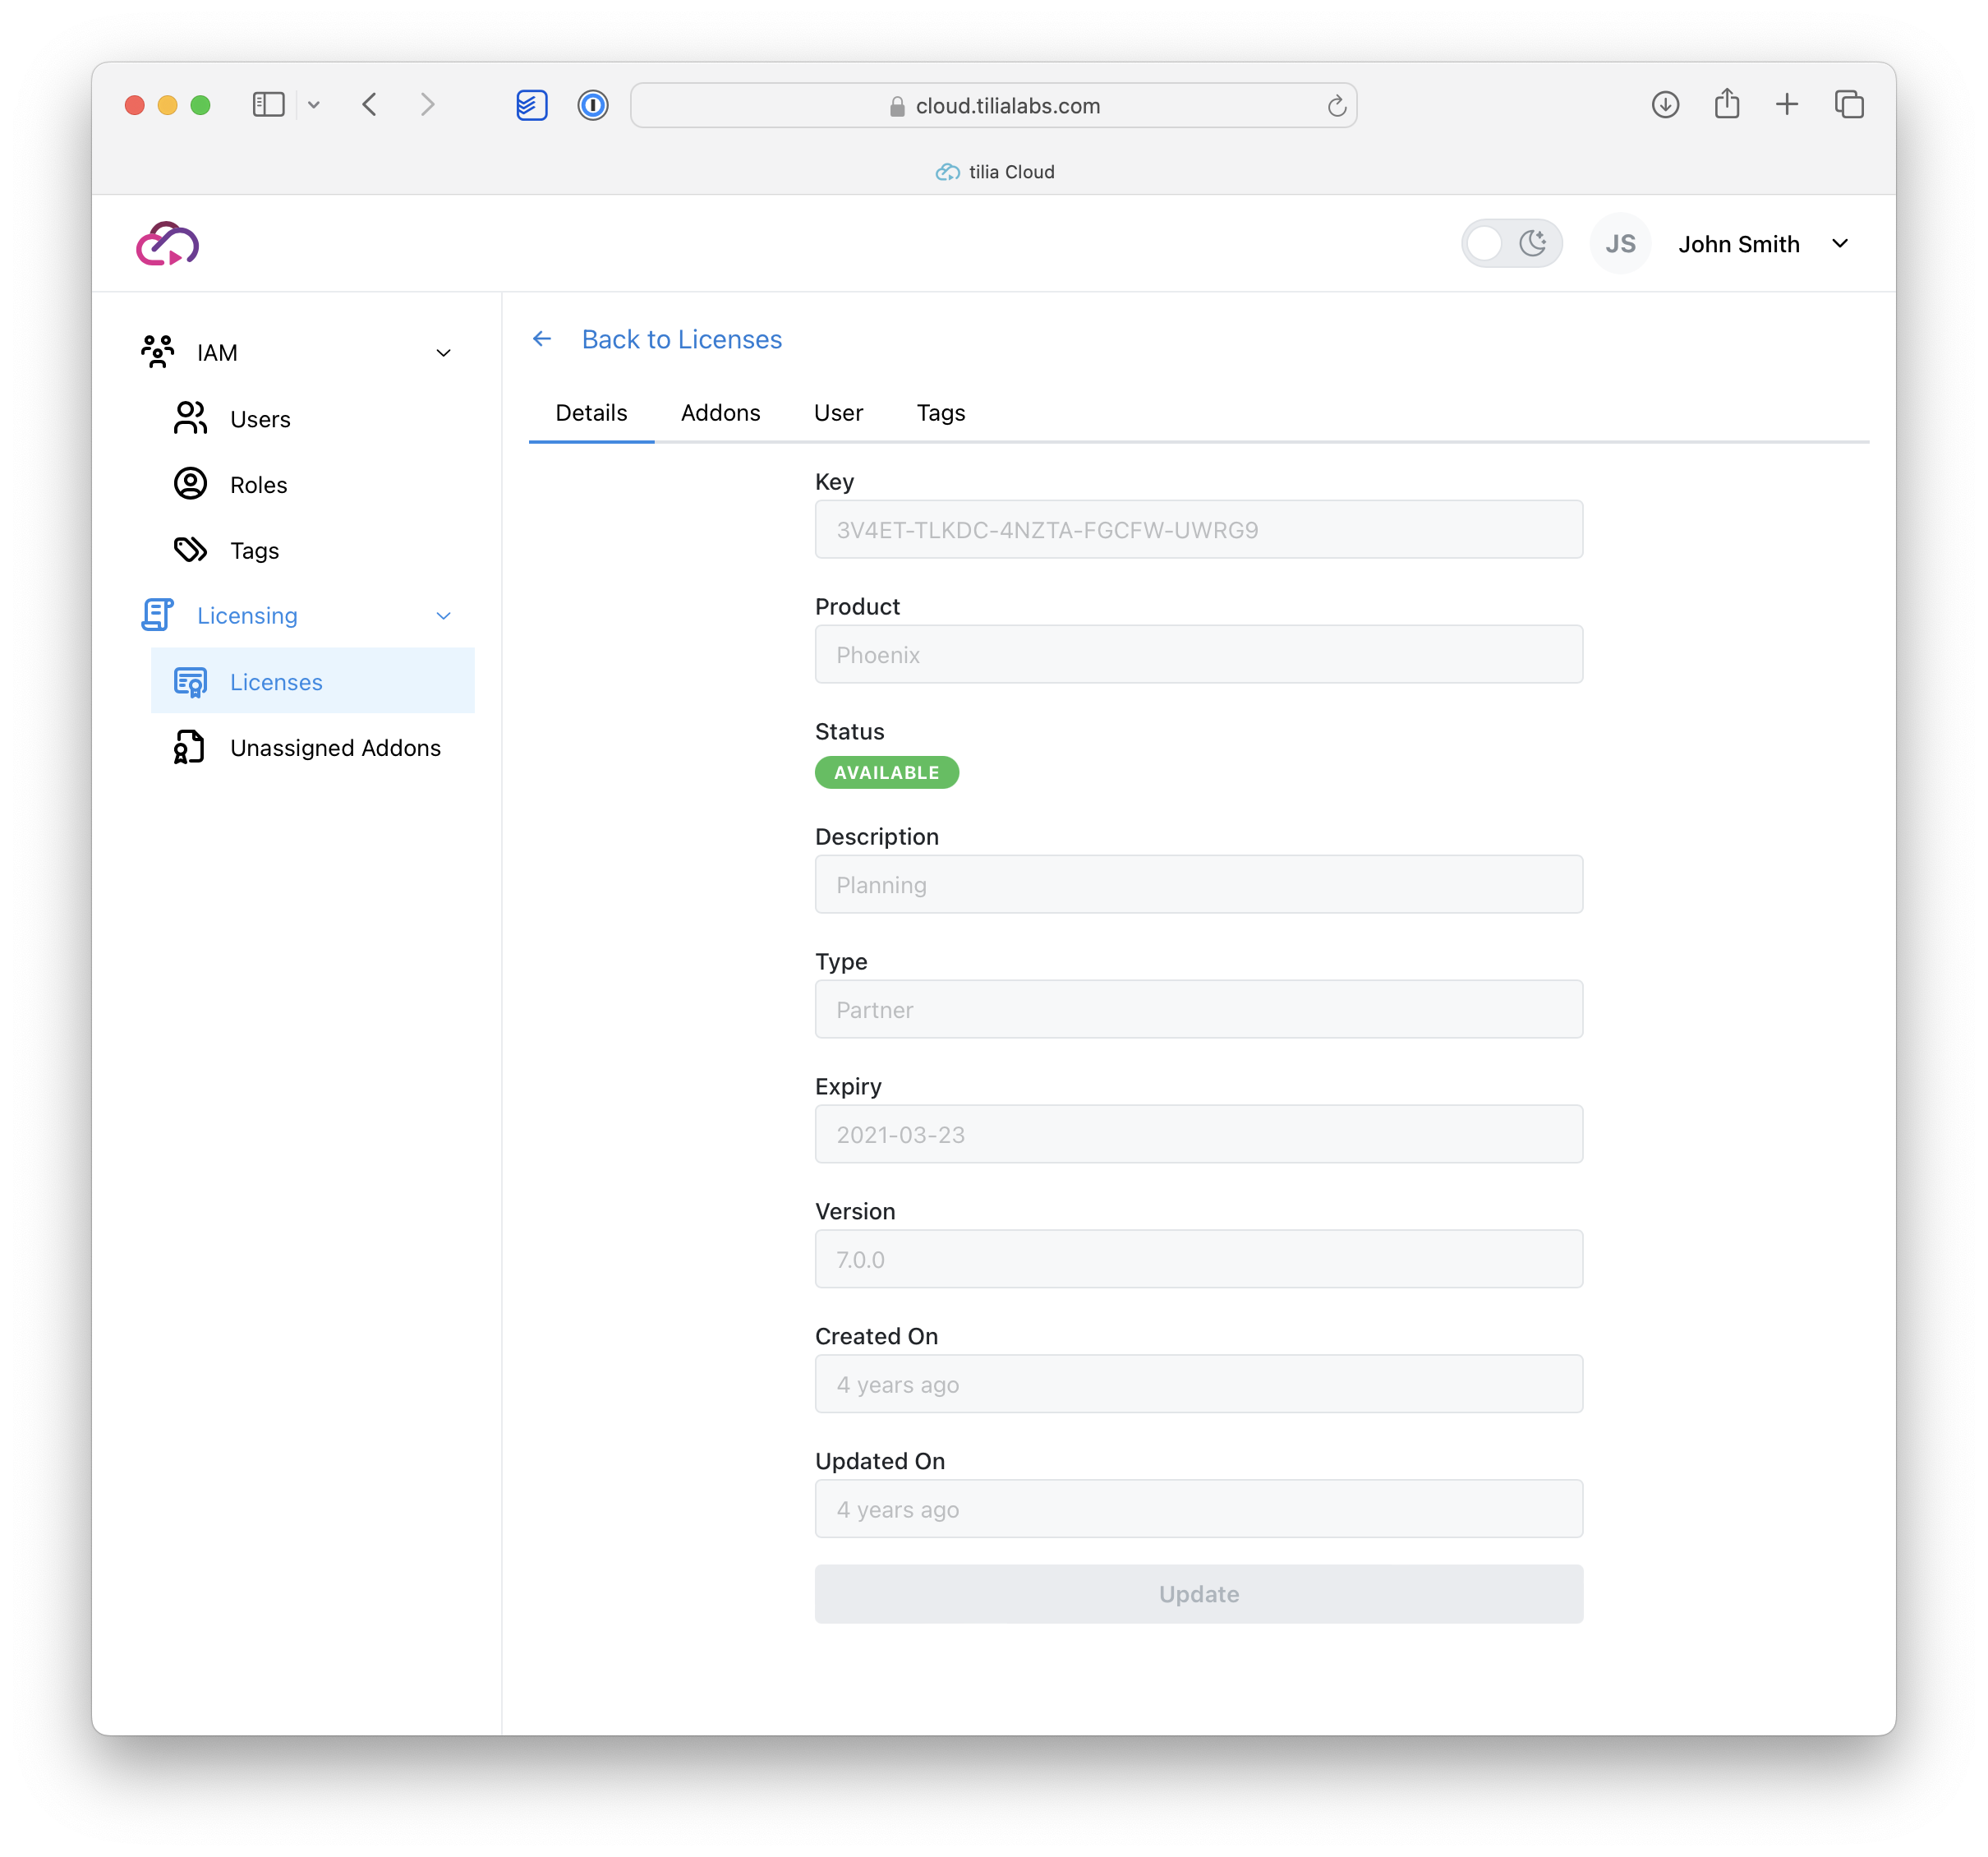
- Finally, navigate to the License page by clicking on the Licenses option in the Page Navigation on the left sidebar and select a License to see its details. This page shows an overview of each license you have access to.
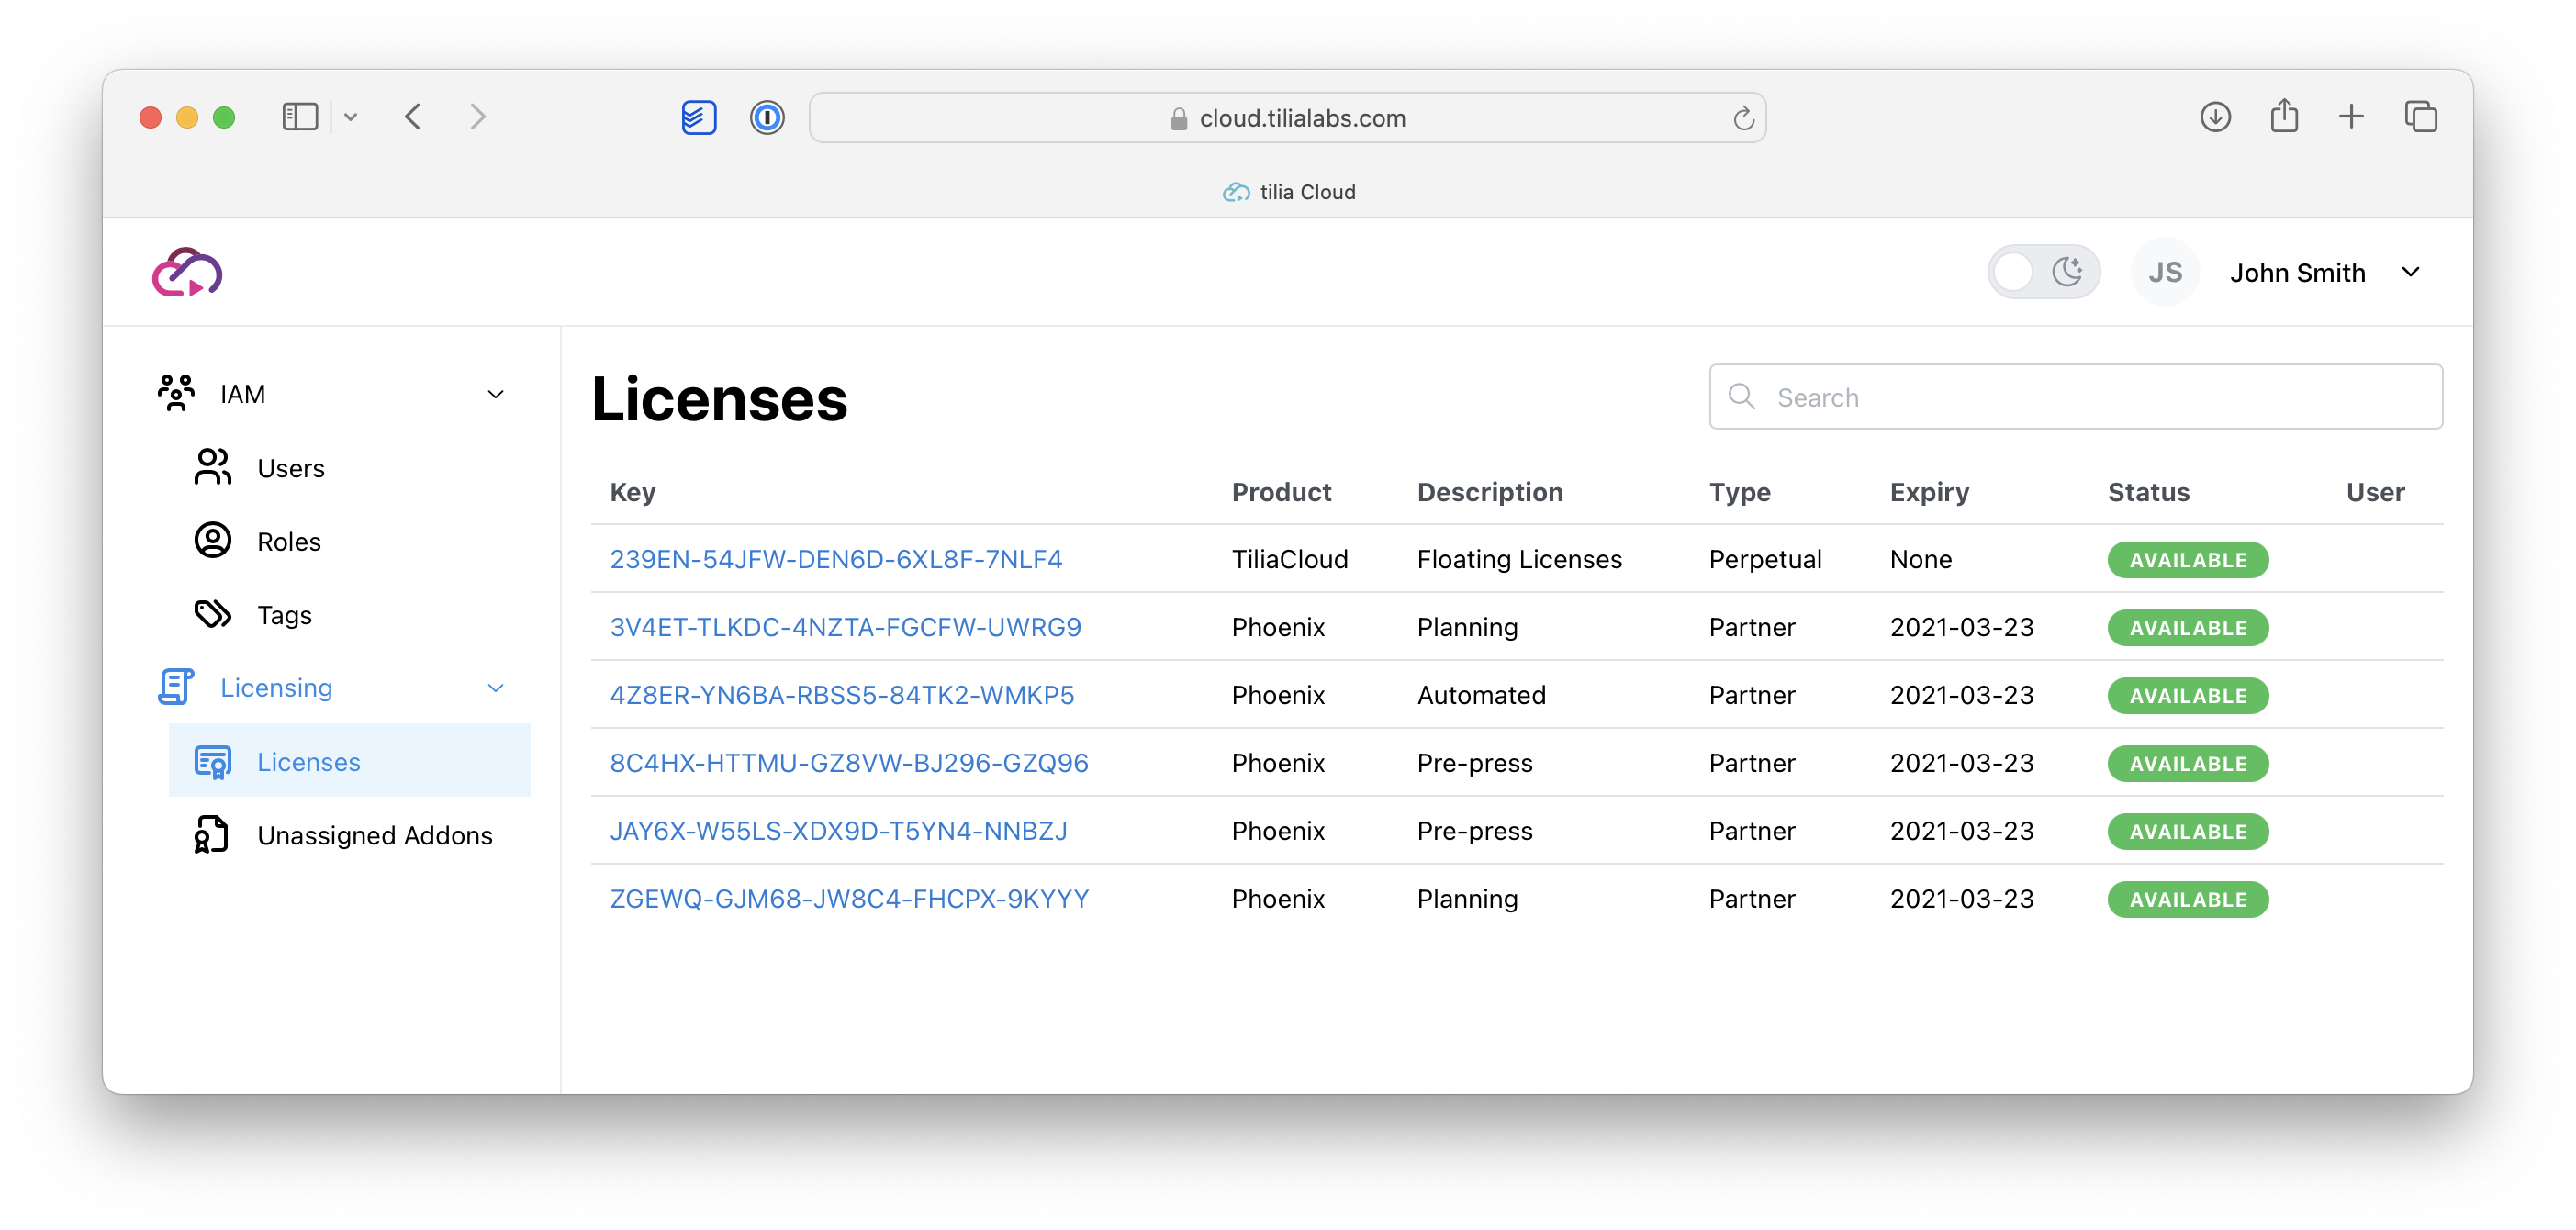
- For a given license, you can see the licensed product, any Addons, the Activate Key, and if any user is currently consuming the license. At the top of the page, click Tags. Choose the tag(s) that you want to be able to consume this license, and finally click update to save changes.
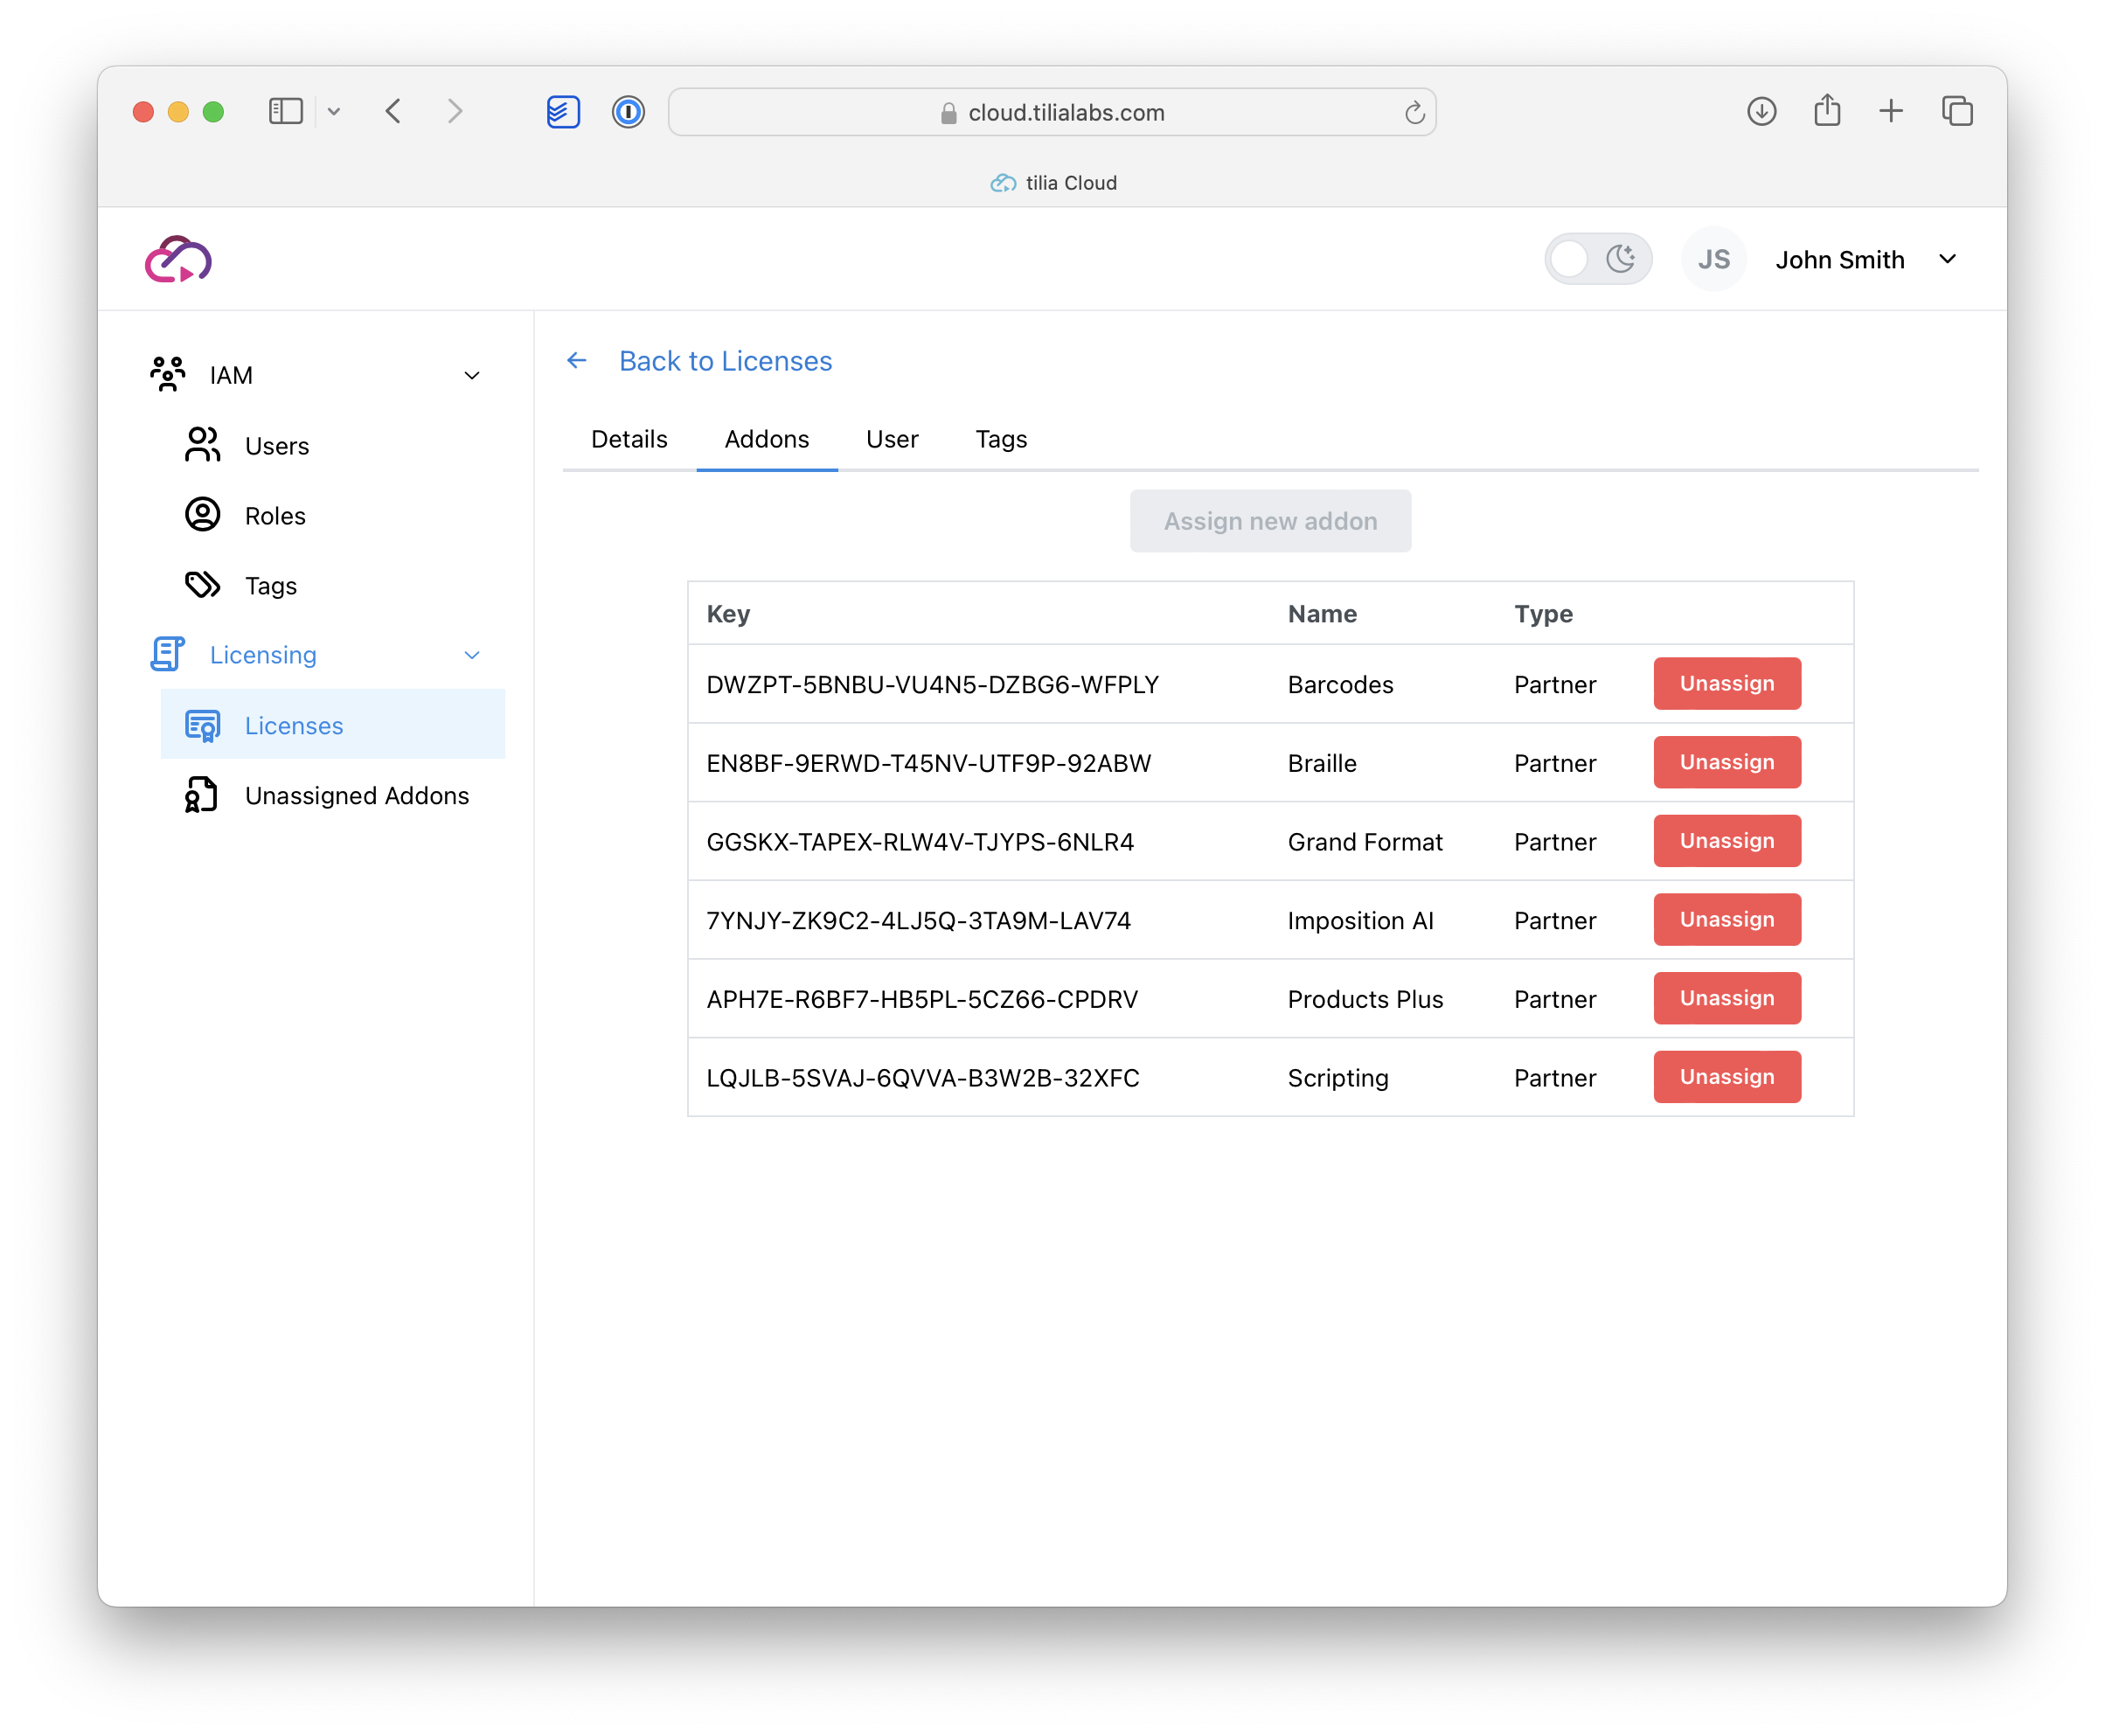 Here you can see the current add-ons, or options, available for this product that are currently assigned. You can choose to unassign any given add-on and then reassign using the Unassigned Addons page.
 If you have a named user license, you can assign/unassign a user to this license.
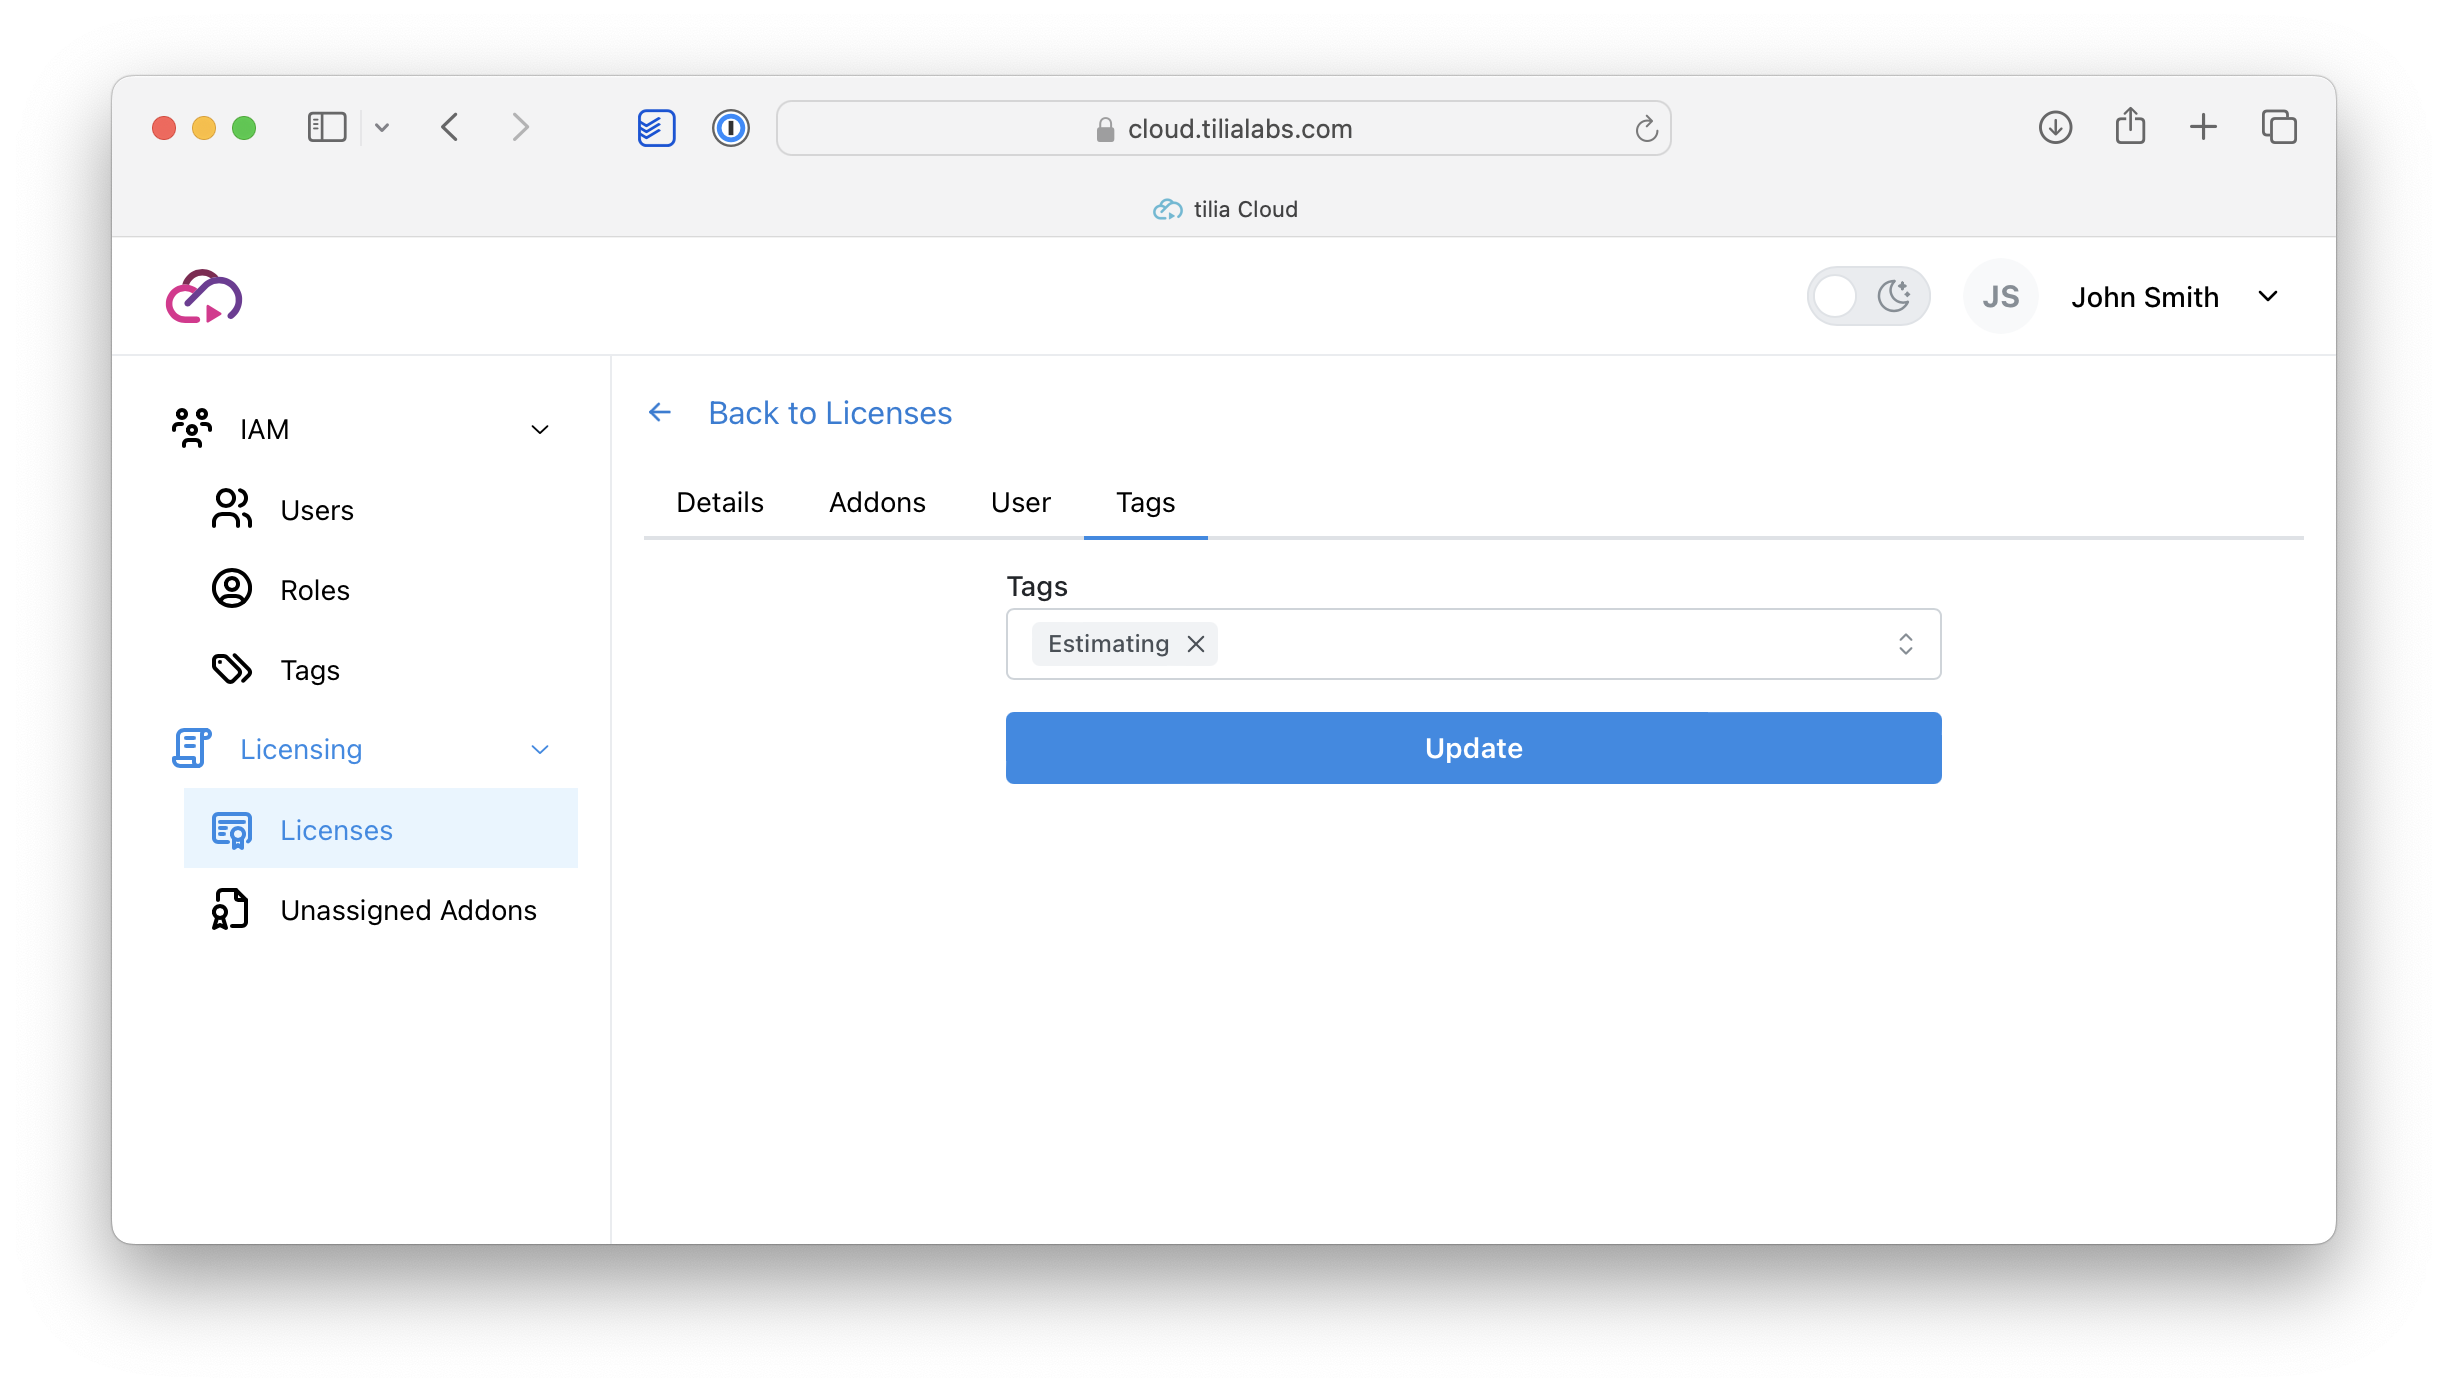 If you have the “Tilia Cloud” product option you can assign Tags to manage license distribution to define what tags can consume this license.
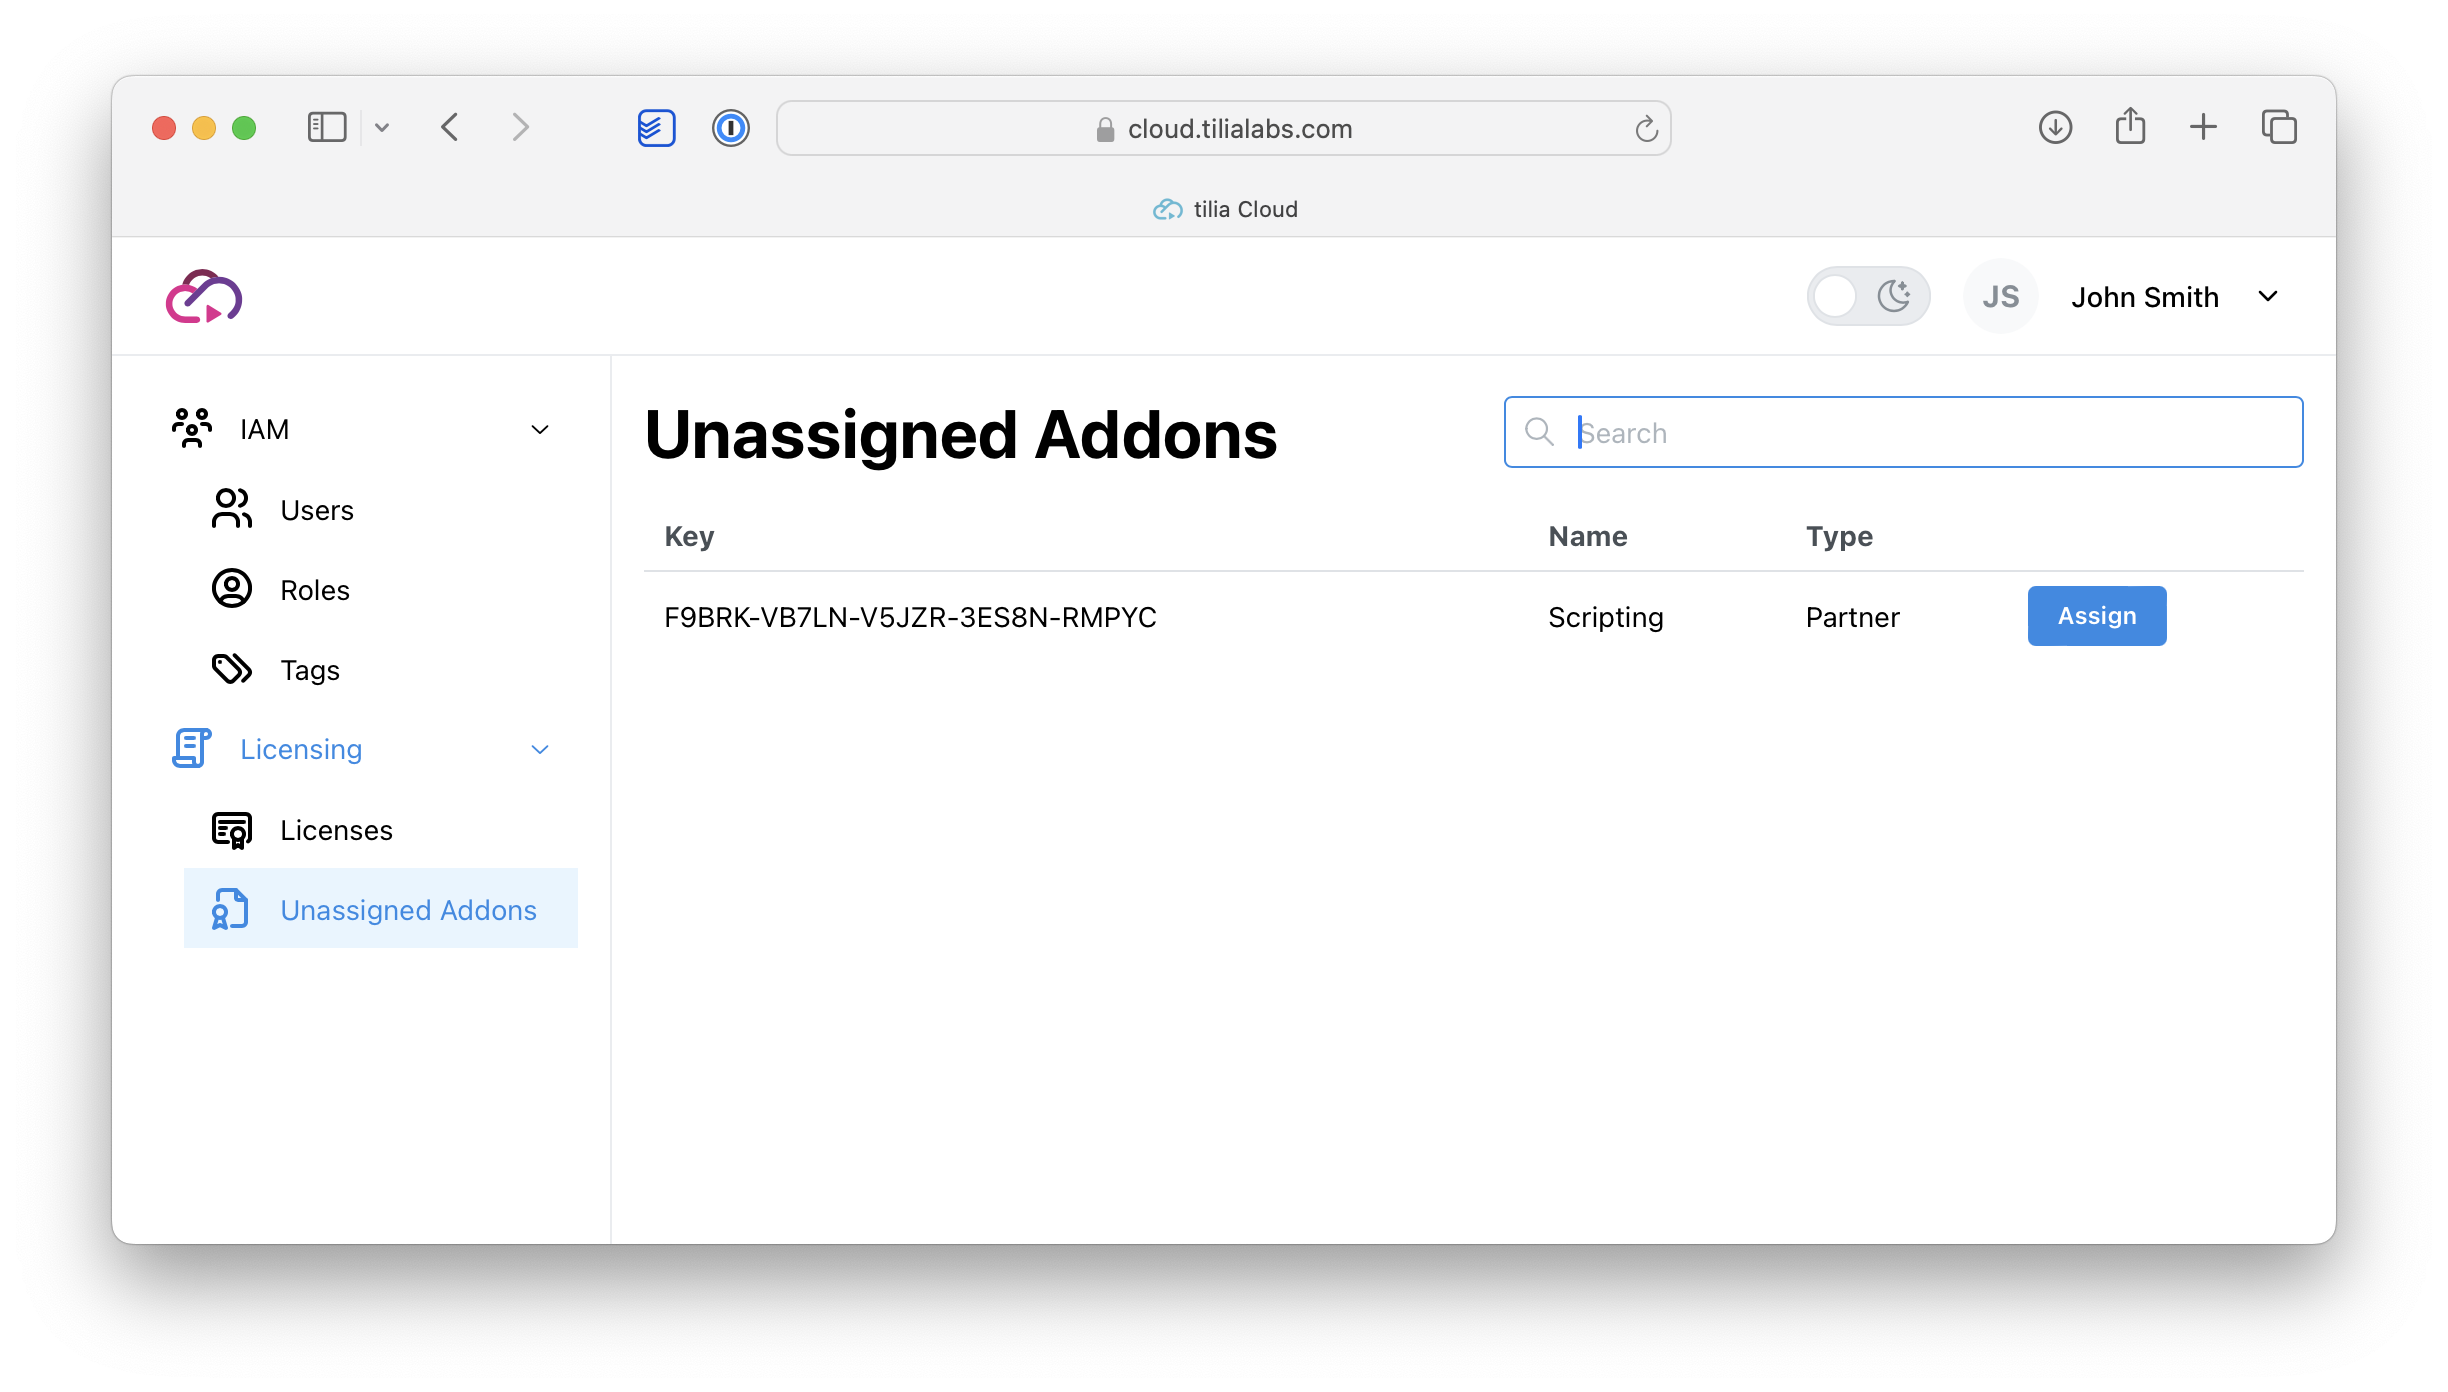 This page displays any addons that are not currently assigned to a given license and allows you to select what license to attach to.