# How to map colors with custom marks
Phoenix supports adding custom marks - that is, marks created from PDF artwork. When using custom marks, often you want to map the colors in the custom mark to colors from the artwork.
# Instructions
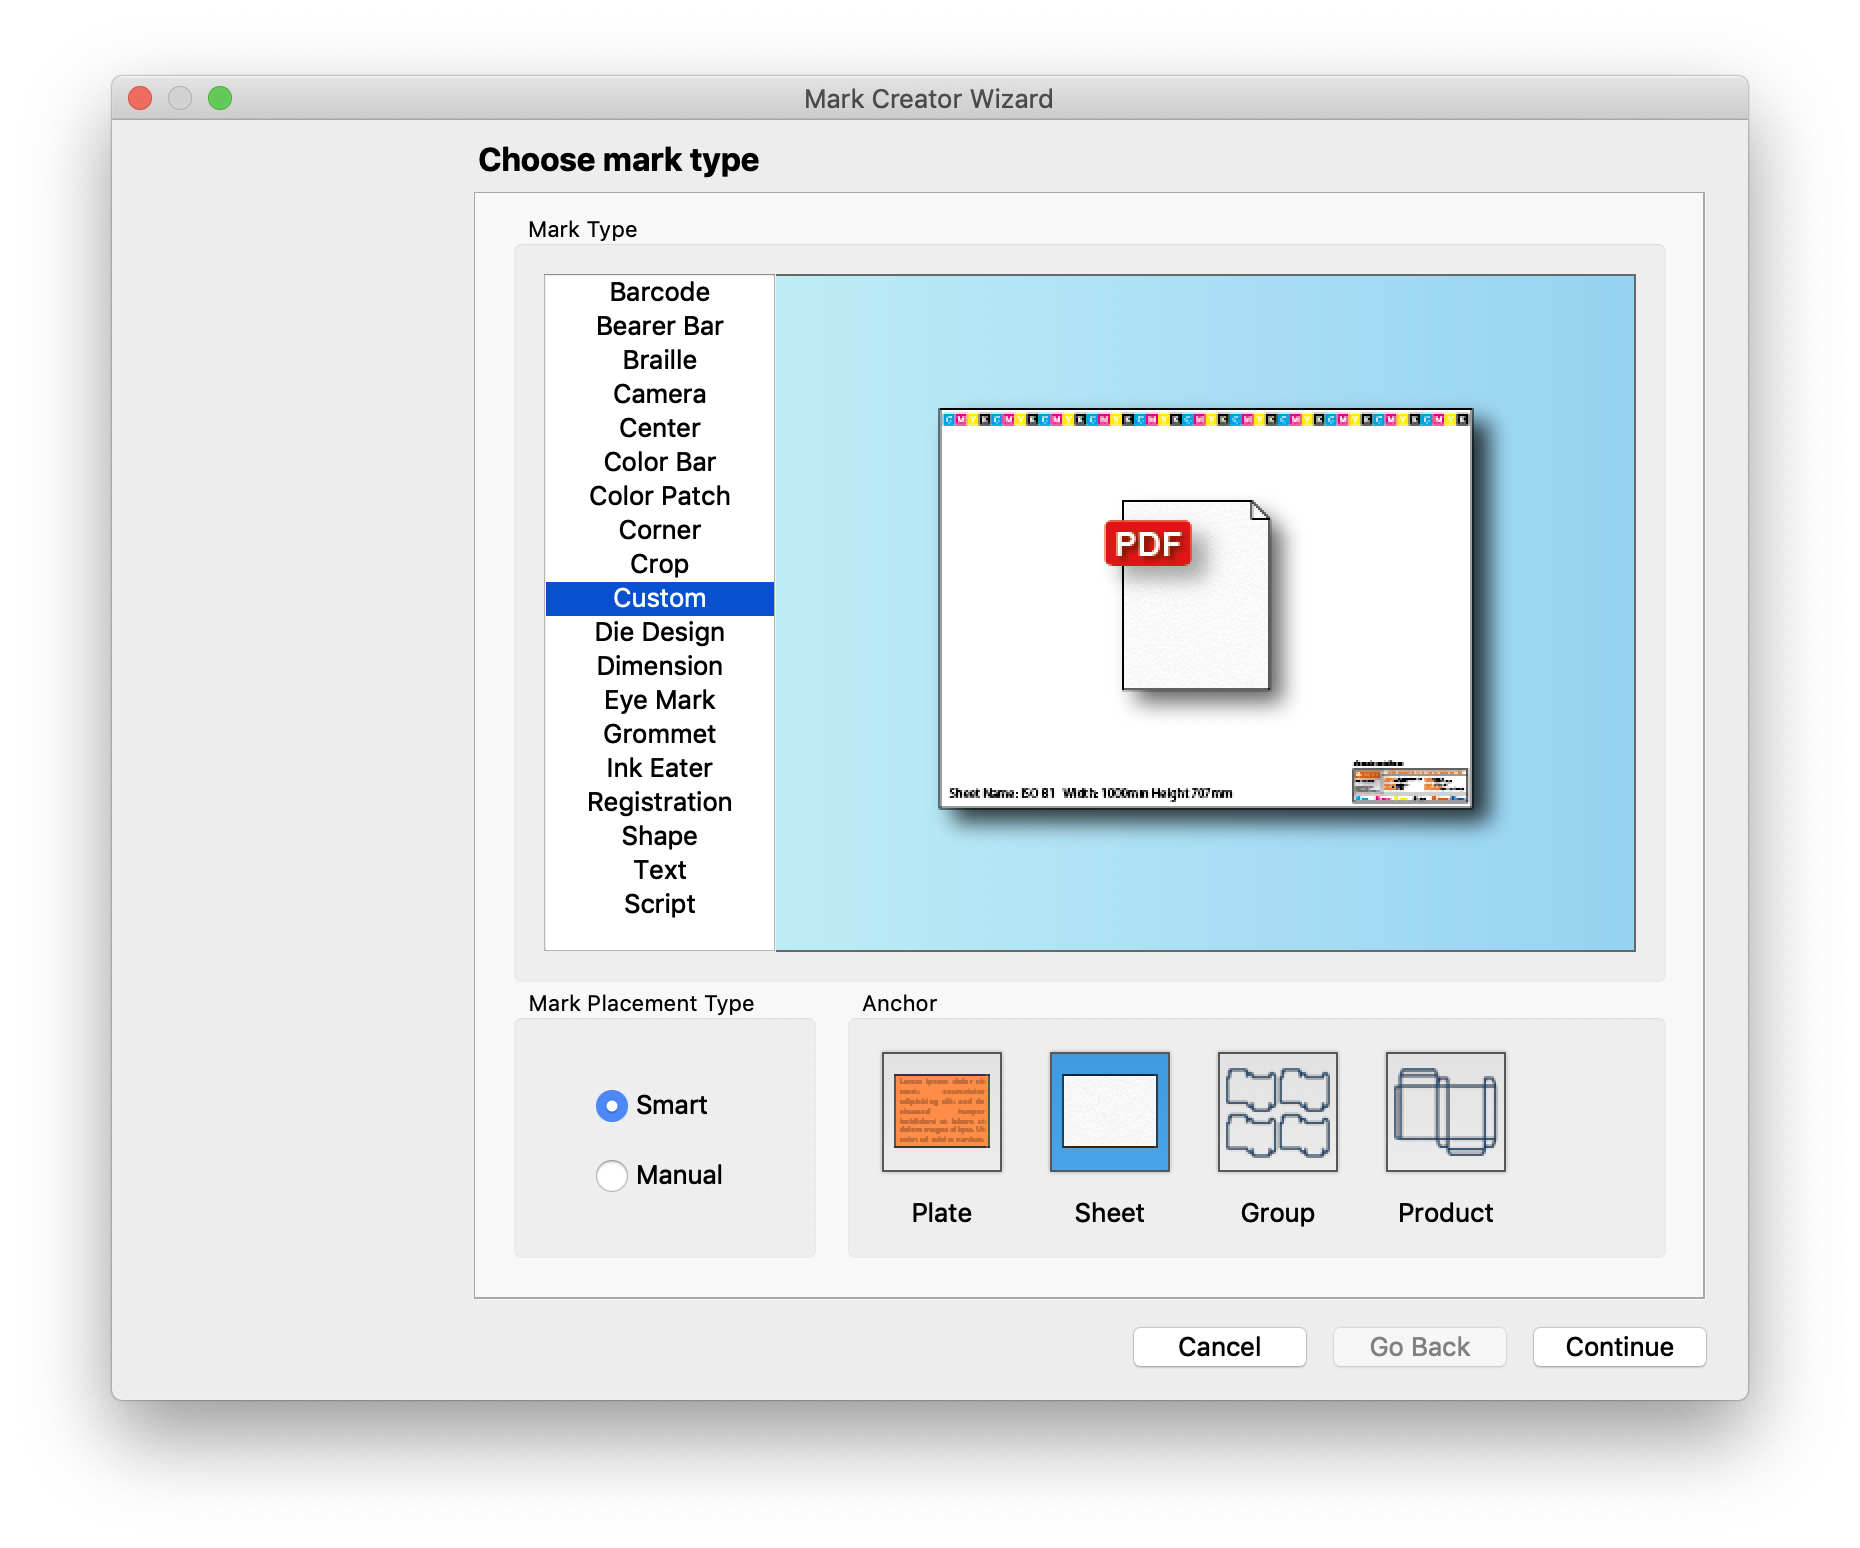
Create a new mark and specify Custom. Choose your Mark Placement Type and Anchor as needed for your particular mark. Click Continue.
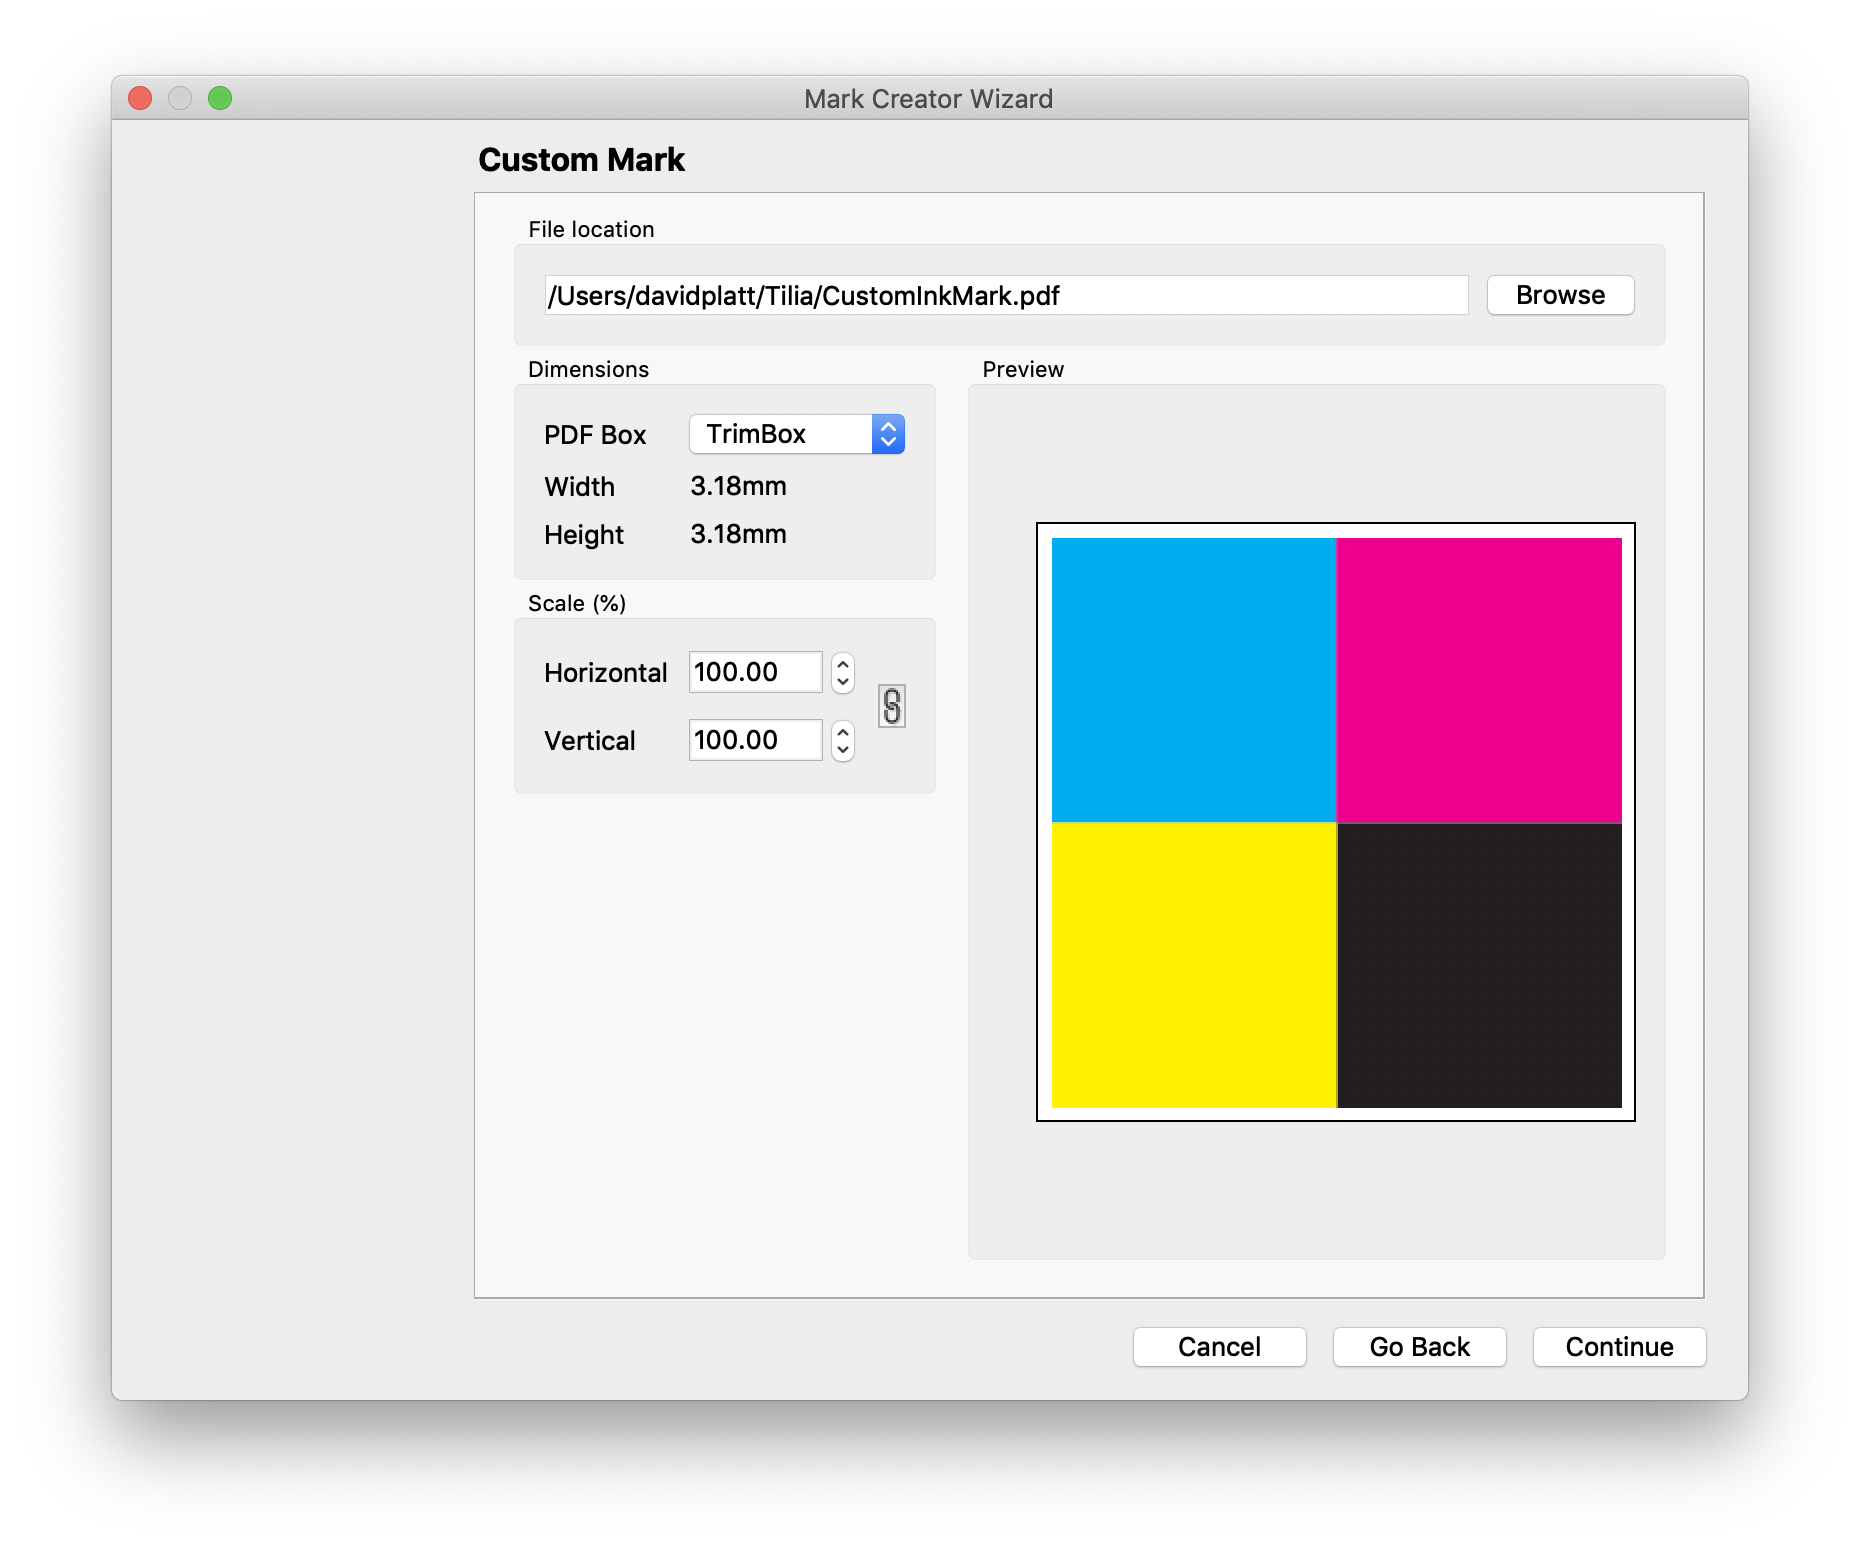
In the subsequent screen, specify where the custom mark is located. The file can be a PDF or PDF-compatible Illustrator file. Choose your PDF Box that you want to use (TrimBox is used by default), and modify the scaling if need be. You will see a preview of your mark in the window on the right side of the window. Click Continue.
The next screen allows you to specify how you want the inks to be mapped. If you'd like to use the inks from the mark PDF and not map them, you can leave the Perform Ink Mapping checkbox unchecked and click Continue. Otherwise, check the box, and the settings below become active. You can choose a Mapping Preset if you already have one, or choose None and specify it manually. You can also choose the Edit... button to edit your Mapping Presets.
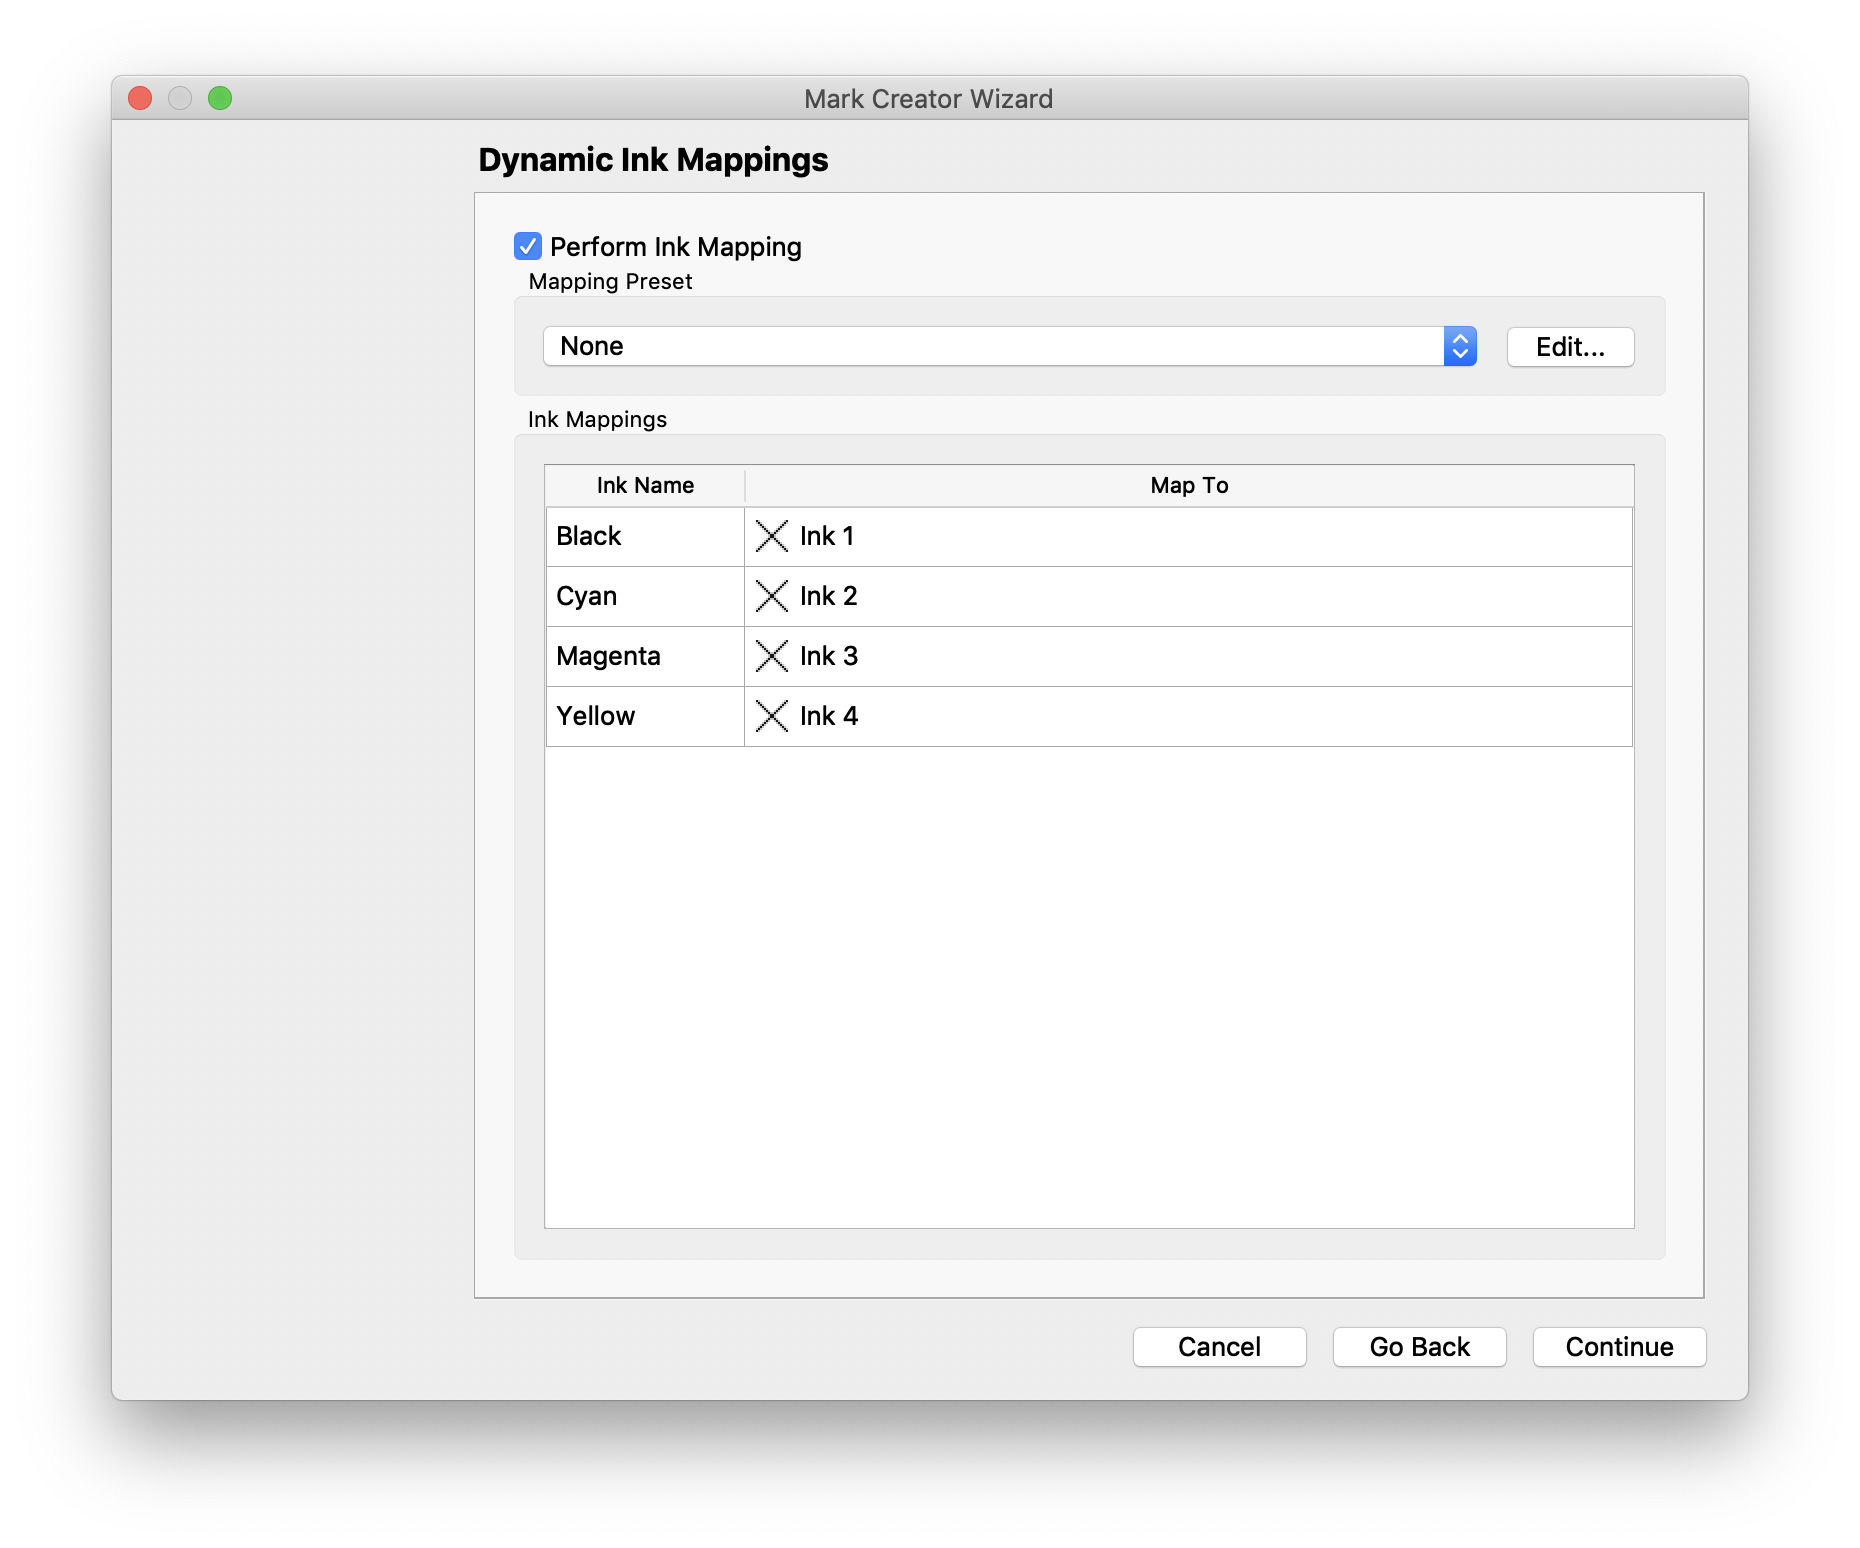
Under the Mapping Presets dropdown, you will see the current Ink Mappings. The Ink Name column on the left shows the current inks that are in the PDF mark that you've chosen. The right side of this table shows which ink each color will be mapped to under the Map To heading. Double click on the Map To ink on the right side to specify what ink you want it to be mapped to.
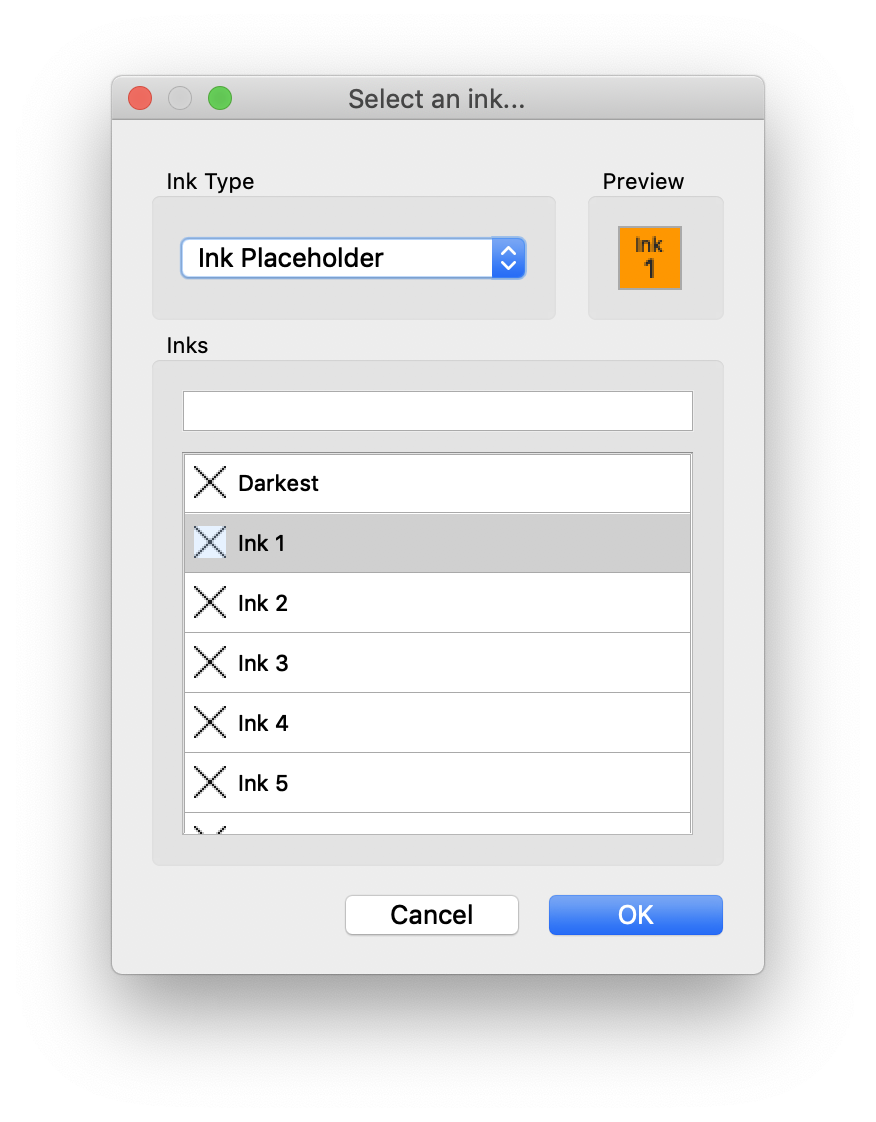
In the Select an ink... window, you can choose what ink you'd like to map to. First, specify the Ink Type from the following options:
- None – No ink will be selected. This is useful when you have an ink in the mark that is not needed in the layout.
- Cyan – The ink will be mapped to Cyan.
- Magenta – The ink will be mapped to Magenta
- Yellow – The ink will be mapped to Yellow
- Black – The ink will be mapped to Black
- White – The ink will be mapped to a Spot White ink.
- Ink Placeholder – The ink will be mapped to a placeholder ink. This setting will map the ink to the corresponding ink from the artwork. For example, if your artwork has the ink order of Cyan, Magenta, Yellow, Black, Orange, Violet, and you have your mark ink mapped to Ink 1, it would map to Cyan. Ink 2 would then map to Magenta, and so on, until Ink 6 maps to Violet. Note that if you choose an Ink number that is higher than the number of inks in the artwork, it will not appear in the artwork, as there is no ink to map to.
- Ink Database – The ink will be mapped to a specified ink from your Ink Database. The Ink Database is a collection of all standard and custom inks in Phoenix. Users can add custom spot color inks to the Ink Database in the preferences.
Once you have specified your mapping settings, click Continue.
Set your Print Settings as desired and click Continue
Set your Mark Name and Placement as desired and click Done.
Now, when this mark is added to a job, it will inherit the mapping settings specified in the Mark Creator Wizard.