# Bleed and Spacing
Bleed is the measurement of graphical elements that extend beyond the die line.
Spacing is the distance from die line of one product to another product. If both products have the same spacing setting, then the spacing is one half of the distance between dielines.
In Phoenix, you can specify the Spacing Type. There are three options, which are explained below - Margins, Uniform Spacing, and Spacing from Bleed.
Note
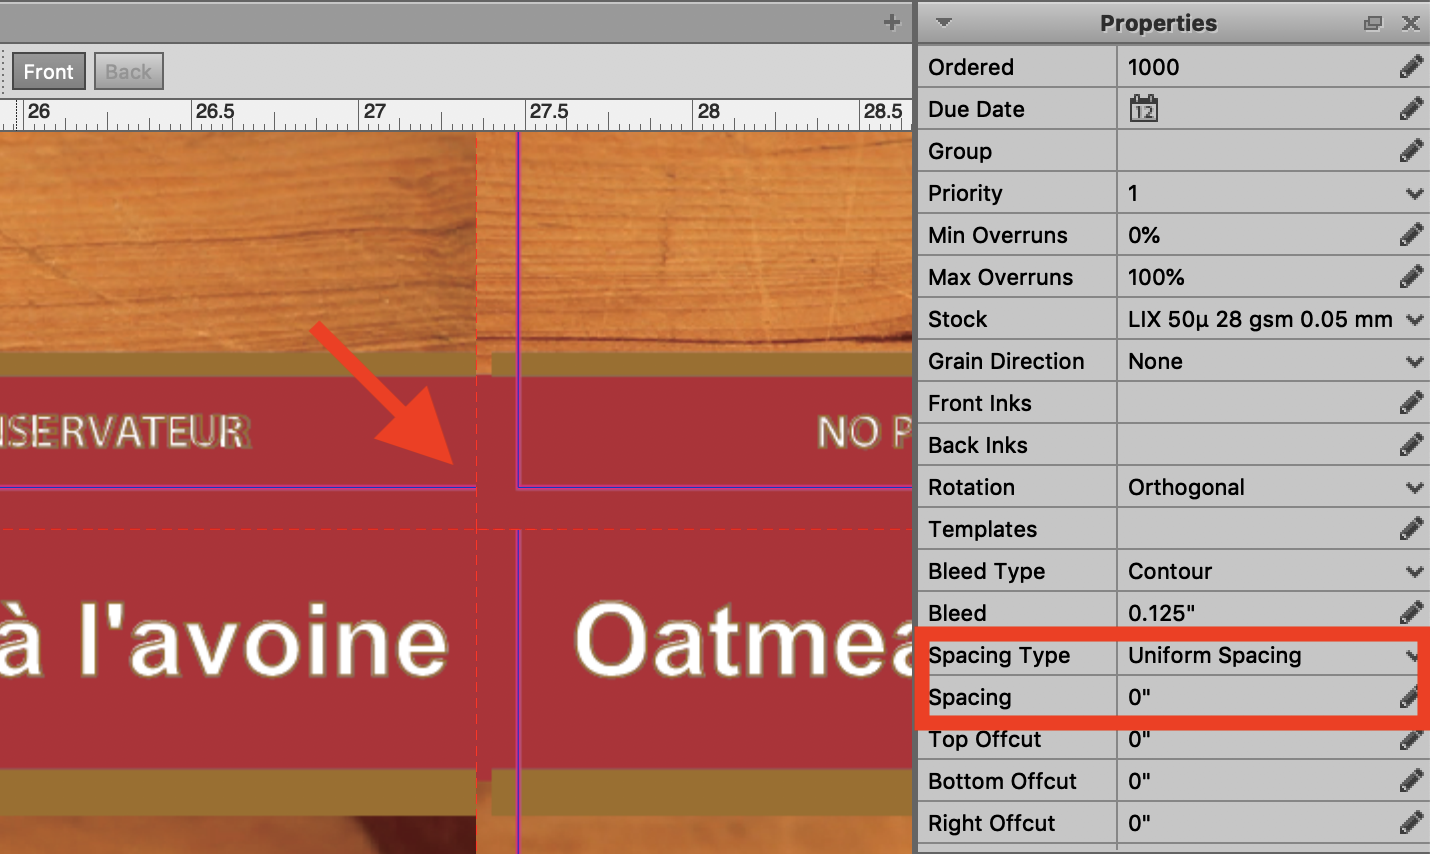
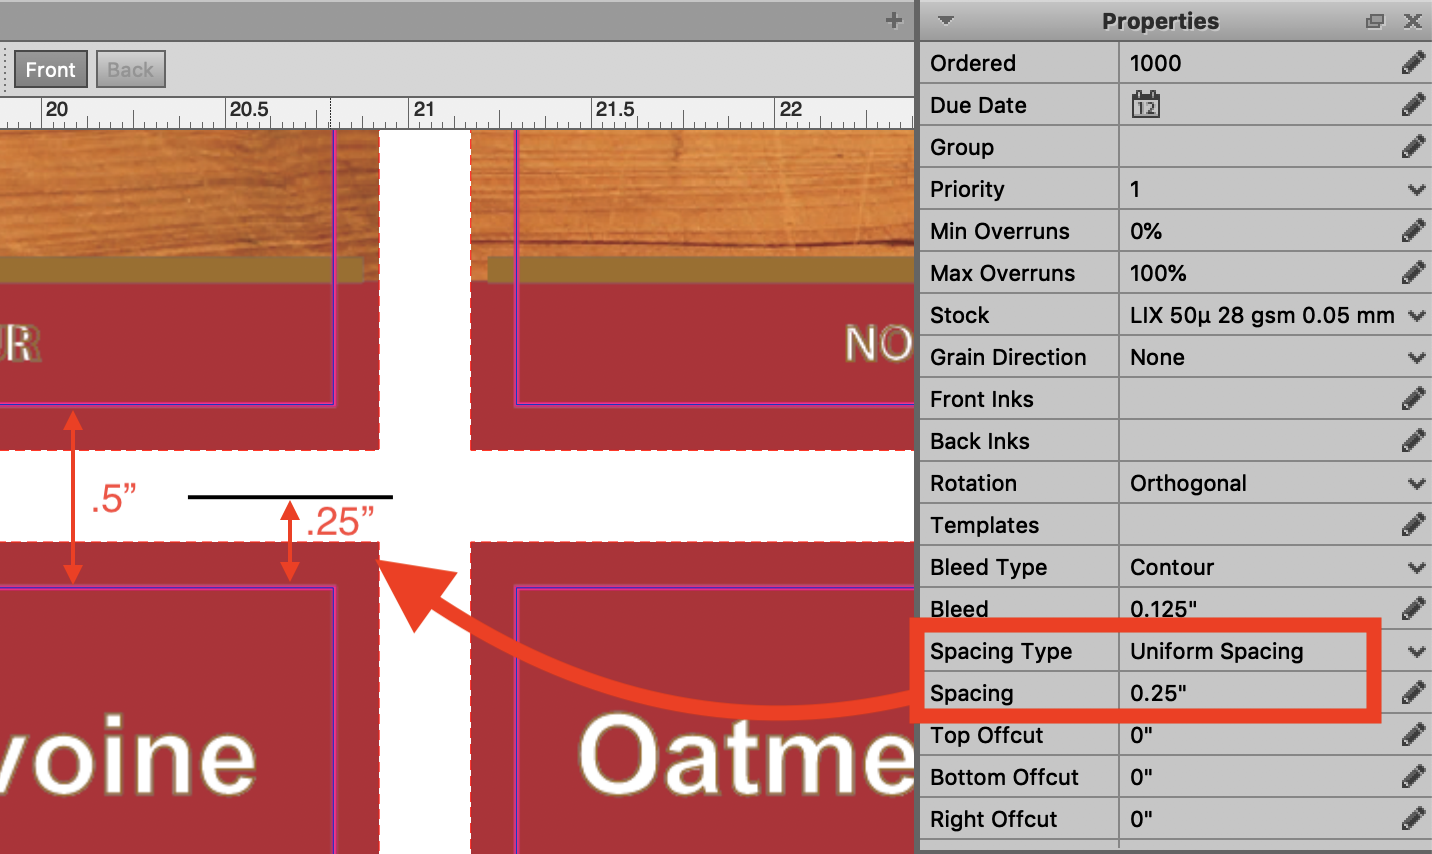
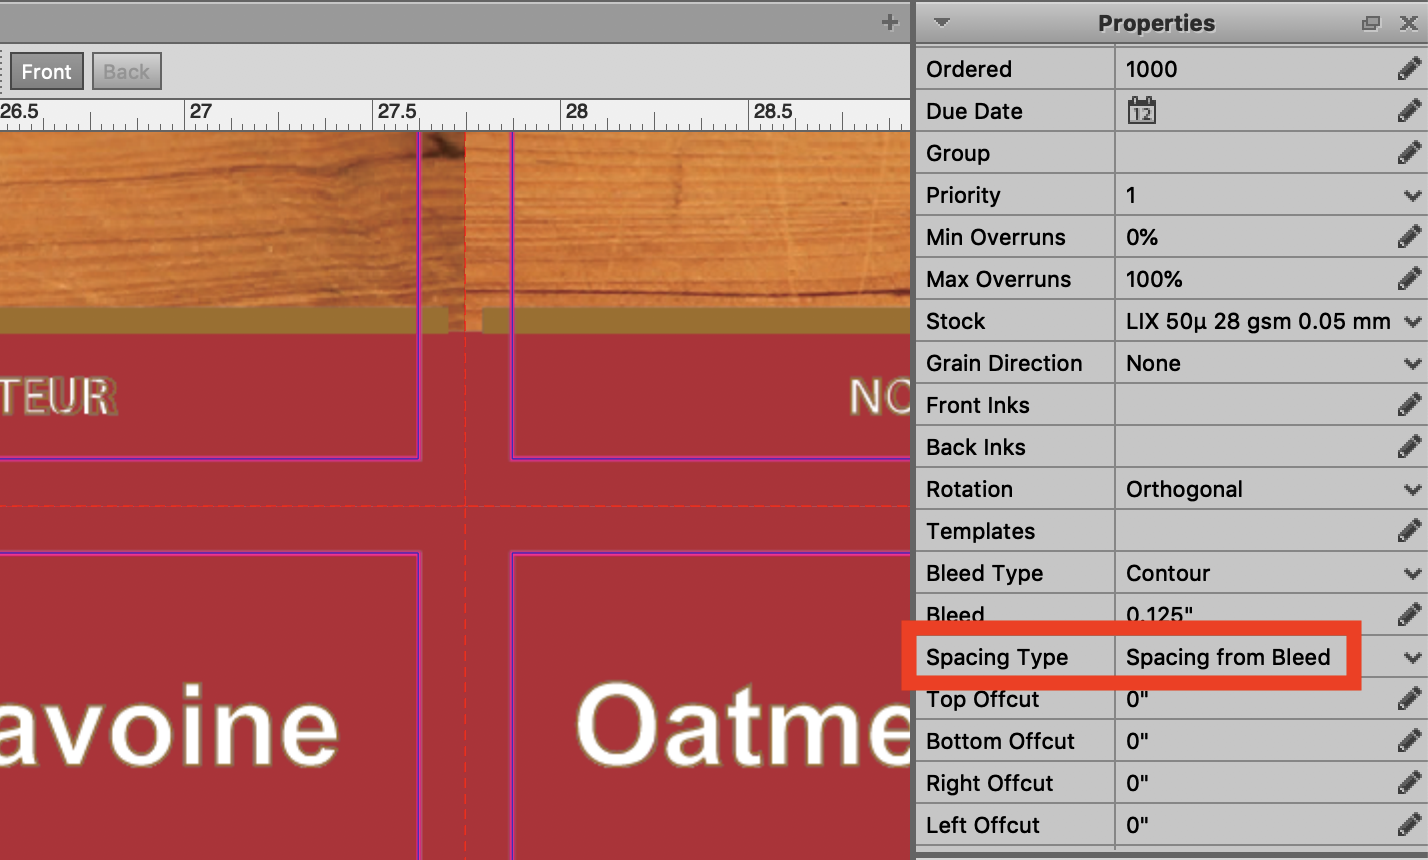
For the example screenshots below, four identical products are stepped and repeated with two rows and two columns, and we are looking at the space between them. The artwork has a bleed of 0.125"


When using the Uniform Spacing option, an additional property appears for Spacing. The Spacing parameter is a single value which generates uniform spacing around the cut line.

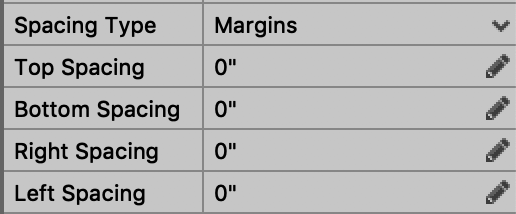
The Margins option functions the same as Uniform Spacing, except you can specify individual margins for each side. Instead of the Spacing property that appears for Uniform Spacing above, the properties Top Spacing, Bottom Spacing, Right Spacing, and Left Spacing appear.

When using the Spacing from Bleed option, the Spacing is derived from the current Bleed setting.
The end result for all of these settings is a new closed path which is generated from the cut line. This is then used in Imposition AI to define the space around each item as it is being laid out. Users can view this path by setting “Show Spacing Path” from the View menu. Keep in mind that the spacing paths are not allowed to touch, so if you want two cut lines to be 6mm apart, you would set spacing to 3mm.