# Create a job in Aries
This page will guide you through the process of creating a simple job in Aries from start to finish.
# Creating a New Layout
When Aries first launches, the Start Window will appear, allowing you to create a new layout, or open an existing job.
To get started, click "New..." You will see a new layout window appear with an empty artwork list.
# Edit Layout Properties
Now that the layout has been created, we can set the layout properties.
Choose Gloss Coated for the Substrate and the **500 x 1000mm **sheet. Set a margin of 10mm and click the lock icon 🔒 to lock all the margins at the same value.
# Add Artwork
tilia Aries supports PDF and PDF-based Illustrator (AI) formats, as well as TIFF, BMP, PNG, JPG, and GIF image artwork formats.
To add new artwork to the job, click the Add Artwork button (+) or go to the File menu and choose Import Artwork... This will bring up the Select Artwork File dialog. Choose the artwork file you would like to use and click OK or Open.
Note
You can also add artwork by dragging and dropping from your computer directly into Aries!
# Add Artwork to Layout
Now that artwork has been added to the job, we need to add it to our layout. Drag and drop the artwork onto the sheet. Once you have added artwork to the layout, you can click and drag to move the artwork around on the sheet.
# Create a Repeat
Once your artwork is on the sheet, you need to create a repeat. Navigate to the Repeats tab on the parameters sidebar. Make sure your artwork is selected, and click the Create Repeat button. When you create a repeat, Aries intelligently creates a repeat that maximizes the sheet. You can further refine these settings in the Repeats tab, further discussed on the Repeats Settings In Depth page.
Note
The Create Repeat button is only available when you have artwork selected. That is true for all settings in the Repeats section - you must select the artwork or repeat to be able to modify the settings, otherwise Aries doesn't know what repeat you want to create or modify.
Once you have created a repeat, you will see the options for how you'd like the artwork to be repeated. For the purposes of this example, we will use the default settings.
# Marks
Now that you have a layout created, you can add marks to the layout.
Marks can be added to the artwork or to the layout at any time by clicking the Marks icon in the Toolbar in either layout or artwork modes and choosing from the list of available mark types. Alternatively, you can go to the Marks tab in the Sidebar and click the plus sign (+) under the marks table to add a pre-defined mark preset.
To add crop marks to a layout, click the Marks button in the Toolbar, selecting the "Crop" menu option.
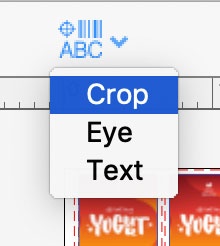
This will add crop marks to the selected layouts using default values.
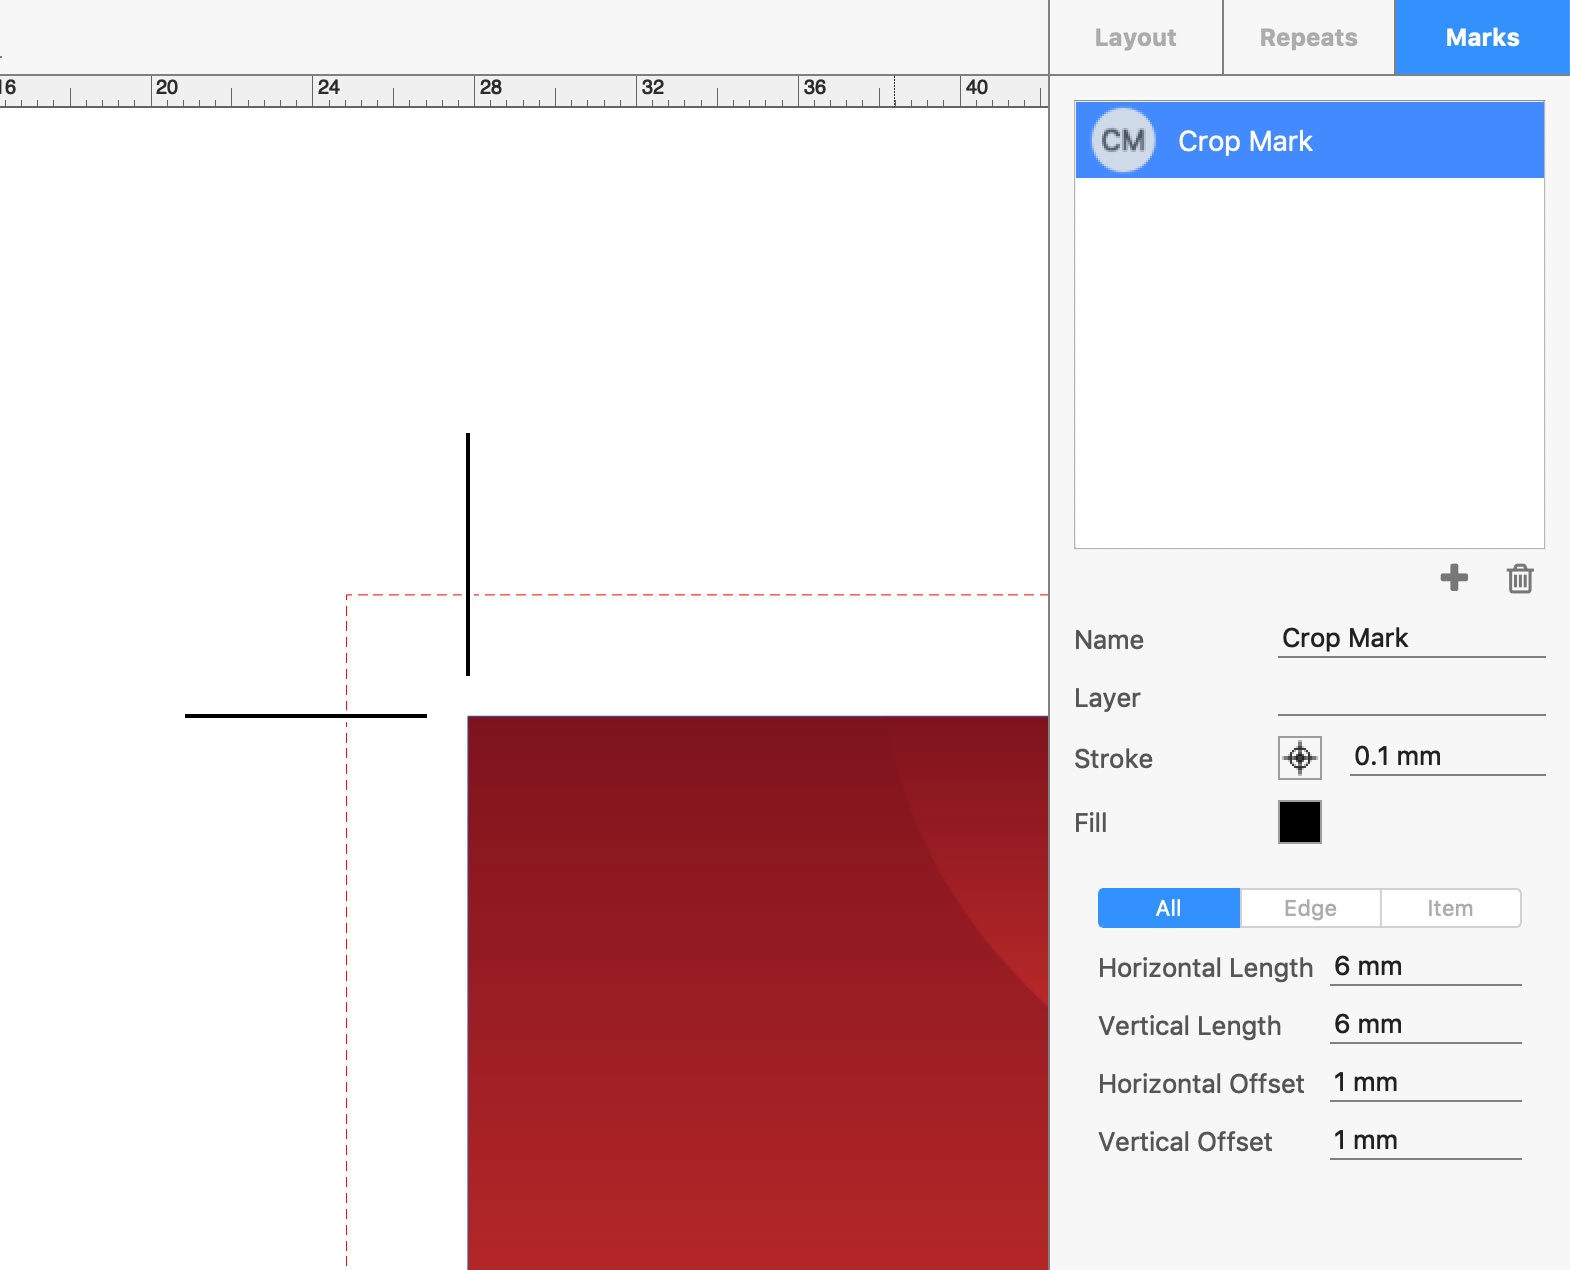
Next, go to the Marks tab of the Sidebar to make live edits to your crop marks.
See Working with Marks in Aries for more details on creating and editing marks in Aries.
# Export for Printing
Once the layout is complete and all marks have been added, the layout can be exported for printing.
To export an imposed printing PDF, go to the File menu and select Export for Printing… This will open the export dialog.
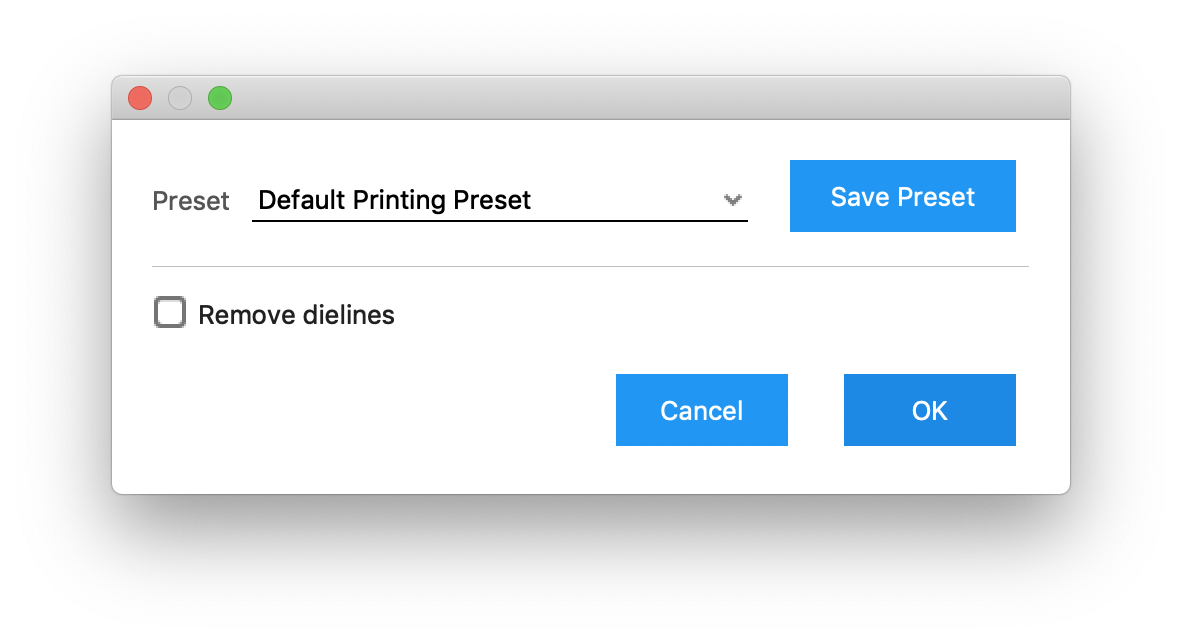
Choose a preset or select the type of export. Export options are:
Remove dielines - When enabled, original dieline paths are removed from the artwork content during export.
Note
Currently, tilia Aries can only remove dielines defined using spot colors in the PDF or AI file, not PDF layer-based dielines.
Once you are ready to export, click OK and a Save File dialog will open. Select a file name and folder to save the PDF. You may also wish to save the settings as a new preset by clicking on the 'Save Preset' button.
# Export for Cutting
Now you are ready to export for cutting. Select Export for Cutting… from the File menu to open the export dialog.
There are two sets of options for the cutting file. The first is what marks to include in the cut file. You can select or deselect Crop, Eye, Fill, or Text marks. You can also specify Tool Type Mappings, where you can specify the colors and PDF layers expected by your cutting device. Click on the icons below the table to add, edit, or delete mappings.
Click 'OK' when you are ready and a Save File dialog will open where you can select a file name and folder to save the cutting file(s). Like with Export for Printing, you can save your current settings as a new preset by clicking on the 'Save Preset' button to use again in the future.