# Working with marks in Aries
Aries has the ability to create various types of marks to customize your layouts. The types of marks vary based on whether you are attaching marks to the entire layout or individual artwork:
Artwork
- Center
- Corner
- Fill
- Text
Layout
- Crop
- Eye
- Text
There are two primary ways to add marks in Aries. You can create a preset in the Window > Mark Presets library and then add it in the sidebar, or you can add individual marks directly from the toolbar by clicking the marks button in the toolbar.
Once you have marks added to the layout (either with a preset or adding them individually), you can modify the mark properties in the Marks Properties Sidebar.
# Common mark properties
The following are a list of properties shared among multiple different mark types.
Name – The mark preset name.
Subtitle – Optional additional information you want to add for this mark preset.
Color – Click on the square color icon to change the display color used for the icon for this mark preset. Color does not affect export in any way or appearance of the mark in Artwork View or Layout View.
Layer – Optional PDF layer name. When specified the marks will be placed in a PDF layer of the same name during printing and cutting export.
Stroke – (only in Center, Corner, Crop, Eye) The stroke color and thickness of the camera or grommet mark. To change color, click on the square color icon.
Fill – (only in Eye, Text, Fill) The fill color of the mark content for Eye and Fill mark types and text color for Text marks. To change color, click on the square color icon.
# Center marks
Center marks are placed at the center of the four sides of the given artwork.
Center marks come in four flavors, types 1–4:
Type 1: 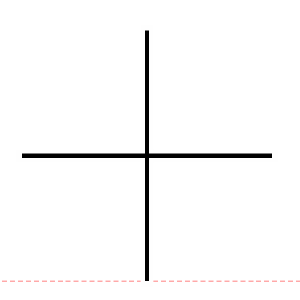
Type 2: 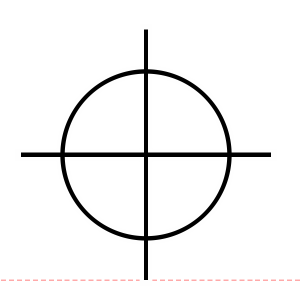
Type 3: 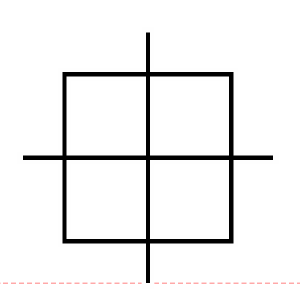
Type 4: 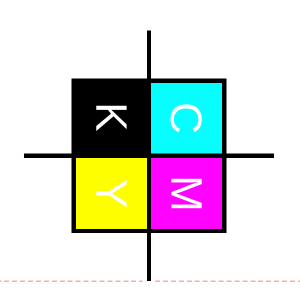
Use the Stroke common property to define stroke color and thickness. In addition, you can select the type as described above and the following additional properties.
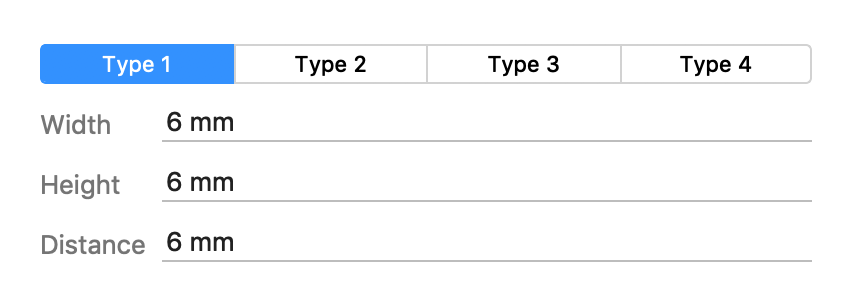
Width – Total width of the center mark
Height – Total height of the center mark
Distance – Distance to offset the center mark from the dieline. Positive values will move the center point away from the artwork while negative values will move the center point inside the artwork.
Diameter (only with Type 2) – The diameter of the circle used in Type 2 center marks.
Square Size (only with Type 3) – The width and height of the square used in Type 3 center marks.
# Corner
Corner marks are placed at the four corners of the given artwork or layout. Corner marks are used by certain cutting devices such as Mimaki cutters.
Corner marks come in five flavors, types 1–5:
Type 1: 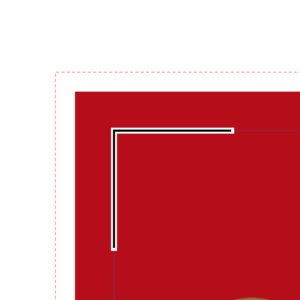
Type 2: 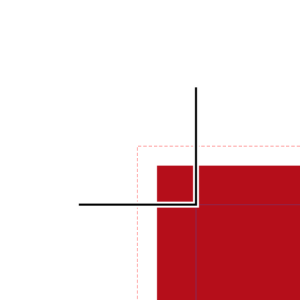
Type 3: 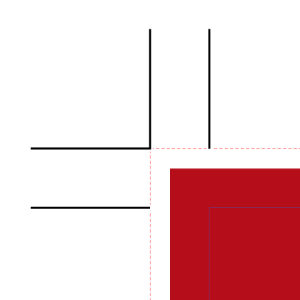
Type 4: 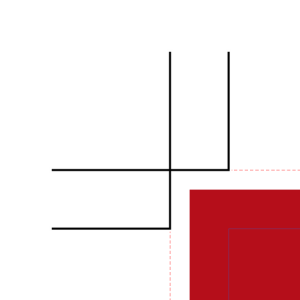
Type 5: 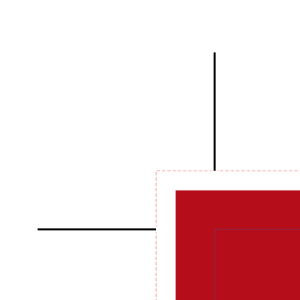
Use the Stroke common property to define stroke color and thickness. In addition, you can select the type as described above and the following additional properties.
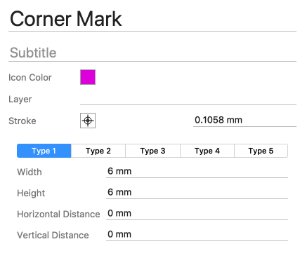
Width – Width of each corner mark, i.e. the distance from the corners to extend the horizontal lines.
Height – Height of each corner mark, i.e. the distance from the corners to extend the vertical lines.
Horizontal Distance – Optional distance to offset the corner mark in the horizontal direction. Positive values will move the corner point away from the artwork or layout while negative values will move the corner point inside the artwork or layout.
Vertical Distance – Optional distance to offset the corner mark in the vertical direction. Like Horizontal Distance, positive values will move the corner point away while negative values with move the corner point inside the artwork or layout.
# Fill

Fill marks are used in artwork to place ink below the shape of the artwork item. To configure a fill mark, set the common Fill color property as well as the Margin offset value if you want the fill mark to extend beyond the shape of the artwork item.
# Text
Text marks can be used in both artwork and layouts, and can contain static text, dynamic text keywords or a combination of both.
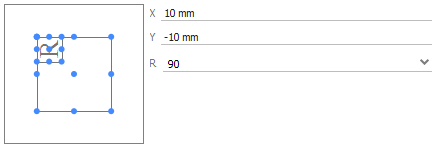
Smart Placement – The placement rule to use when positioning the text mark into the artwork or layout. Use the 9-point selector to change which point on the mark (small square) is aligned to which point of the artwork or layout (large square). Use the 'X' and 'Y' values to define offsets from these anchor points with positive values moving the mark right and up respectively. You can also change the rotation of the mark by selecting the 'R' dropdown.
Text color is controlled by the common Fill property. Text marks also include the following properties that allow you to control text content and appearance.
Font – Select the font you want to use from the font dropdown.
Font Size – Select the font size you want to you from the size dropdown.
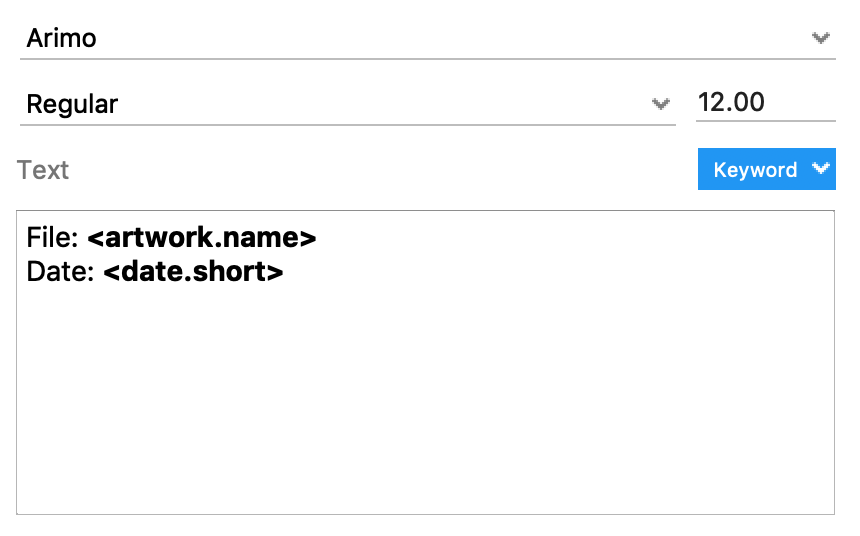
Font Style – Choose what font style you want the text mark to appear as. Options vary depending on the font you are using, but most fonts support 'Normal', 'Normal Italic', 'Bold', and 'Bold Italic' styles.
Content – Click in the text area to enter the content you want for the text mark. To add a dynamic keyword, click on the Keyword button and select the desired keyword from the menu that appears. See Dynamic Keywords for more info on what Keywords are available
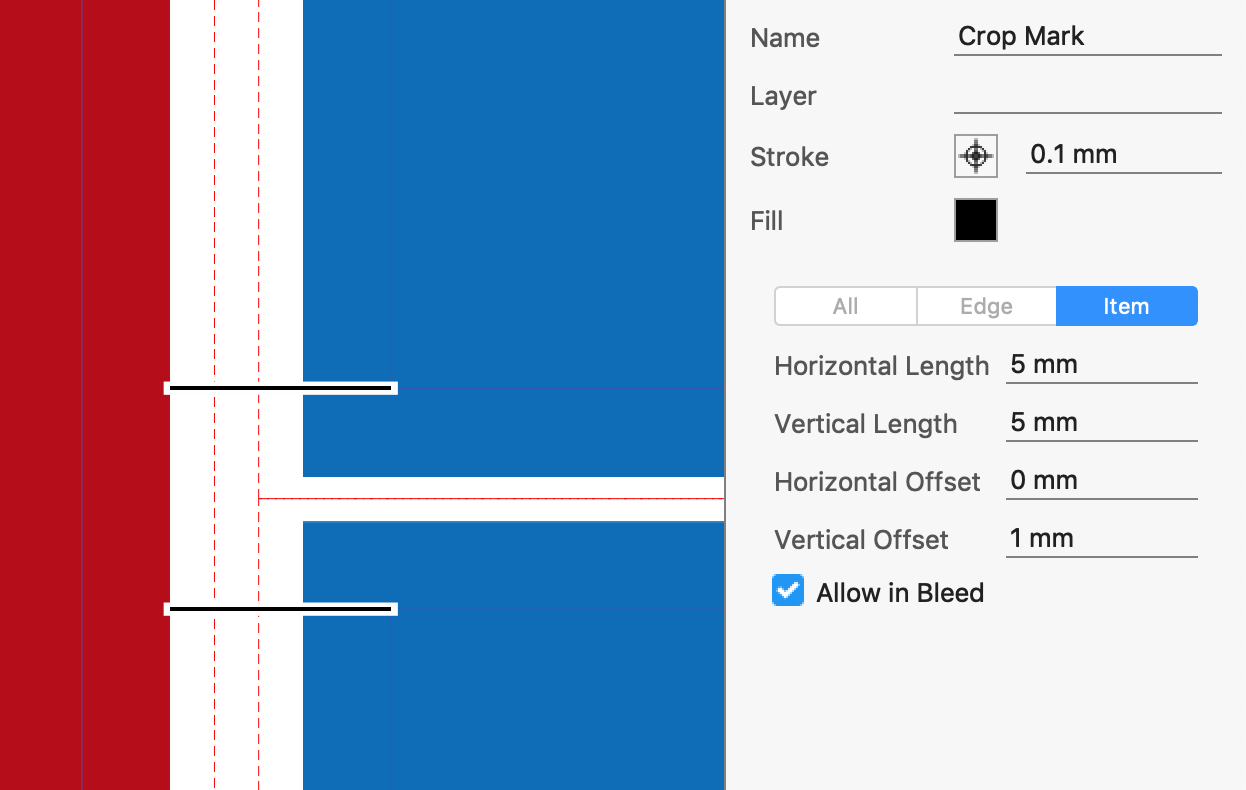
# Crop
Crop marks ensure an accurate cut in the finishing process. You can add crop marks in one of three different ways: All, Edge, and Item.
All - adds crop marks along the outside of the repeat for all artwork regardless of location in the repeat.
Edge - only adds crop marks on the outside edge of the repeat for items that are close to the edge. No crop marks will be added in the gaps between artwork in a repeat. Artwork only on the left side of a repeat will not have a crop mark on the right side.
Item - adds crop marks around each item, so crop marks will be on the corners of each piece of artwork
Allow in Bleed - this option specifies whether you want crop marks to appear inside neighboring bleeds or not.
# Eye
Eye marks can be placed to indicate where artwork is for optical scanners downline in the production process. Eye marks are always square. Eye mark stroke and fill color can be specified with the common properties and can be customized further with the following properties:
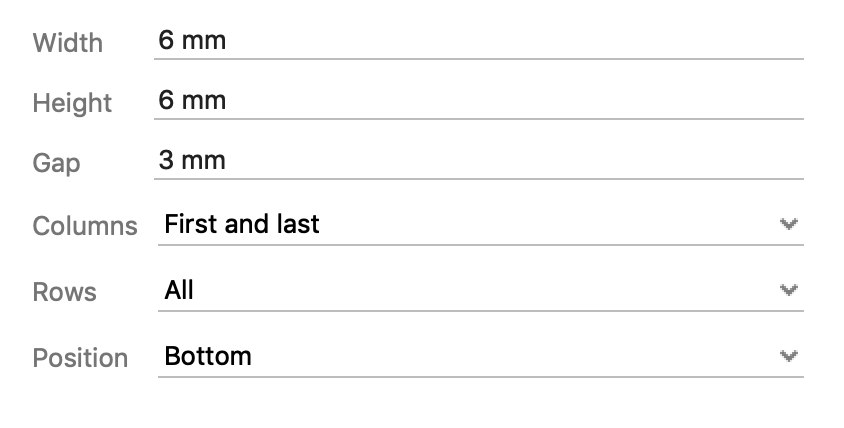
Width – Width of each eye mark
Height – Height of each eye mark
Gap – Distance between edge of the artwork and the mark
Columns – Which columns you want the eye mark to appear on. Can specify First, Last, First and last, and All.
Rows – Which rows you want the eye mark to appear on. Can specify First, Last, First and last, and All.
Position – Where along the artwork should the eye mark appear.