# User Guide
tilia Griffin is a powerful automatic layout solution for wide format printers. Its primary goals are to increase efficiency and reduce errors by automating repetitive tasks and bring down material waste through the use of a sophisticated nesting algorithm.
# Installation
To get started with tilia Griffin, you will first need to download and run the installer.
# Windows
- Ensure you are running Windows 7 or above.
- Download (opens new window) the MSI installer.
- Double-click the MSI file to launch the install wizard.
- Follow the steps in the installation wizard. During installation, you are given the option to create a desktop shortcut for tilia Griffin.
# MacOS
- Ensure you are running OS X 10.9 or above.
- Download (opens new window) the DMG installer.
- Double-click the DMG file and then drag the Griffin app to your Applications folder.
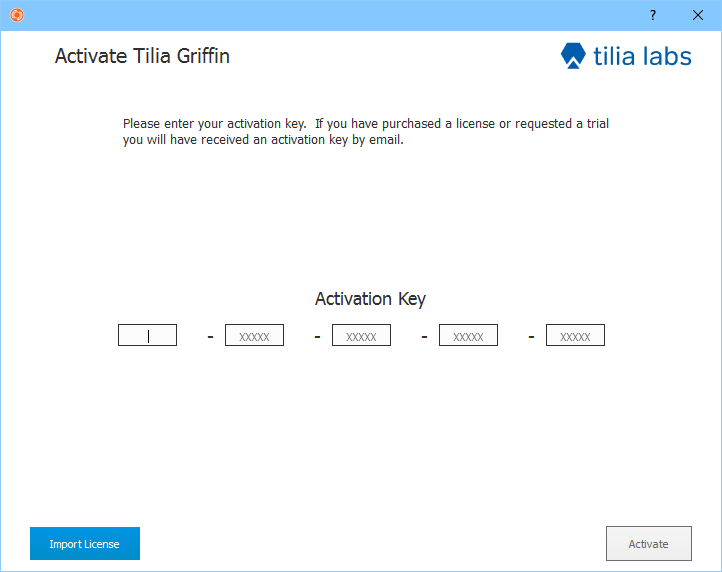
# License Activation
After successfully installing tilia Griffin, you are ready to activate your license. When launching the application for the first time you will be presented with a licensing dialog.
Tilia Griffin 2.2 supports both traditional Activation Keys as well as tilia Cloud licenses. Tilia Cloud licenses allow you to float and centrally manage your licenses across your teams.
Copy and paste the license key provided to you by your local reseller and click 'Activate' in the lower-right corner of the dialog to activate your license.