# Marks 2.0
Phoenix 23.3 introduces the future of marks in Phoenix - what we're dubbing "Marks 2.0"
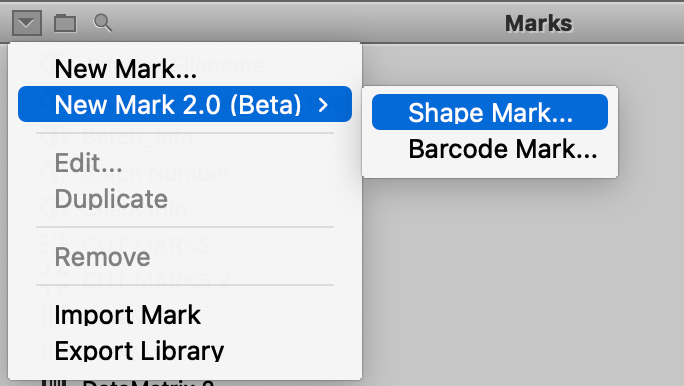
To create a new mark of this type (or modify an existing one), navigate to the Marks panel, and select "New Mark..." from the dropdown in the top left of the panel.
This will open the Mark Creator Wizard, which will allow you to define the mark settings. The screens in the Mark Creator Wizard will vary based on the options selected. After the settings are chosen for each screen, use the navigation buttons at the bottom right of the window to either Continue, Go Back, Cancel, or complete the wizard by clicking "Done."
The two types of Marks 2.0 marks to start are Shape and Barcode. Both Marks will allow you to set some general settings such as the Name (required), the folder, and a brief description of the mark.
# Shape Mark

The Shape mark allows you to choose from a list of different shapes. You can use a combination of shape marks to create many diverse marks.
# Barcode Mark
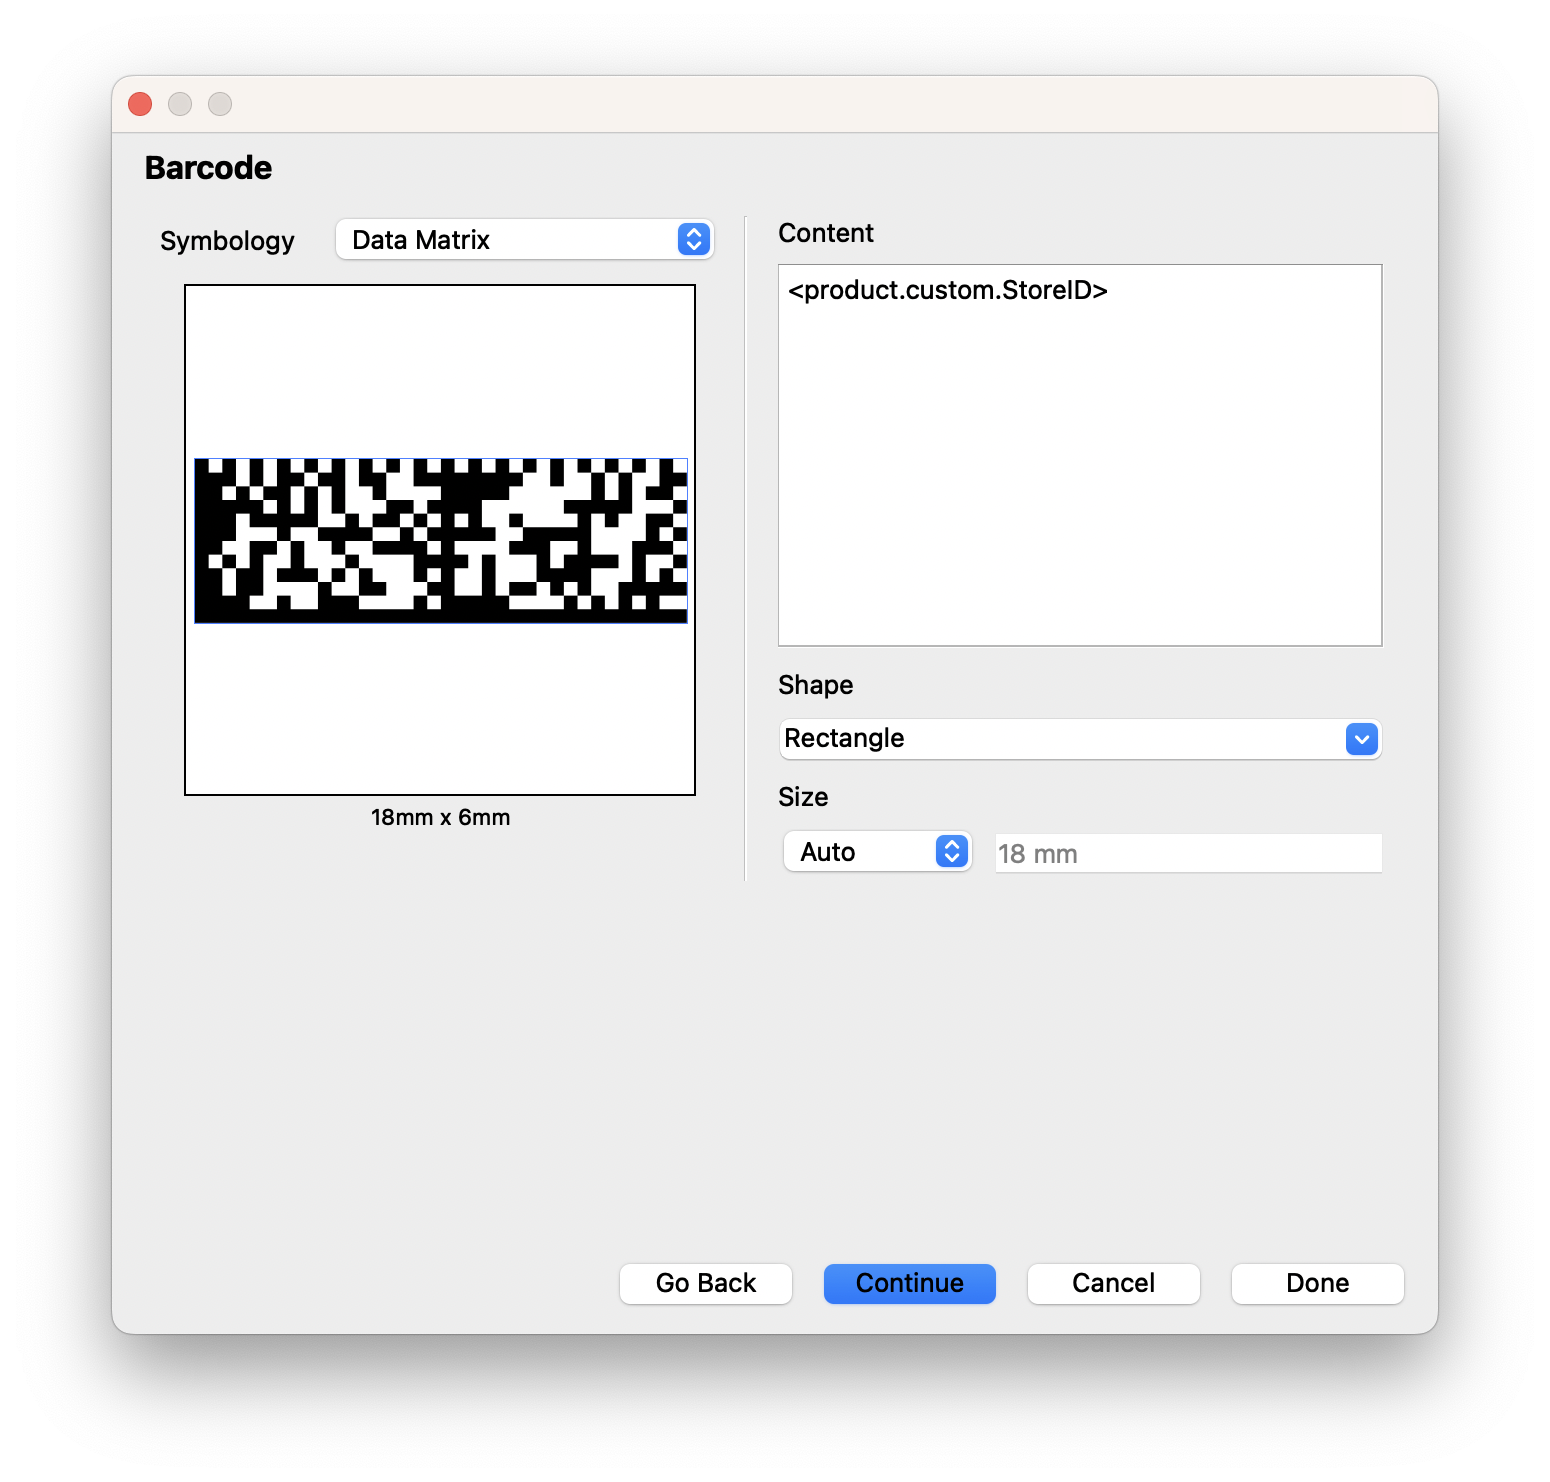
The Barcode mark allows you to define the type of barcode and content, much like the traditional barcode mark you've known and loved. Based on the barcode symbology, you can define additional parameters like shape, size, and bar width adjustment.
# Placement
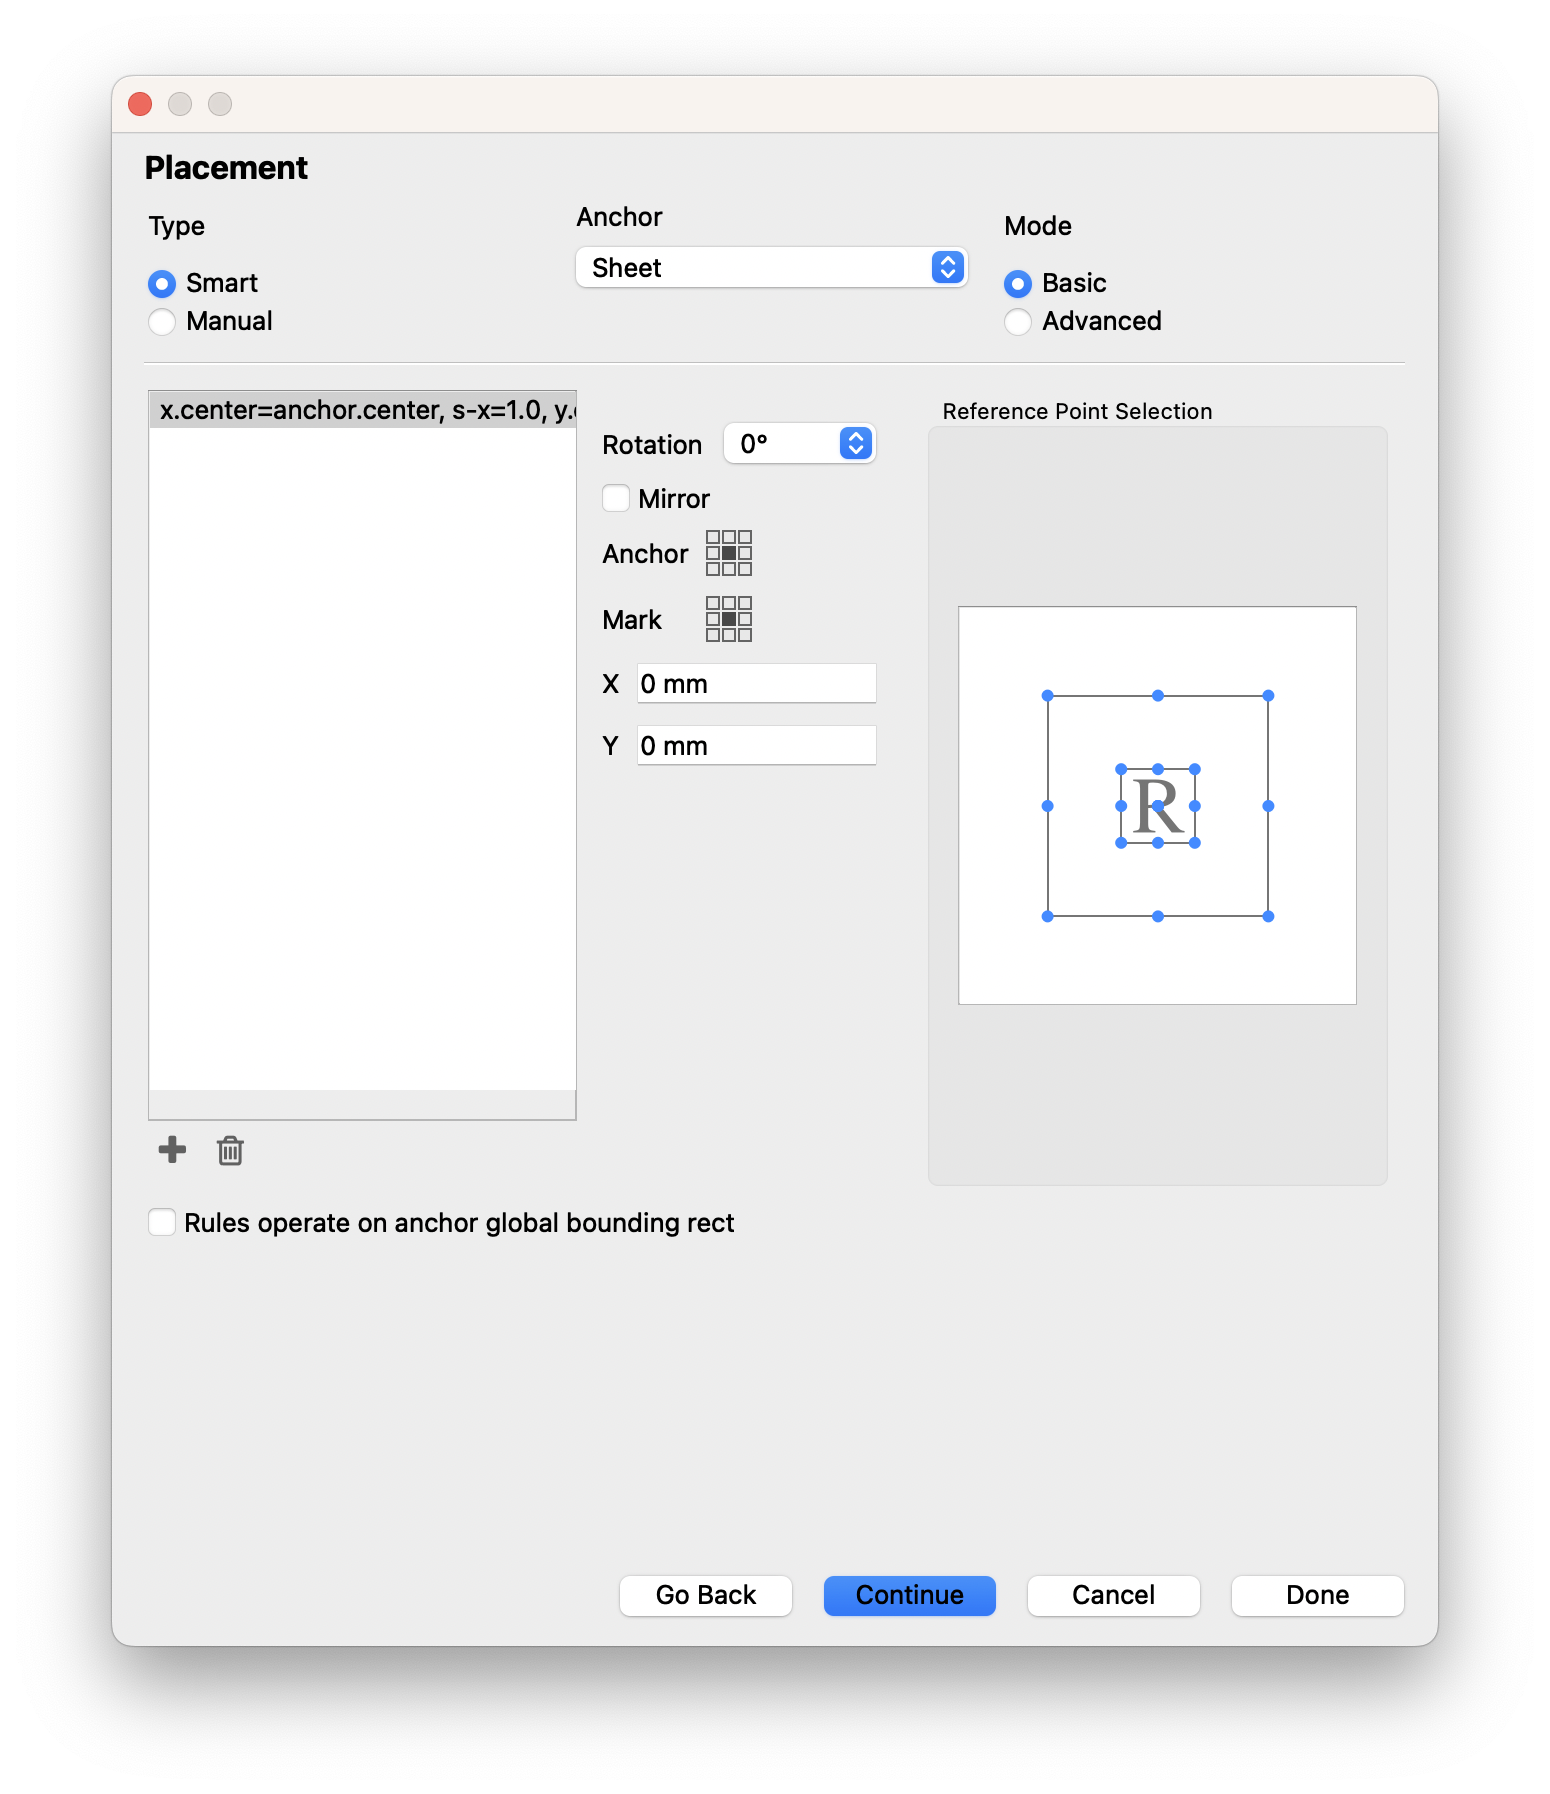
The placement window allows you to define where the mark should be, well, placed! At the top you can define whether this mark is Smart or Manual. Manual marks must be placed by clicking and dragging the mark to the desired location. Smart placement allows you to specify logic for mark placement using the other settings on this window.
For Smart placement, use the Anchor dropdown to choose between 16 different anchors:
- Plate
- Plate punch
- Sheet
- Content Margins
- Image Margins
- Gripper
- Group
- Die Template
- Step & Repeat
- Component
- Flat
- Signature
- Bound Signature
- Folded Signature
- Tile
- Page
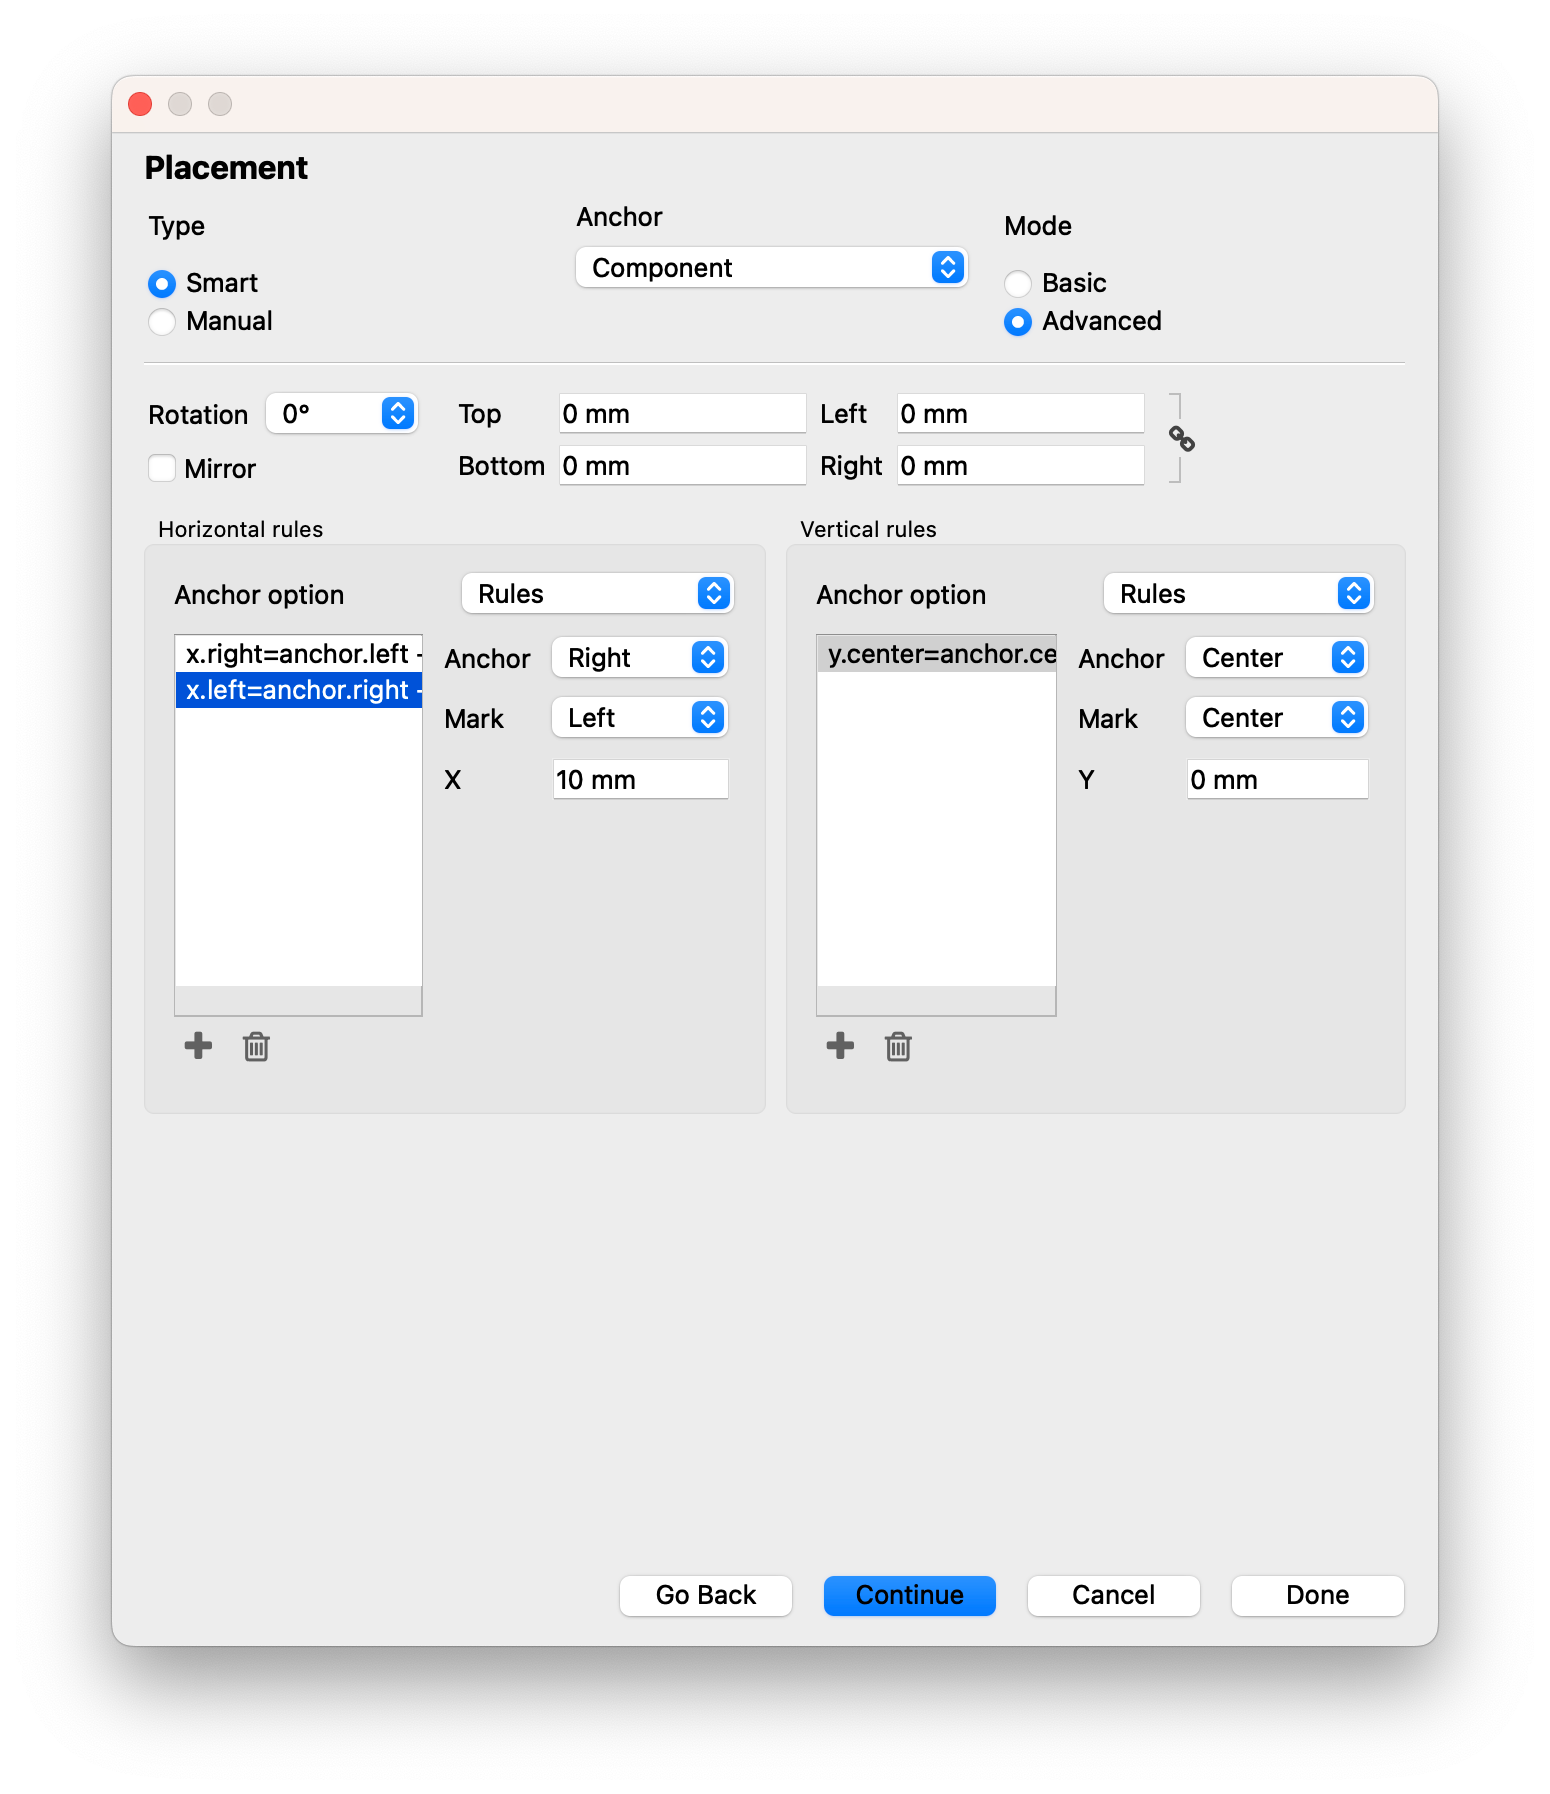
Finally you can choose the mode. Basic mode brings up the classic 9-dot grid for placement that you may be familiar with in our traditional marks. Advanced mode gives you new functionality:
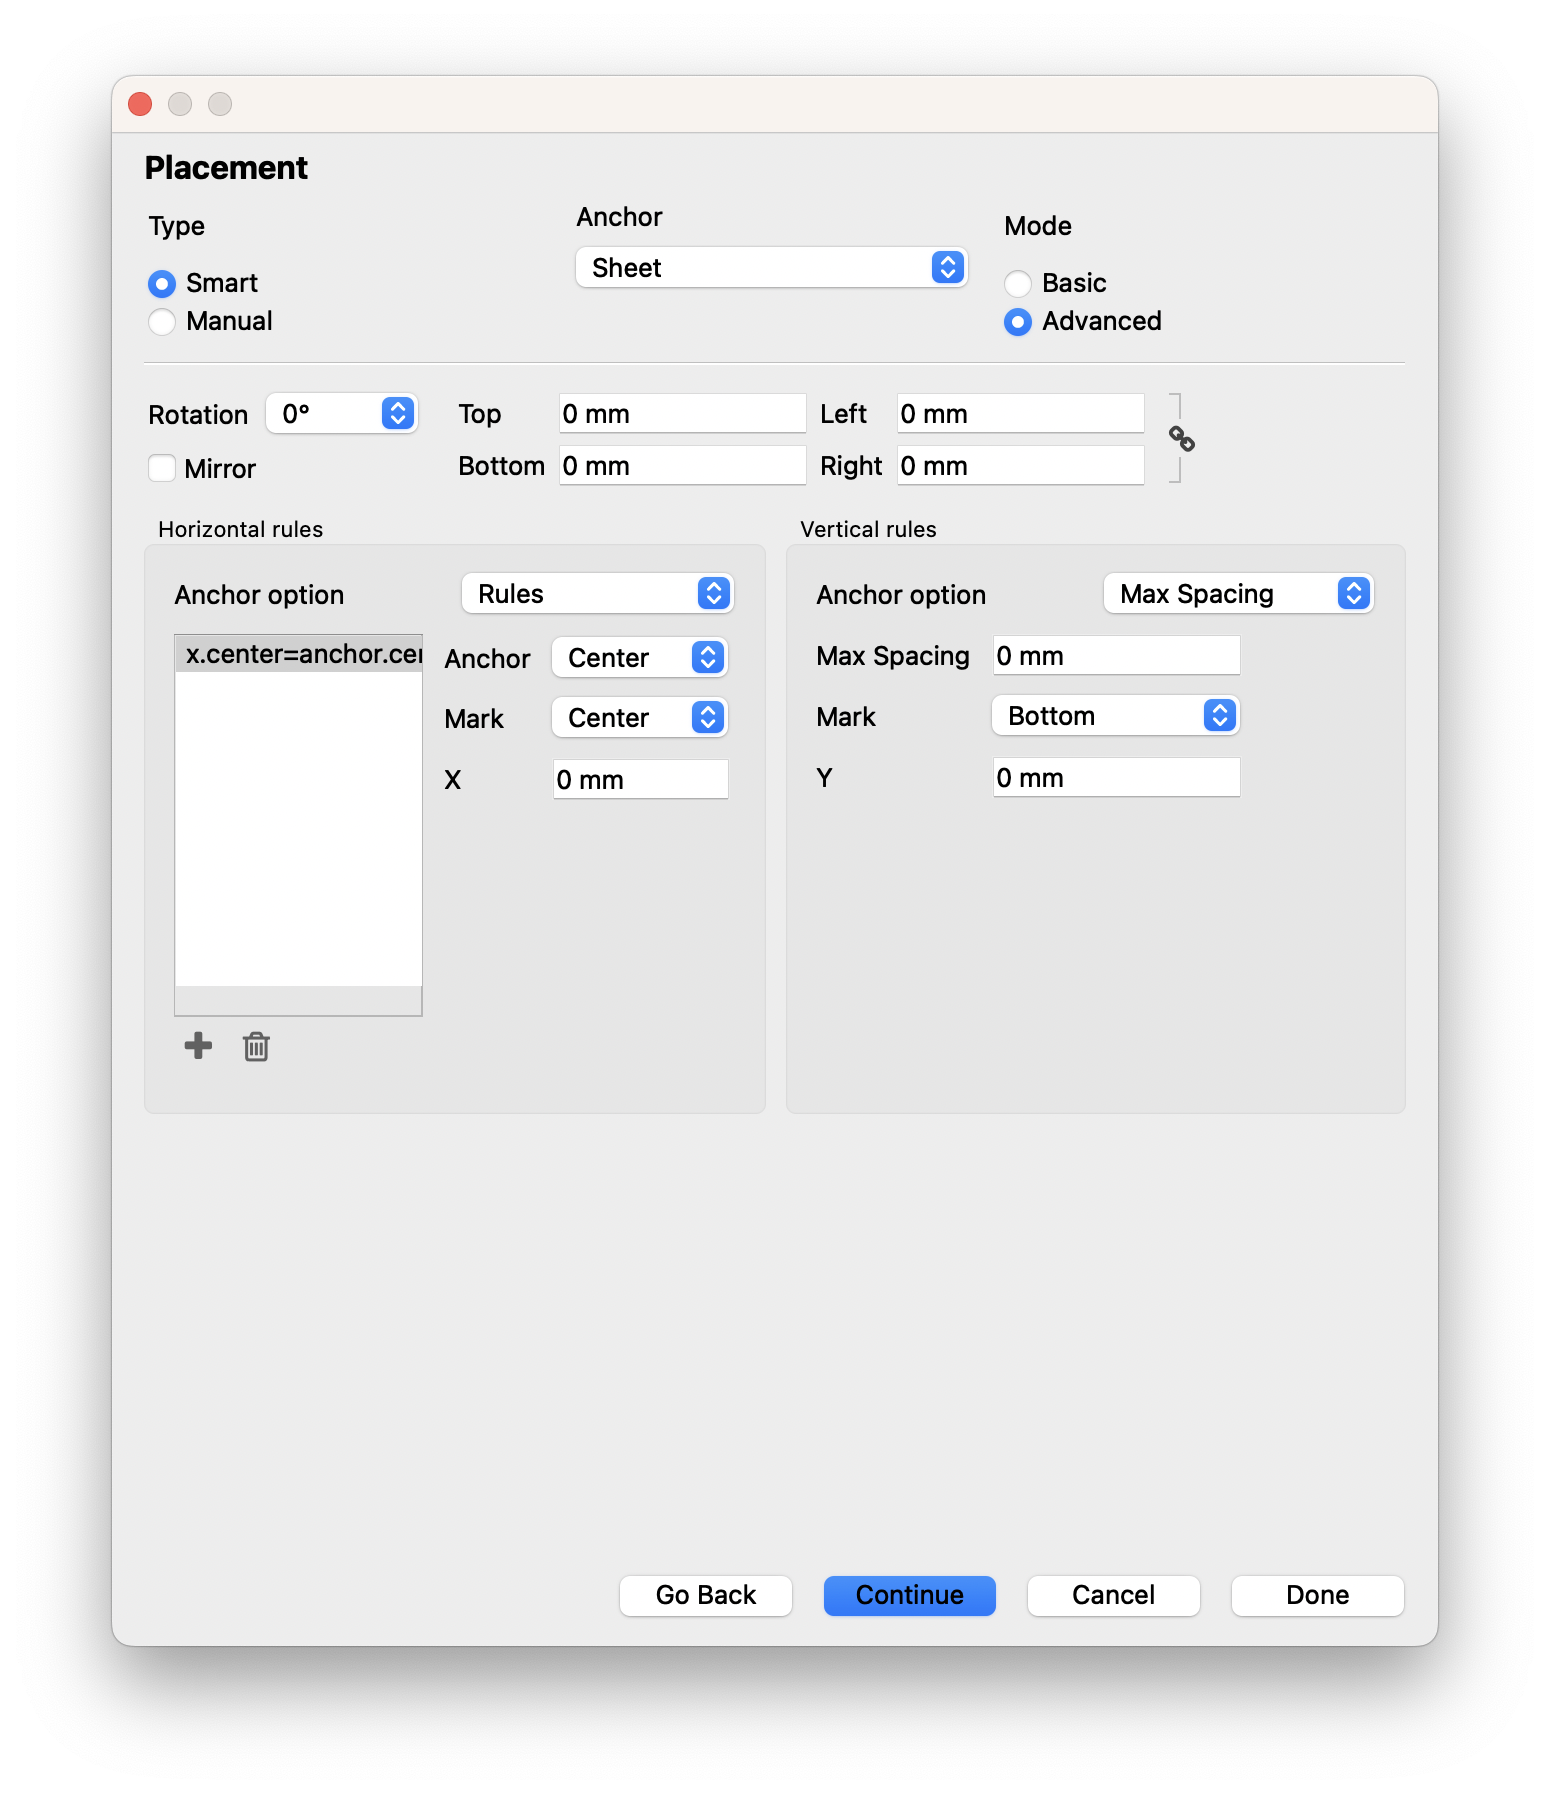
You can see in the above screenshot that now there are additional options for mirroring and padding, and most importantly the placement is defined with separate Horizontal and Vertical rules.
For each axis, you can choose an Anchor option. These are detailed below:
# Rules
The Rules option allows you to define one or more rules for placement based on the bounds of the mark and the anchor. For horizontal rules, you can choose between left, center and right for both anchor and mark, as well as a horizontal offset with the "X" field. You can also add additional rules to combine multiple rules.
For example, if you wanted the mark to be placed on the left and right of a product on the outside with a 10mm offset, you would first define the anchor as the Component (this encompasses all product types). Then, add a horizontal rule with Anchor = Left, Mark = Right. This will place the right side of the mark on the left side of the product. Then specify X = -10mm to offset it. Then add another horizontal rule, with Anchor = Right, Mark = Left. This places the left side of the mark on the right side of the product, and then adding X = 10mm will add the 10mm offset.
Note that if you choose Rules as your Anchor option, you must have at least one rule. Otherwise the mark is not fully defined and won't work.
# Max Spacing
Max Spacing allows you to specify that the mark be distributed automatically along the given axis, based on the maximum spacing allowed before another instance is placed. Specify the Maximum spacing, the side of the mark you want to base the spacing on, and any offset.
# Quantity
Quantity will distribute the number of mark instances that you define. Specify the quantity, the side of the mark to base it on, and any offset.
# Folds
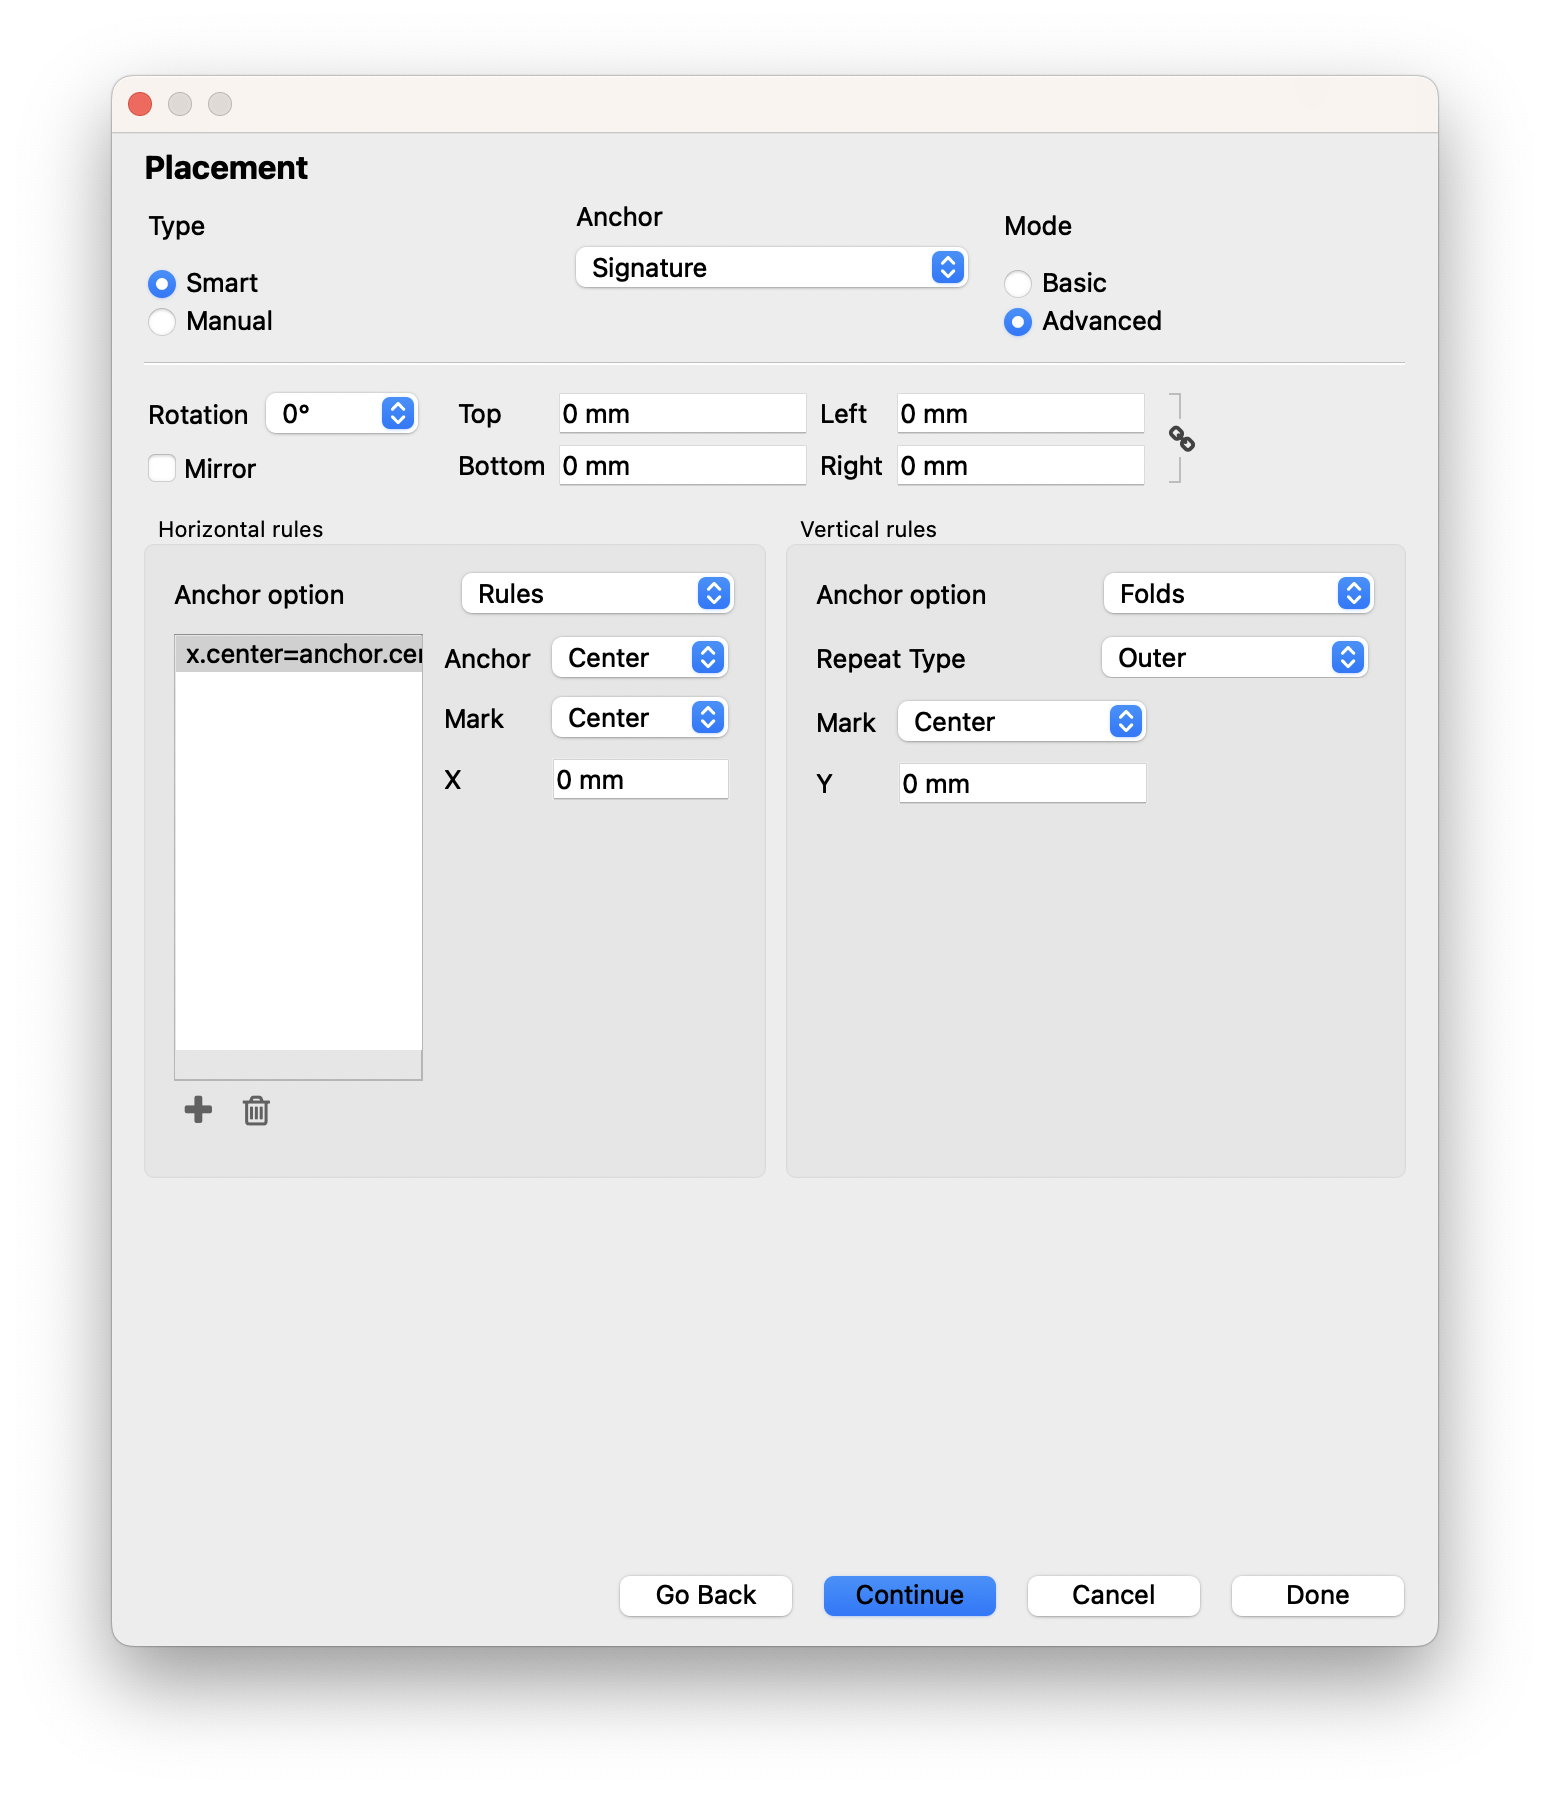
This option only appears if the Anchor is set to a product signature. This allows you to place a mark relative to a fold. You can specify how often it repeats based on the folds:
- All: Places the mark on all folds in the specified axis
- Range: Places the mark on a user defined range of folds in the specified axis (comma-separated)
- Outer: Places marks only on the outer folds
- Inner: Places marks only on the inner folds
- First: Places marks only on the first fold
- Last: Places marks only on the last fold
- Odd: Places marks only on the odd folds
- Even: Places marks only on the even folds
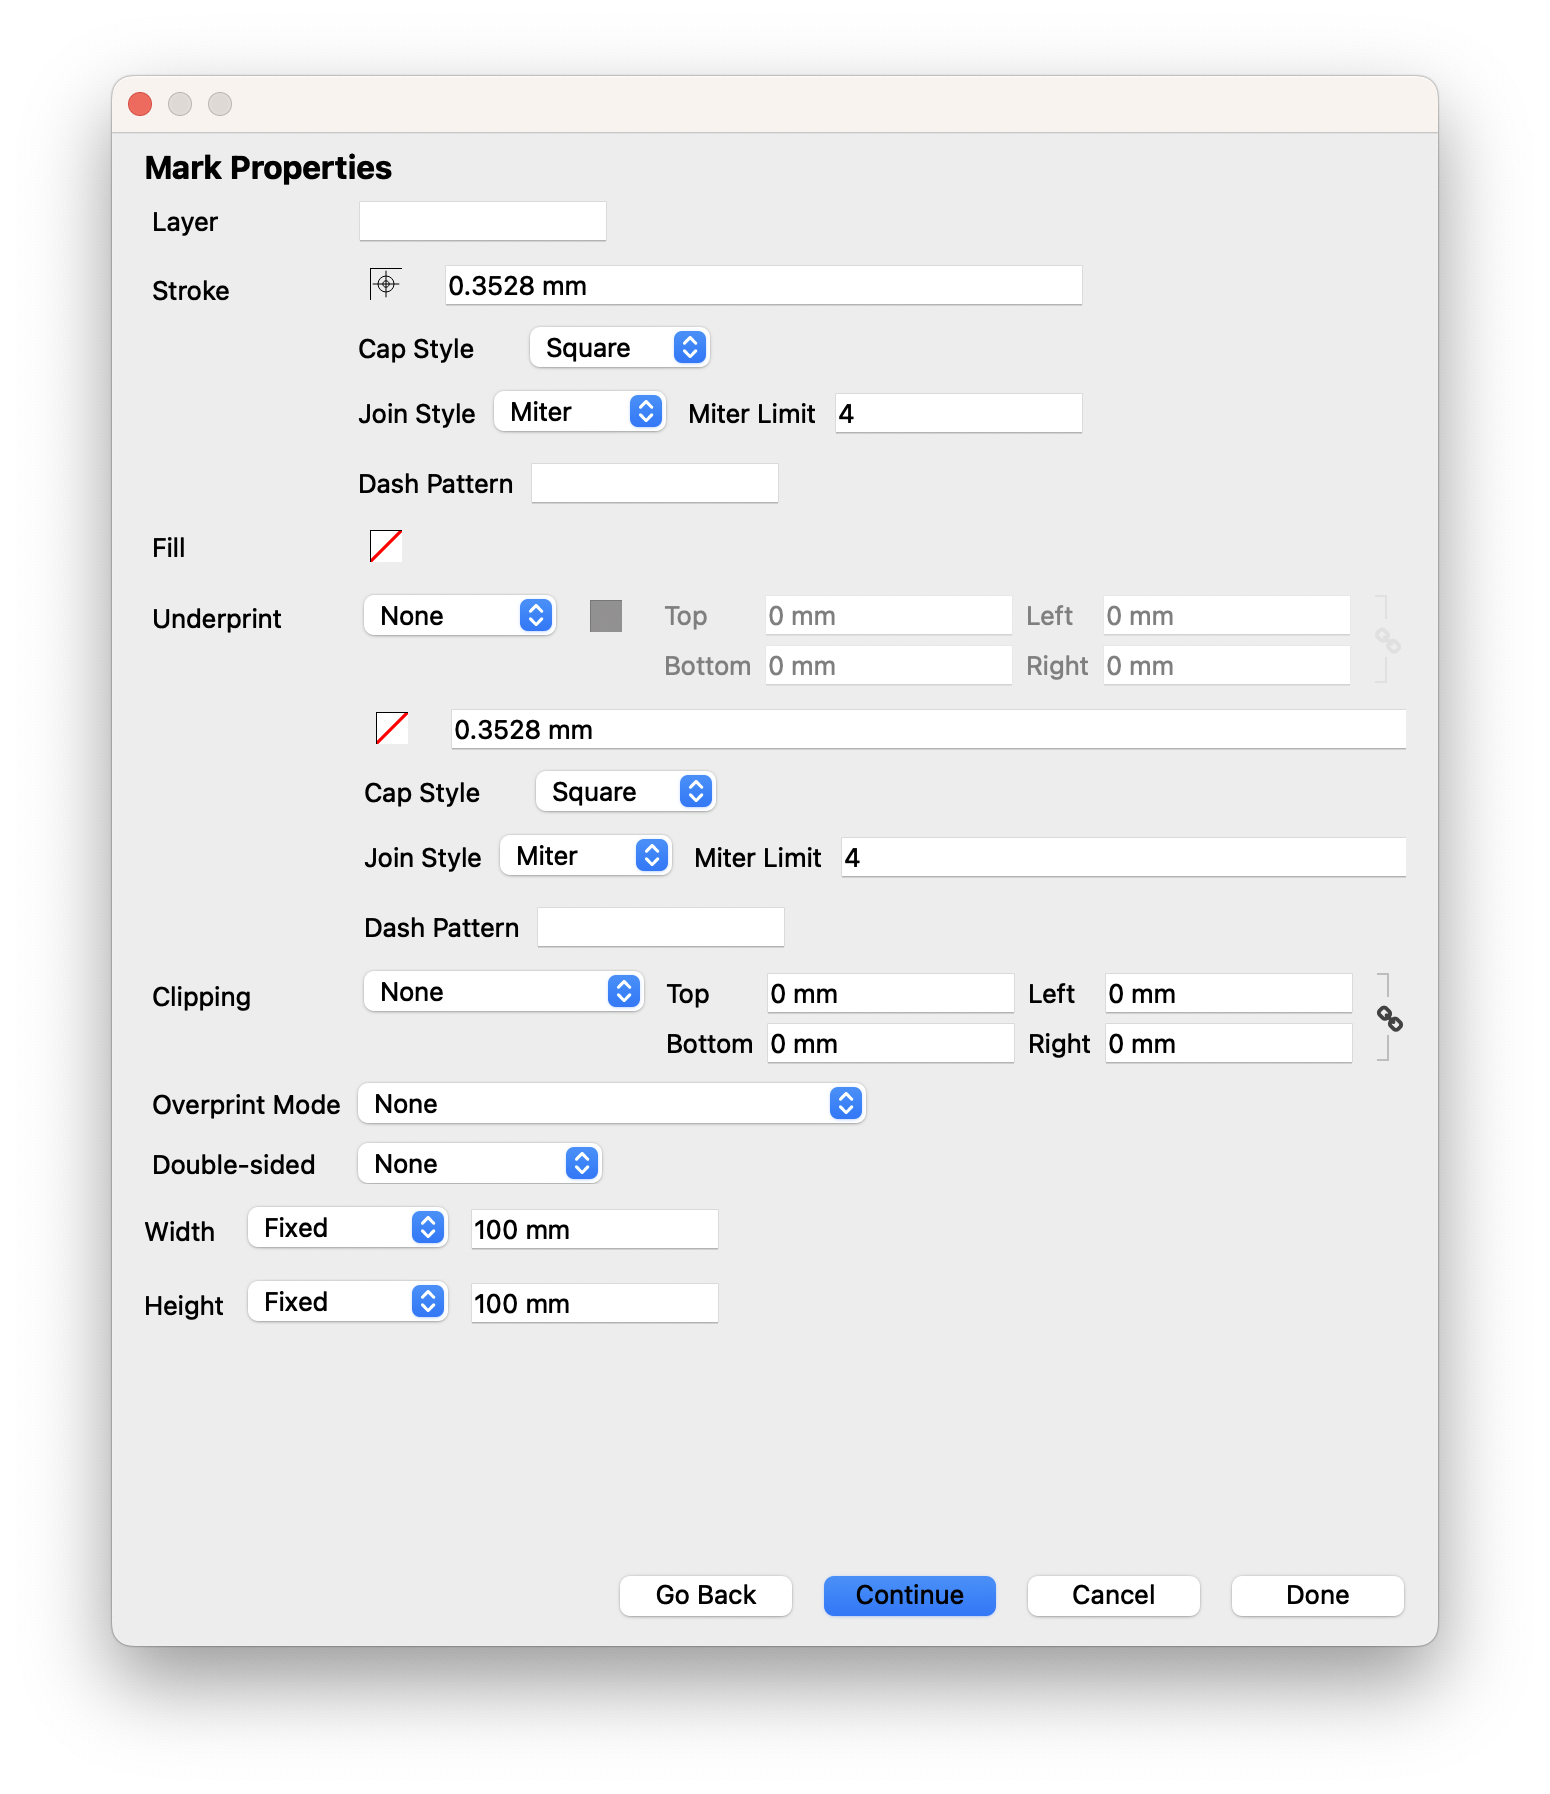
# Properties
| Field | Description |
|---|---|
| Layer | This field allows you to specify which output layer the mark is placed on. If a value is set here, a layer will be created with the layer name specified. If no value is set, no layer is created for the mark, and it is placed with the rest of the layout artwork. |
| Stroke | Choose the stroke color, define the thickness, set a cap and join style, as well as the dash pattern |
| Fill | Select the fill Color |
| Underprint | Option to add underprint, in the specified color, to the mark. You can define the margin to be added on the four sides of the mark, as well as set a stroke for the underprint |
| Clipping Option | Option to clip the mark to the anchor bounds, shape, or bleed, as well as the mark bounds. |
| Overprint Mode | Option to enable overprint for the mark, and if so, which overprint Mode to use. |
| Double-sided | Optionally mirror the mark to the back side if the item is double-sided, and if so, whether to mirror the mark, or copy the placement rules to the back side |
| Width and Height | Define the size of the mark. You can set this as a fixed value, or make it dynamic based on the item size, either as an adjustment or a percentage |
# Conditions
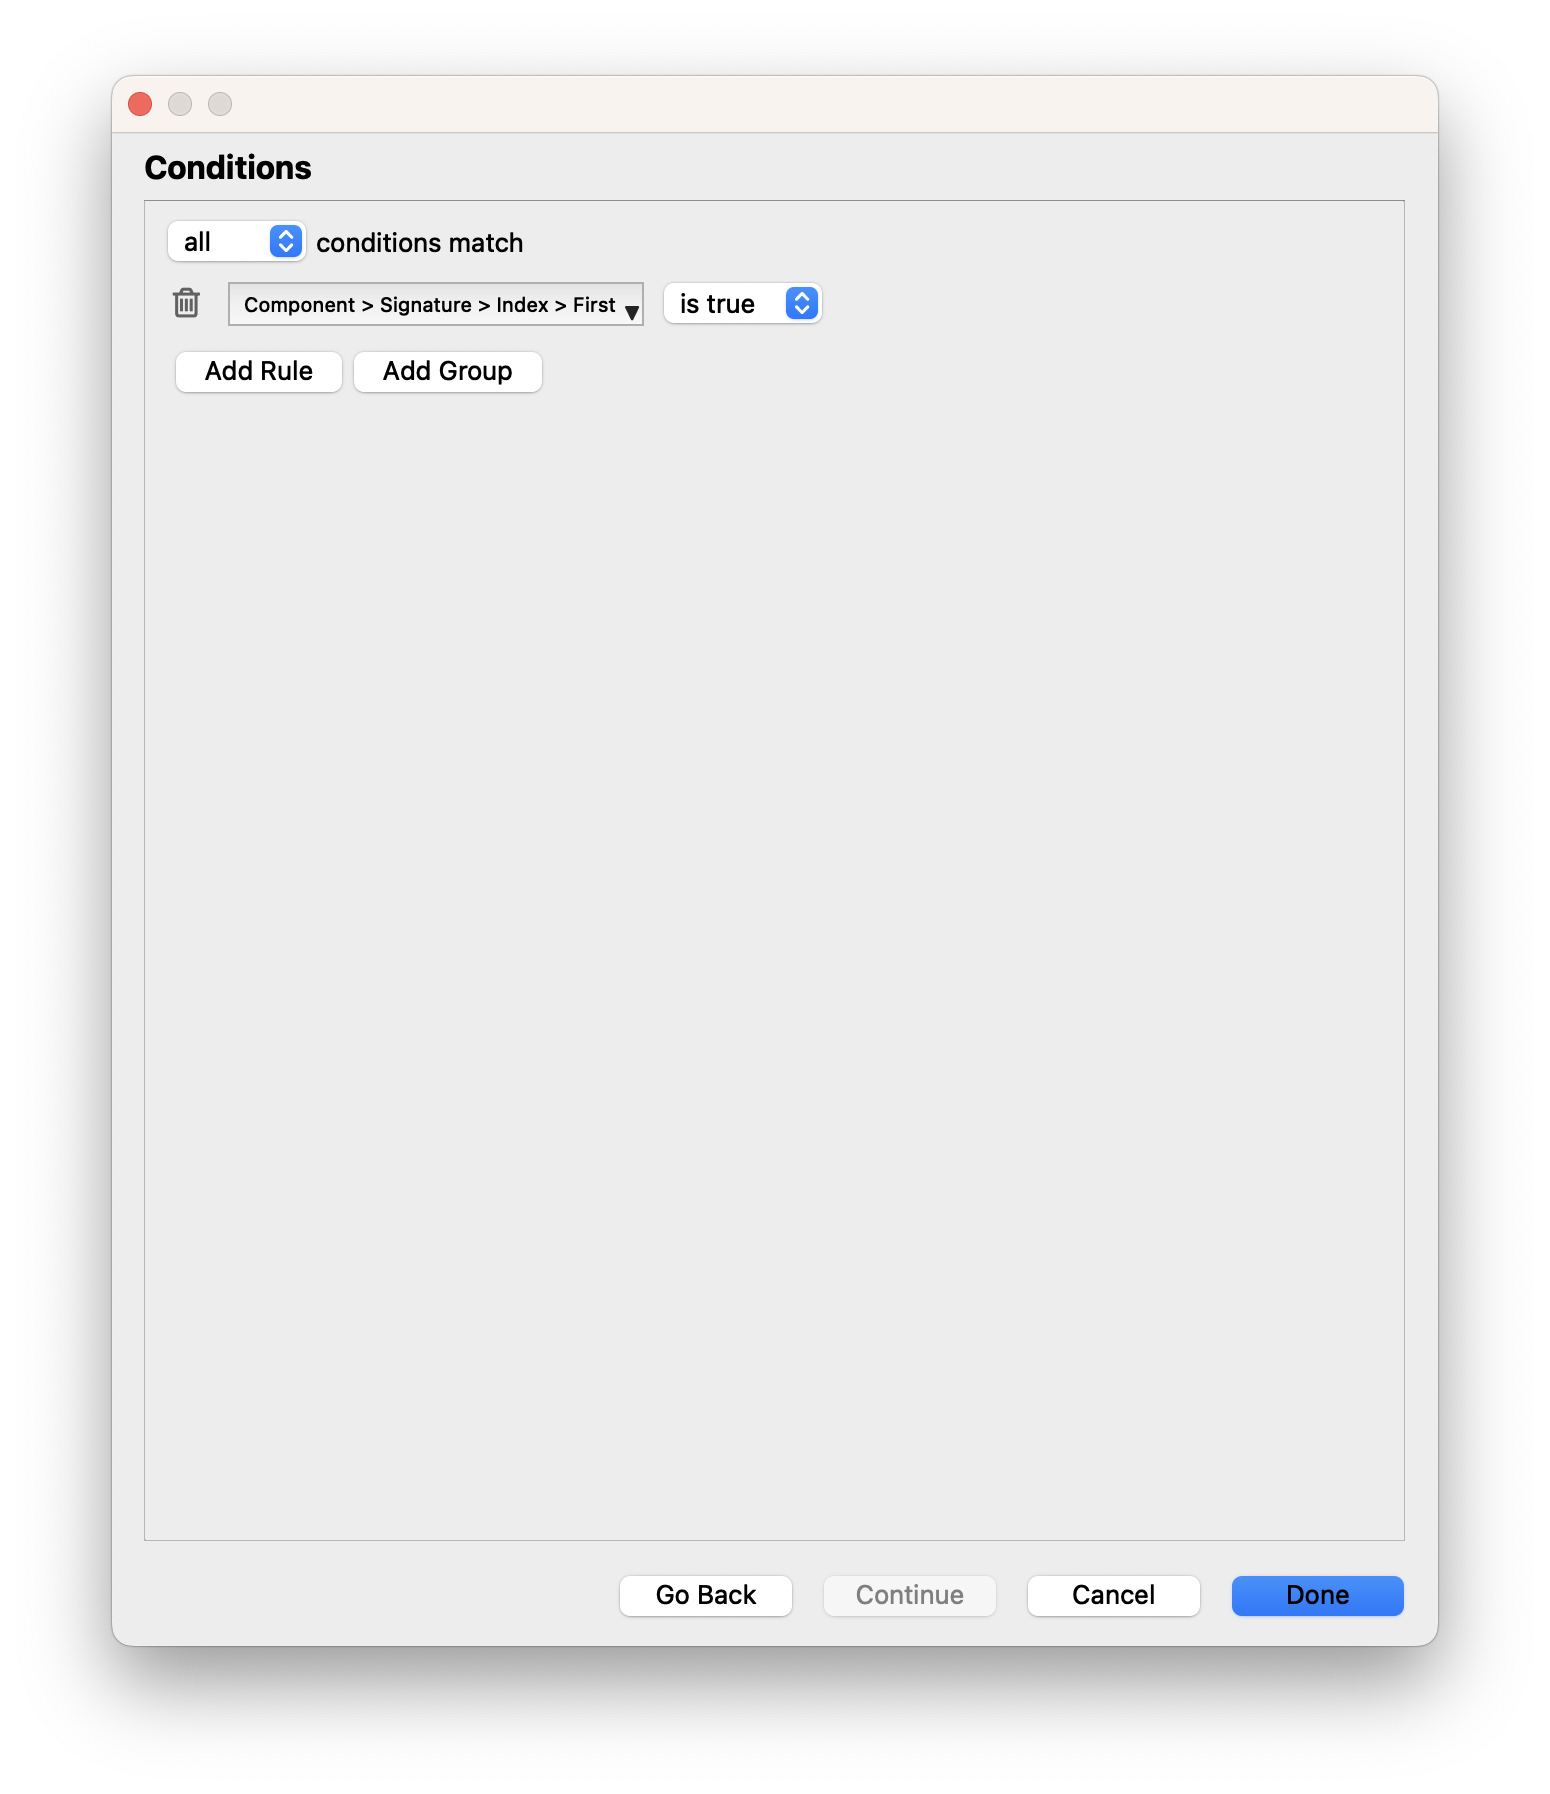
The Conditions allow you to specify when the mark should be applied. You can add any number of conditions using ANY or ALL logic and groups therein to add custom logic. For instance, in the example above, the mark will only be applied to the first signature of a bound product. Subsequent signatures of that bound product will not have the mark, nor will any other type of product.
← Marks Die Design →