# Tool Types
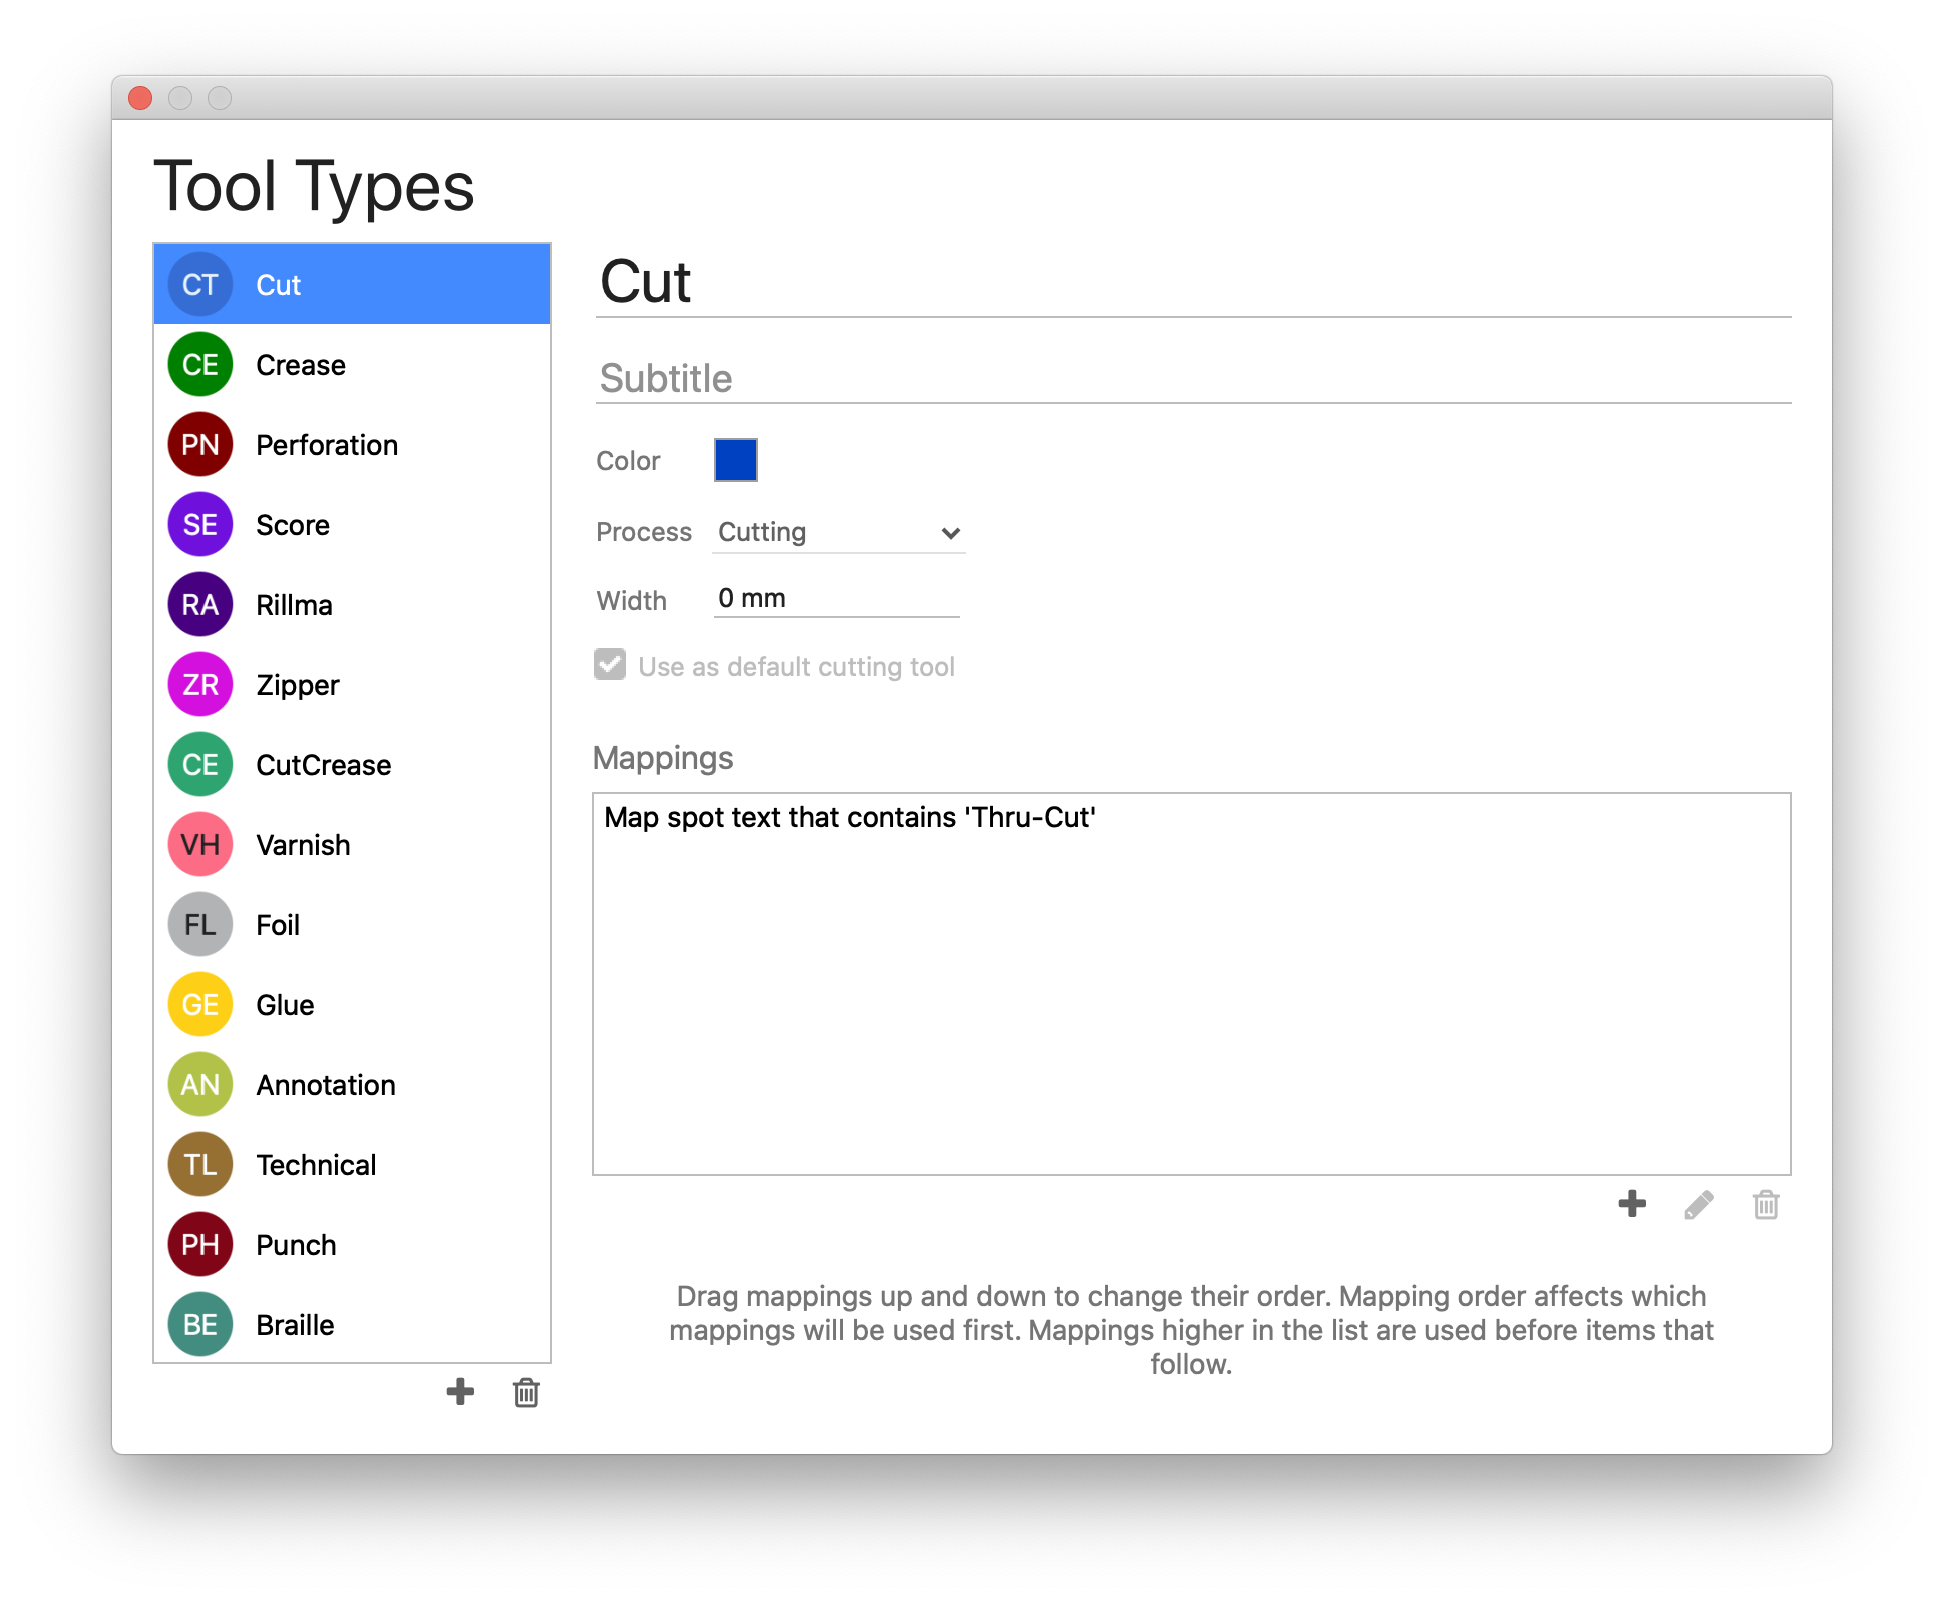
Tool Types represent the various tooling used by your Things to perform processes such as varnish, emboss, deboss, coating, glueing, braille, cut, score, crease, etc. Each tool type defines tool properties as well as a list of mappings from artwork spot colors (fills and/or strokes) or PDF layer names to automatically map inks in your artwork to the correct tool type.
To add, edit, and remove tool types from your library, go to the Libraries menu and select 'Tool Types...'. This will open the Tool Types dialog that displays a list of all current tool types and their properties.

| Field | Description |
|---|---|
| Name | Name of the tool type |
| Subtitle | Optional description of the tool type |
| Color | Representative color of the tool type. This is the color that will be used for the tool type on output |
| Process | Define the process this tool type falls under |
| Width | Define the width of the cutting tool |
| Use as default cutting tool | Set a tool type to be the default cut tool |
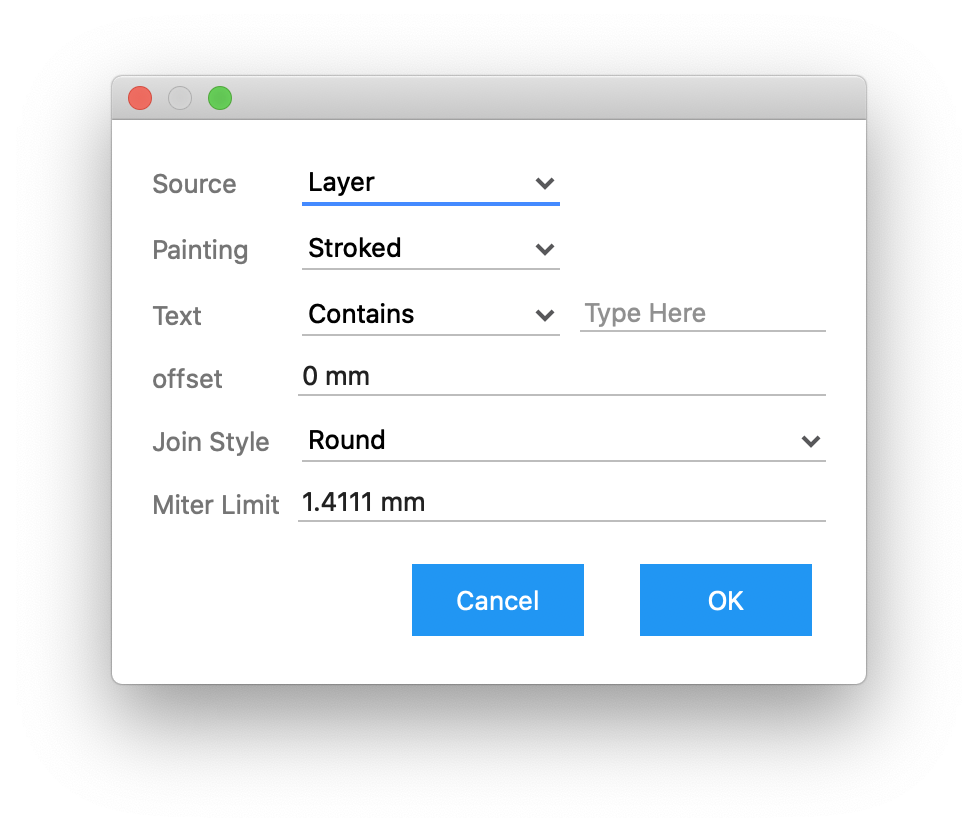
| Mappings | Define how objects should be mapped to this tool, as configured in the window described below. Phoenix will then use these mappings to assign a tool type to matching inks or layers in product artwork. |

| Field | Description |
|---|---|
| Source | Select whether the mapping source should come from a layer or a spot color |
| Painting | Select whether the object is stroked, filled, both filled and stroked, or either filled or stroked |
| Text | Define the name of the layer or spot ink to be mapped |
| offset | Optionally define the offset the tooling should have from the mapped artwork tooling line |
| Join Style | For artwork mappings where two lines join together, choose how should the intersection be joined |
| Miter Limit | If using a miter, define the maximum distance of the miter before it is truncated |

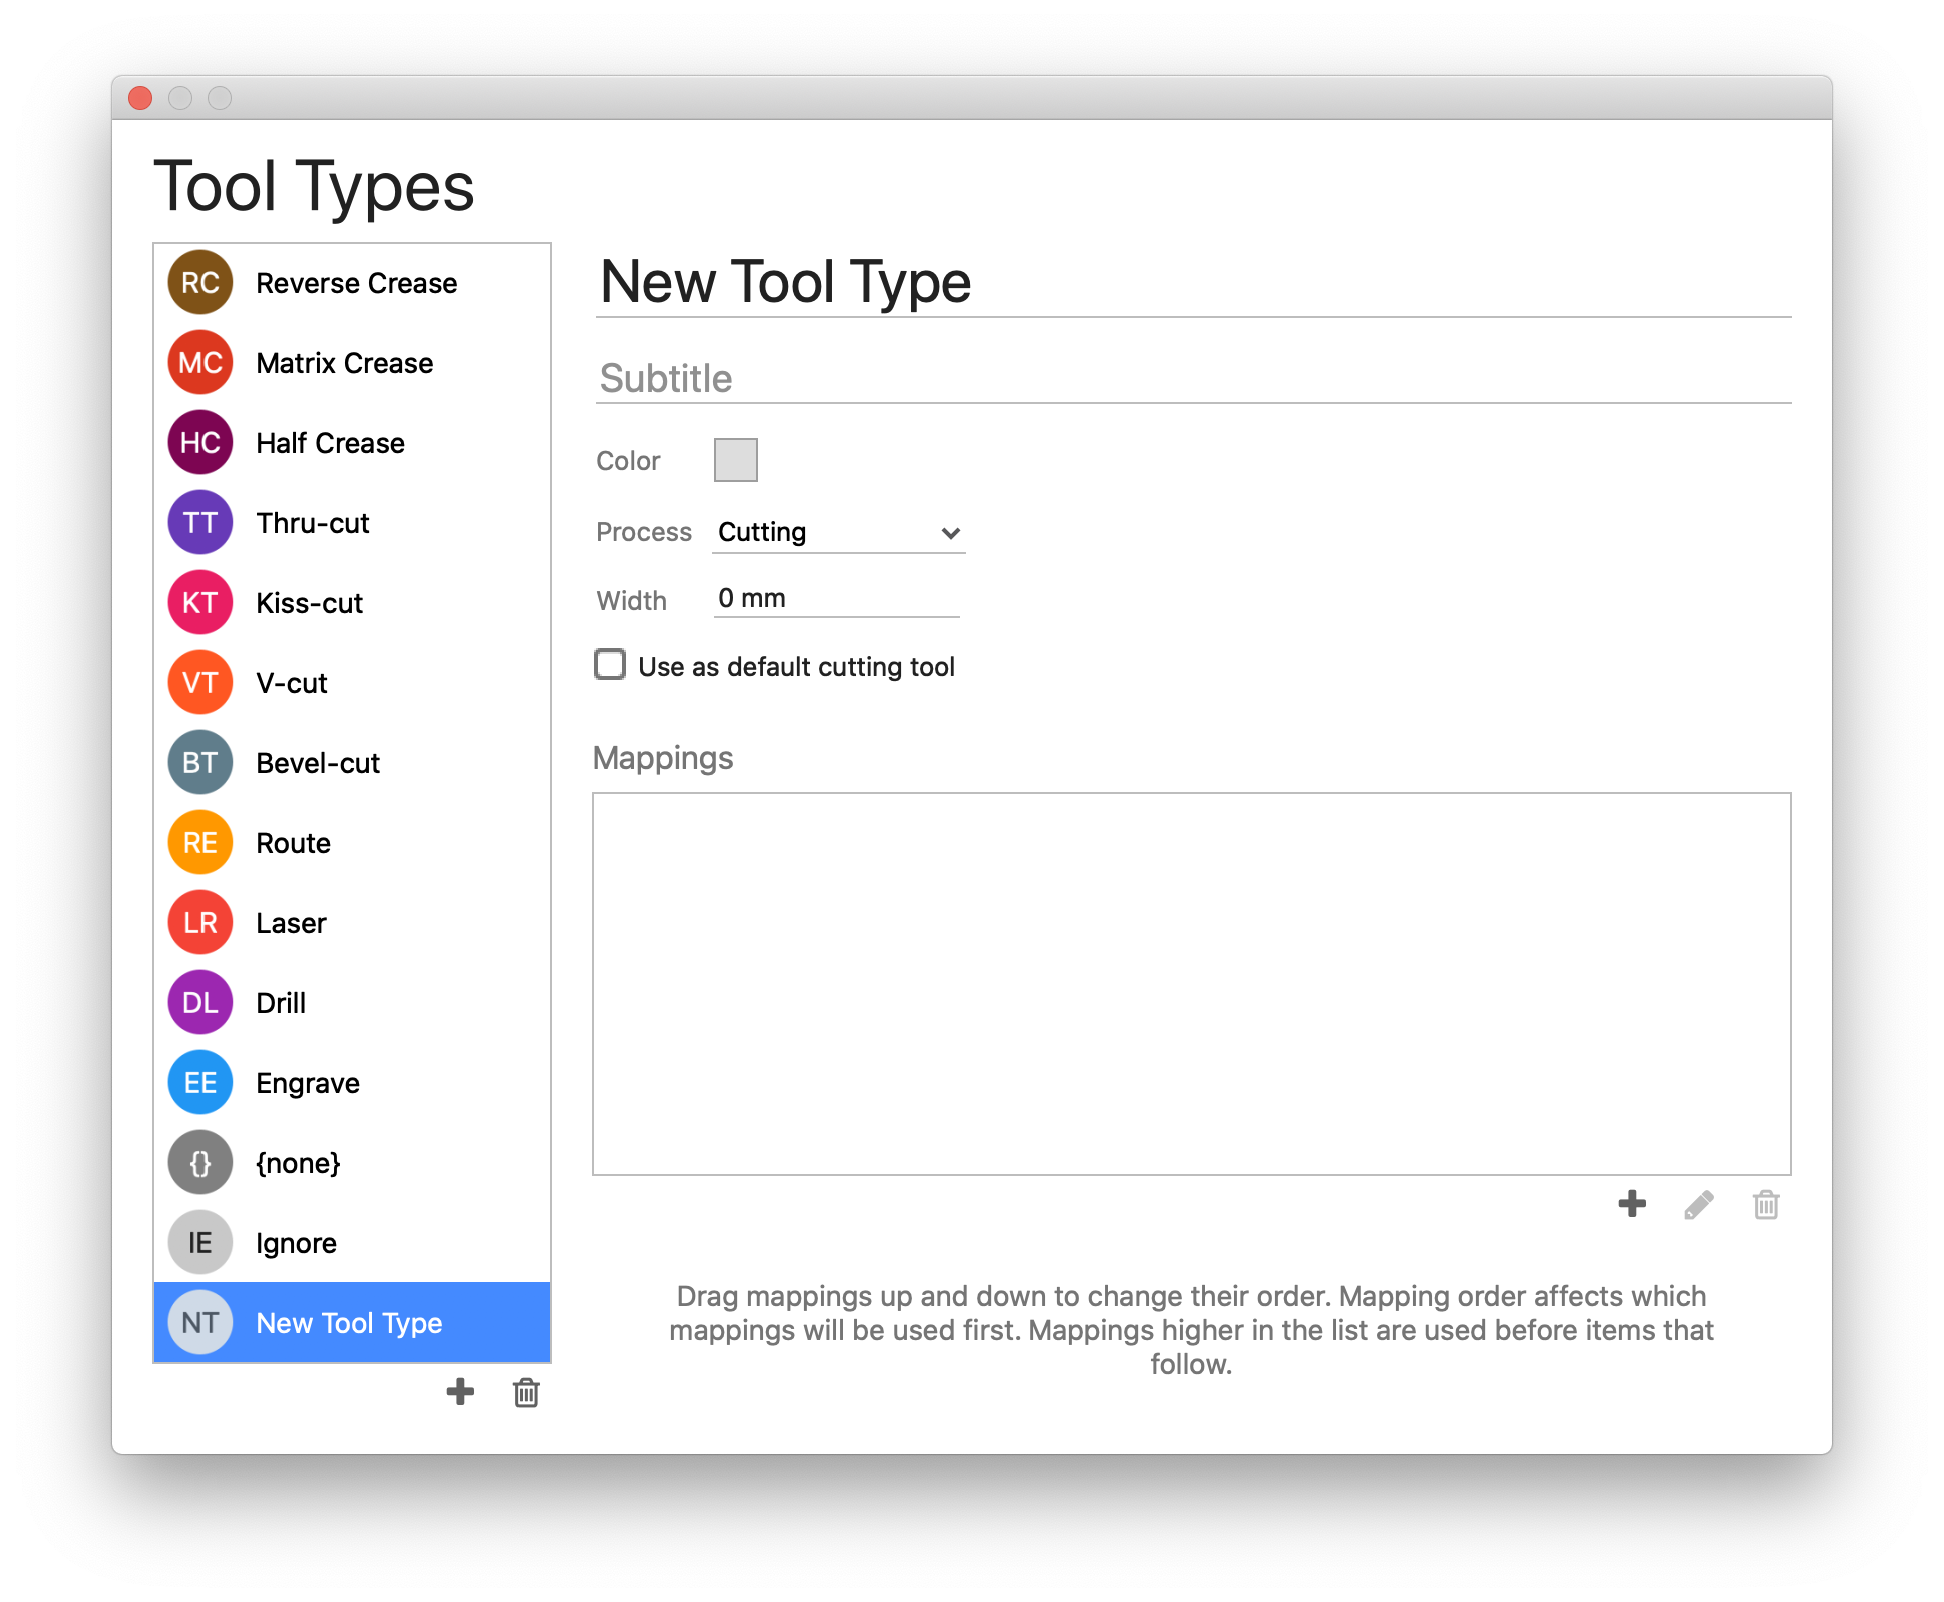
You can create a new tool type by clicking the add button ( ) and then configure it as described above.